9
GETTING STARTED
Connecting the Tablet
GETTING STARTED
CONNECTING THE TABLET
1.
Turn the vehicle’s ignition OFF.
2.
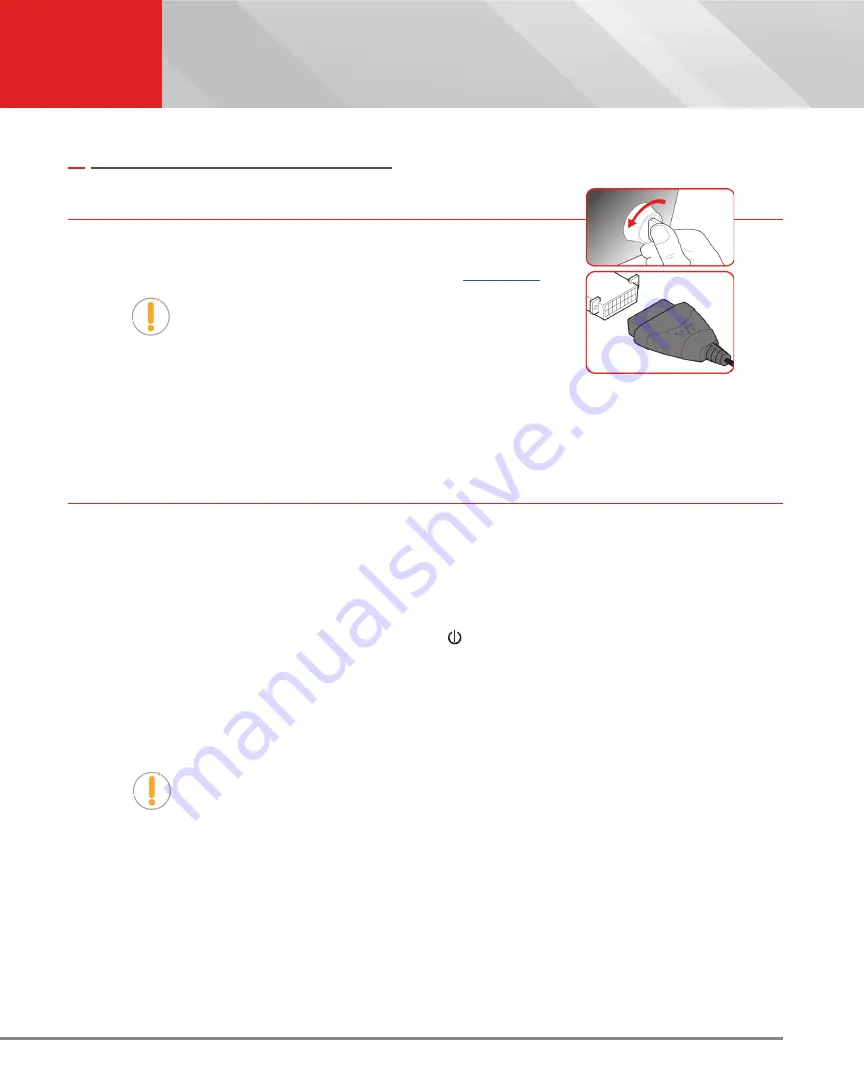
Locate the vehicle’s 16-pin Data Link Connector (DLC). [
]
NOTE:
Some DLCs have a plastic cover that must be
removed before connecting the Scan Tool.
3.
Connect the tablet to the vehicle’s DLC. The cable connector is
keyed and will only fit one way.
n
If you have problems connecting the cable to the DLC, rotate the connector 180°.
n
If you still have problems, check the DLC on the vehicle and on the tablet.
AUTOLINK CONNECTION
The tablet features an “
AutoLink Connection
” function, which automatically retrieves vehicle information upon
plugging the tablet into the vehicle’s Data Link Connector (DLC) port.
Using the AutoLink Function
1.
Verify that the tablet is connected as indicated above
(Connecting the Tablet)
.
2.
If the tablet is off, power ON the tablet by pushing the
POWER
button for 3 seconds.
3.
Turn the ignition ON.
DO NOT
start the engine.
n
Tablet begins communicating and displays “
Retrieving Vehicle Information...”
n
If an “Information” dialog appears, follow the on-screen instructions to establish a connection.
4.
Once complete, tablet displays the vehicle’s Year, Make, Model, VIN, and mileage on the Vehicle Info Tab.
NOTE:
With certain vehicles, you may be required to manually input some of the
vehicle’s information. This may include the vehicle’s Year, Make, Model, Trim,
Body Code, Engine; vehicle’s VIN; and/or the vehicle’s mileage.
Providing Vehicle’s VIN Information
1.
A dialog appears requesting a Vehicle Identification Number (VIN)
2.
Tap the dialog window and enter the vehicle’s 17-digit VIN number
n
The Submit button becomes “active” once all 17-digits are entered
3.
Tap the
Submit
button
n
An error dialog will display if the VIN is unable to be decoded. Re-enter VIN.
n
If you are still unable to decode the VIN, tap
Select Vehicle
(see steps below)
.


