IN1116, IN1118HD
User Guides
500203W00-GRA-NDISPERINDAG No. 0287/1.824.51/09.03Regulatory models: P103
Page 1: ...IN1116 IN1118HD User Guides 500203W00 GRA N DISPERINDAG No 0287 1 824 51 09 03 Regulatory models P103...
Page 2: ...Rules Operation is subject to the following two conditions 1 This device may not cause harmful interference and 2 this device must accept any interference received including interference that may caus...
Page 3: ...ection 10 Composite video connection 10 VGA connection 10 Component video connection 10 Audio 10 Shutting down the projector 11 Troubleshooting your setup 11 Using the remote control 19 Using the audi...
Page 4: ...ot cover any damage caused by using a second source mounting kit or by installing in an improper location When the projector is ceiling mounted wear protective eyewear to prevent eye injury before ope...
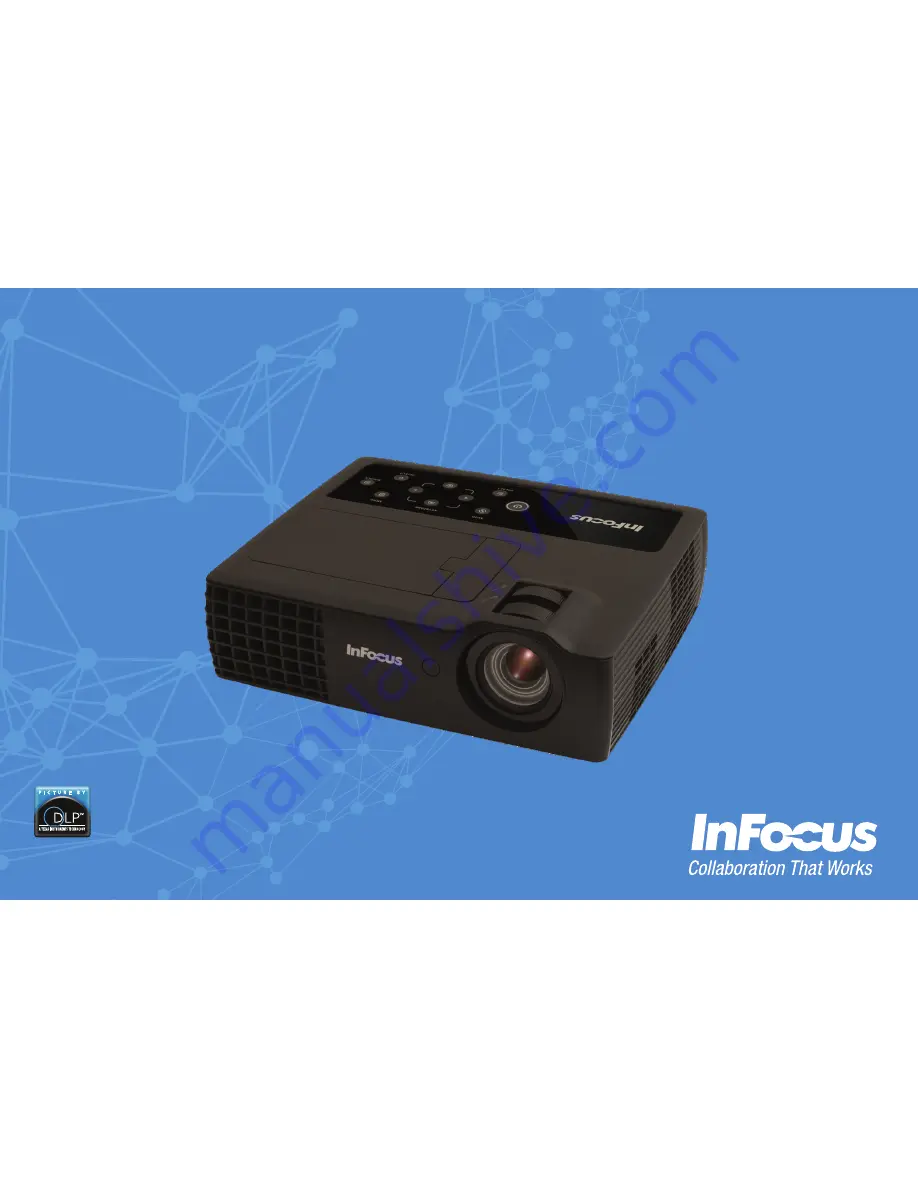
Page 5: ...ations on your multimedia projector be sure to visit our website at www infocus com as specifications are subject to change Accessories The standard accessories that came with your projector are liste...
Page 6: ...ss mouse keyboard USB storage devices to be accessed by LightCast M USB type B for firmware upgrades slide advance and Screen Saver prevention Audio output for external speakers Audio input for video...
Page 7: ...or the desired distance from the screen The distance from the lens of the projector to the screen and the video format determine the size of the projected image Minimum Distance to Screen Offset Offse...
Page 8: ...ector Plug an HDMI cable into the video out connector on the video device and into the HDMI connector on the projector Connecting power Connect the black power cord to the Power connector on the rear...
Page 9: ...button on the projector s keypad or remote If you are using a VGA cable to connect your computer to the projector If using a laptop make sure its external video port is active Many laptops do not auto...
Page 10: ...re that the projector is perpendicular to the screen If the image is larger or smaller on the top or bottom edge of the screen press the top Keystone button to reduce the upper part of the image and p...
Page 11: ...into one of the USB A connectors See LightCast Reader on page 28 HDMI connection HDMI is a standard uncompressed all digital audio video interface HDMI provides an interface between sources such as se...
Page 12: ...y on the screen skip to the next section If it does not troubleshoot the setup The Status Indicator LEDs on top of the projector indicate the operational state of the projector and can help you with t...
Page 13: ...screen Plug power cord into the projector press the Power button Correct image Only start up screen appears Press the SOURCE button activate laptop s external port Computer image projected Startup Scr...
Page 14: ...tem You may also need to set a different resolution on your computer as shown in the following problem image fuzzy or cropped Computer image projected Only my laptop s background appears not the Deskt...
Page 15: ...g to match the projector s resolution Varies per operating system Image clear and not cropped Image not centered on screen Move projector adjust height Correct image Problem Solution Result A A A Adju...
Page 16: ...ne on keypad Square image Image not sharp Adjust Sharpness in the Basic Menu Correct image Image does not fit 4 3 or 16 9 screen Change aspect ratio to 4 3 or 16 9 in Basic Menu Aspect Ratio menu Corr...
Page 17: ...rect image Image reversed left to right Turn off Rear Project in Advanced Menu Setup Image Setup menu Correct image Projected colors don t match source Adjust the items in the Advanced Menu Image Colo...
Page 18: ...internal LCD display on your laptop Embedded video plays correctly Lamp won t turn on the projector is overheating Make sure vents aren t blocked turn off the projector and allow it to cool for one m...
Page 19: ...nty plan may be purchased from your dealer When sending the projector in for repair we recommend shipping the unit in its original packing material or having a professional packaging company pack the...
Page 20: ...s The remote also has Volume buttons adjust the sound Custom button that can be assigned to a special function like Blank Screen or Freeze see page 26 Source button brings up a menu of all possible so...
Page 21: ...shooting Audio If you aren t hearing the audio check the following Make sure the audio cable is connected to the Audio In connector on the projector and that the other end of the cable is connected to...
Page 22: ...ting When the menu is not displayed this button adjusts the squareness of the image page 9 Down arrow Keystone When the menu or LightCast is displayed the down arrow button is used for navigating When...
Page 23: ...he projector is connected to the computer via M USB the up and down arrows an be used as page up and page down controls When the projector is connected to the computer via M USB the projector will pre...
Page 24: ...enter a submenu highlight the desired submenu and press Select on the keypad or remote 3 To adjust a menu setting highlight the desired menu option and press or to scroll through the available adjust...
Page 25: ...between the lightest and darkest parts of the picture and changes the amount of black and white in the image Auto Keystone automatically corrects distorted images resulting from an angled projection...
Page 26: ...d for the input signal When Auto is selected the projector automatically determines the standard To choose a different setting turn off Auto then choose RGB for computer sources or choose either REC70...
Page 27: ...lank Screen displays a solid color or factory logo screen Mute turns off all sound Source brings up a menu of available sources Auto Image resets the projector to the source Freeze Screen pauses the p...
Page 28: ...image is shown When the video source is again applied the image is shown immediately Source Auto Source When this feature is On the projector automatically finds the active source checking the select...
Page 29: ...ote or keypad 3 To display a file located in the projector s internal memory navigate to the Local directory tab using the arrow buttons on the remote or keypad and press the Select button 4 To displa...
Page 30: ...eturn to return to the file directory To copy and paste a file or folder to another location 1 Press the Source button on either the remote or keypad 2 Navigate to LightCast and press the Select butto...
Page 31: ...to copy and press Select A green checkmark appears next to the selected item 7 Navigate to the Local or USB directory tab 8 Navigate to the location you wish to paste the item into and press Select 9...
Page 32: ...before cleaning any part of the projector Do not touch or block the projector lens with any objects as this can damage the projector lens Scratches gouges and other lens damage are not covered by the...
Page 33: ...s allow the projector to cool for at least 60 minutes before you replace the lamp Do not touch or block the projector lens with any objects as this can damage the projector lens Scratches gouges and o...
Page 34: ...ight up off of the alignment pins being careful not to pinch the lamp connector Dispose of the lamp in an environmentally proper manner 7 Install the new lamp module aligning the pins properly Be care...
Page 35: ...stomer service contact information 18 D Digital Zoom 26 E Eco Blanking 27 F Factory Reset 27 Focus 9 Freeze Screen 26 G Gamma 25 H HDMI 26 HDTV 24 High Altitude Setting 27 Horizontal Position 25 Horz...
Page 36: ...ed Green Blue Gain 25 Red Green Blue Offset 25 Remote control 19 Resetting the projector 27 S Screen Aspect 10 Search Screen 27 Service 27 Sharpness 24 Show Messages 26 Source 26 Source Info 26 27 Syn...