ImpulseRadar PinPointR User Manual V1.5
Page 19 (36)
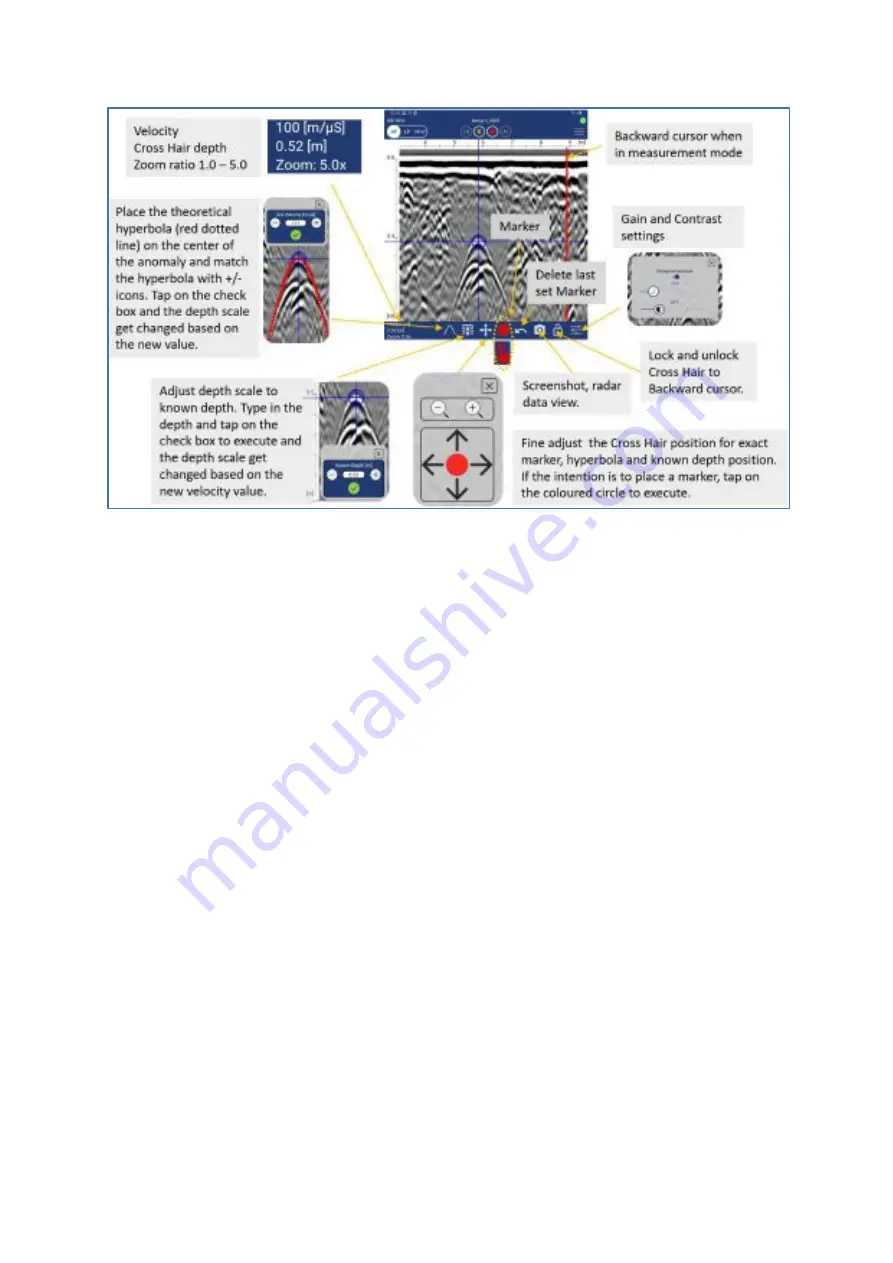
Figure 19
Footer toolbar functions
When using the internal GPS or an external GPS receiver, a background map can be activated and
viewed alongside the radargram to show the georeferenced position of profile tracks and assigned
markers. The map view is enabled via a checkbox under the user preferences menu. In order for
ViewPoint to display a background map in the map view, the Device must first be connected to the
internet to load and cache a Google Map of the survey area. From the ViewPoint start screen, press
the Google Map icon to enter the Project Overview mode. Here you will see a map of your current
location. Pan, scroll and zoom the map until it covers the target survey area. Exit back to the start
screen and that map view is now cached; this view will be displayed together with the radargram for
the next survey. Repeat this process for each new area to be surveyed. If you forget, or you exceed the
boundaries of the cached map, no background map will be displayed in map view, although you will
still be able to see profile tracks and marker placements.
GPS-symbols and function
Regardless of project type, a *.cor file (GPS coordinates) will be saved alongside the GPR data if the
internal GPS or an external GPS receiver can lock onto a suitable number of satellites. The GPS symbol
will change colour and style according to GPS status, as defined below in
. By pressing the
GPS-symbol you can see a static view of the current satellites and coordinates.


