Portable Air Conditioner—User Manual
Aire acondicionado—Manual de usuario
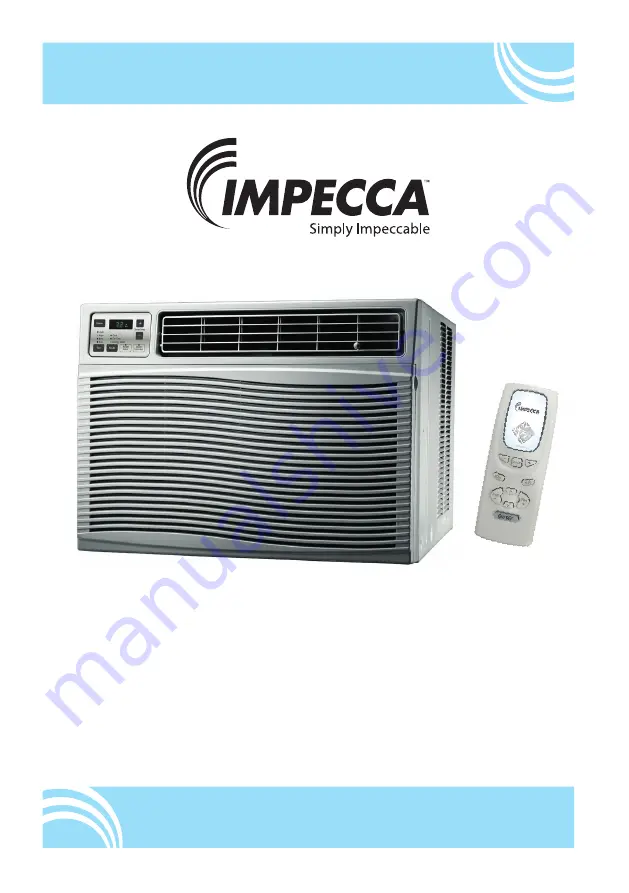
Models: IWA06-QS20/ IWA08-QS20
www.impecca.com
Page 1: ...Portable Air Conditioner User Manual Aire acondicionado Manual de usuario Models IWA06 QS20 IWA08 QS20 www impecca com...
Page 2: ...ual se proporciona nicamente con fines informativos y de ninguna manera constituye un documento jur dicamente vinculante entre el fabricante distribuidor y consumidor final Warning To avoid permanent...
Page 3: ...avy objects Do not pull or yank the power cord to unplug the unit or move the air conditioner Do not insert or unplug the power plug with wet hands Only use a grounded power outlet Make sure the groun...
Page 4: ...lean and free of obstructing objects During operation close doors and windows to improve cooling effect Please put the air conditioner at smooth and flat ground for operation to avoid noise and vibrat...
Page 5: ...esired room temperature by pressing the ap propriate button Temperature changes are displayed in 1 increments in the range of 61 F 16 C and 86 F 30 C Note Temperature can not be set when using the fan...
Page 6: ...d based on ambient temperature and most efficient unit operation press the AUTO button TEMPERATURE BUTTONS Set the desired room temperature by pressing the appropriate button Temperature changes are d...
Page 7: ...eously to deactivate the remote control lock CHANGE TEMPERATURE UNITS C OR F 1 While the unit is off press the and MODE button simultaneously to change the unit readout temperature between Celsius C a...
Page 8: ...3 Sealing strip no adhesive 4 Upper guide rail 5 Sealing strip with adhesive 6 Foam insert 7 Screws Type A x4 8 Screws Type B x6 9 Window security bracket 10 Remote control 11 Remote control batterie...
Page 9: ...hat the wood is level with or up to 0 5 1cm higher than the exterior weath erproof frame 3 Fasten the wood with screws to the windows sill and proceed with mounting INSTALLING YOUR UNIT STEP 1 MOUNTIN...
Page 10: ...should be completely flush with the windowsill Gently lower the window until it holds the upper guide in place Allow a slight downward angle about 3 5 for draining condensation that forms during air c...
Page 11: ...rity bracket to the window If your window frame is made of wood fasten the bracket into the window Detail 1 If your window frame is plastic PVC fasten the bracket to the side of the window frame Detai...
Page 12: ...kets are firmly in place Check the heat exhaust duct for any cracks damage or other signs of weakness POST COOLING SEASON UNIT CHECK After using your air conditioner in the warm summer months always p...
Page 13: ...filter to direct sunlight can cause deformation After the filter is clean and completely dry re insert the filter by pressing firmly without forcing Note To avoid deformation and fire risk never dry t...
Page 14: ...l ing will remove excess humidity from the room and the fog will disappear The unit emits a strange smell This may be caused by cigarette smoke or other residues from cooking and other living activiti...
Page 15: ...OVER CURRENT PROTECTION Unplug and restart your unit to clear the error If the error persists contact a qualified service technician E6 Unplug and restart your unit to clear the error If the error per...
Page 16: ...ento a la unidad de aire acondicionado ap guelo y descon ctelo Aseg rese que el cable de suministro de energ a no est torcido doblado u opri mido bajo objetos pesados o filosos Para desconectar la uni...
Page 17: ...acondicionado debe ser operada dentro de un rango de tempe ratura de 62 F a 95 F 16 C a 35 C Se debe dejar un per metro de 12 30 cm libre de objetos alrededor del aire acondicionado No opere el aire...
Page 18: ...A OL 16 FAMILIARIZ NDOSE CON SU UNIDAD DE AIRE ACONDICIONADO 1 2 3 4 5 1 Salida de aire fr o 2 Cuchillas direccionales de aire fr o 3 Entrada de aire caliente 4 Cable de suministro de energ a 5 Panel...
Page 19: ...deseada en la habita ci n al presionar el bot n adecuado Los cambios de temperatura se reali zan en pasos de 1 en el rango de 61 F 16 C a 86 F 30 C NOTA no es posible fijar la temperatura en los modos...
Page 20: ...habitaci n y una operaci n m s eficiente de la unidad BOTONES DE TEMPERATURA Ajuste la temperatura deseada en la habitaci n al presionar el bot n adecuado Los cam bios de temperatura se realizan en pa...
Page 21: ...eamente para desactivar el bloqueo del con trol remoto CAMBIO EN LA UNIDAD DE LA TEMPERATURA C O F 1 Cuando la unidad est apagada presione simult neamente el bot n y el bot n MODE para cambiar la unid...
Page 22: ...a superior 5 Tira selladora adhesiva 6 Inserto de esponja 7 Tornillos Tipo A x4 8 Tornillos Tipo B x6 9 Soporte de ventana de seguridad 10 Control remoto 11 Bater as del control remoto 2xAAA 12 Manual...
Page 23: ...delaventana 2 Verifique que la madera est nivelada con o hasta 0 5 1 cm m s alta que el mar co exterior resistente a la intemperie 3 Asegureeltramodemaderaalalfeizardelaventanacontornillosycontin econ...
Page 24: ...de la ventana Baje sua vemente la ventana hasta que se acople perfectamente con el riel gu a superior Permita un ngulo de inclinaci n ligeramente hacia abajo y atr s de aproximada mente 5 3 para drena...
Page 25: ...colocar el seguro a la ventana Si su marco de la ventana est echo de madera coloque el seguro a la ventana Detalle 1 Si el marco de la ventana es de pl stico PVC coloque el seguro a un lado del marco...
Page 26: ...u unidad de aire acondicionado en los c lidos meses del verano siem pre realice las siguientes verificaciones para asegurar una operaci n confiable y eficiente Revise que en las entradas y salidas de...
Page 27: ...las instrucciones espec ficas de desecho de aparatos electrodom sticos Si su unidad a n funciona y est en buen estado en lugar de deshacerse de ella d nela a alguna instituci n de caridad LIMPIANDO E...
Page 28: ...inmediato despu s de apagarlo La unidad no puede reiniciar sino hasta despu s de 3 minutos de que ha sido apagada para permitir que el condensador se enfr e y evitar el riesgo de incendio Espere unos...
Page 29: ...nsaci n en la salida del flujo de aire Con una esponja limpie la condensaci n Se derrama agua al mover la unidad El tanque interno de recolecci n de agua est casi lleno Vac e este tanque al colocar la...
Page 30: ...persiste contacte a un t cnico de servicio calificado F1 Falla de la unidad Contacte a un t cnico de servicio calificado F2 Falla de la unidad Contacte a un t cnico de servicio calificado H1 Estado de...