background image

INSTRUCTION MANUAL

IS208B

Contents

Warnings & Precautions ................................................................................... 3

Important Safety Instructions ............................................................................ 4

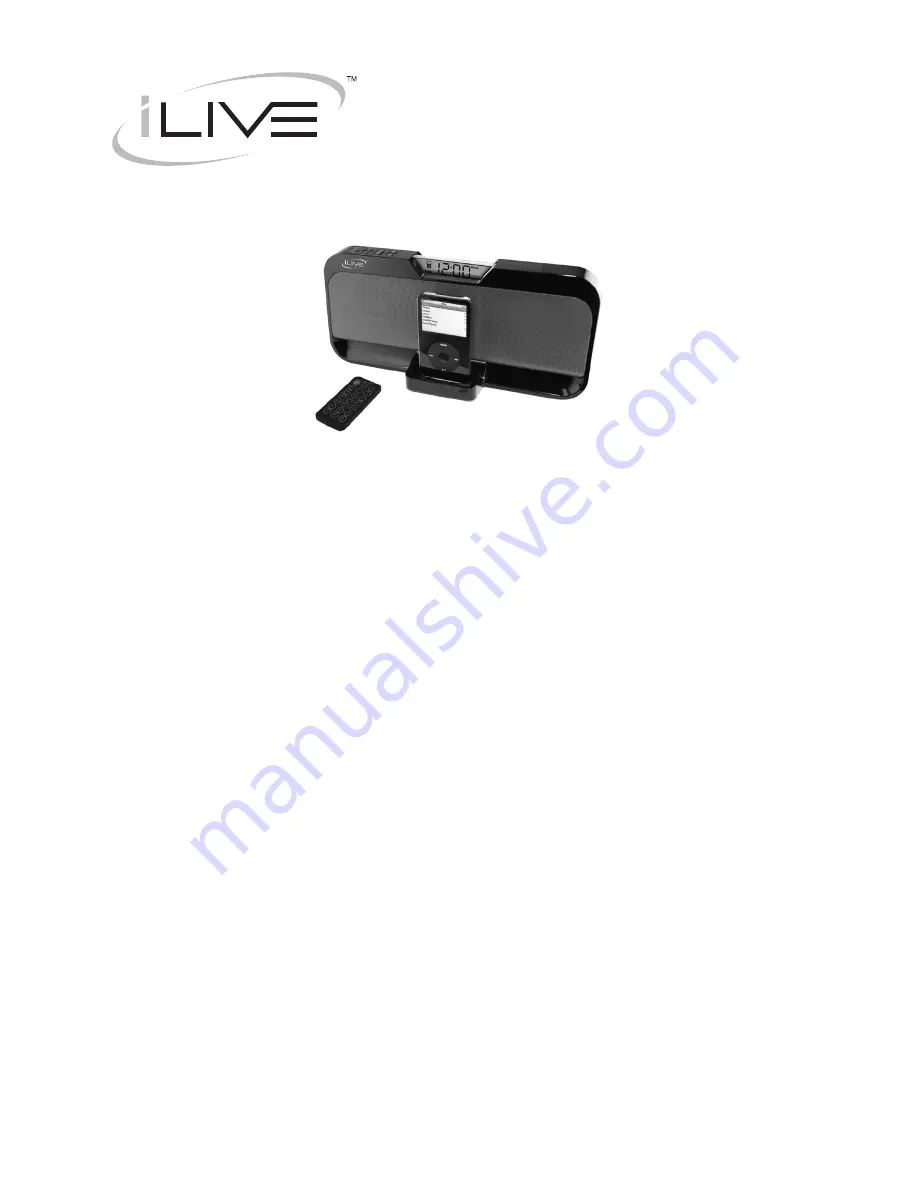
In the Box & Features ....................................................................................... 5

Powering the Unit .............................................................................................6

Docking an iPod ...............................................................................................7

Playing an iPod.................................................................................................8

Setting the Clock ..............................................................................................9

Connecting to a Stereo System using the Aux Output ................................... 10

Connecting to an Audio Player using the Aux Input ....................................... 11

Location of Controls and Control Definitions

 .............................................12-15

Service information .........................................................................................16

Summary of Contents for IS208B

Page 1: ...ions 4 In the Box Features 5 Powering the Unit 6 Docking an iPod 7 Playing an iPod 8 Setting the Clock 9 Connecting to a Stereo System using the Aux Output 10 Connecting to an Audio Player using the Aux Input 11 Location of Controls and Control Definitions 12 15 Service information 16 ...

Page 2: ......

Page 3: ...se of this unit near fluorescent lighting may cause interference regarding use of the remote If the unit is displaying erratic behavior move away from any fluorescent lighting as it may be the cause NOTE This equipment has been tested and found to comply with the limits for a Class B digital device pursuant to Part 15 of the FCC Rules These limits are designed to provide reasonable protection agai...

Page 4: ... safety feature See Instruction Manual for replacement or resetting of protective device If replacement of the plug is required be sure the service technician has used a replacement plug specified by the manufacturer that has the same overload protection as the original plug 15 Outdoor Antenna Grounding If an outside antenna is connected to the receiver be sure the antenna system is grounded so as...

Page 5: ...ircuit for iPod mini nano photo video Includes docking brackets to fit iPod players Controls Connected iPod Digital Volume Control Aux In Jack for Shuffle and other Audio Players 3 5mm type Aux Out Jack 3 5mm type See Through LCD Display AC Built in AC Line Cord Uses 2 x AAA Batteries for Clock Time Back Up Batteries not included Full Feature Remote Control IS208B iPod Docking Brackets Remote Cont...

Page 6: ... times in case of a power outage L I T H I U M B A T T E R Y C R 2 0 2 5 3 V CR2025 PUSH OPEN L IT H IU M B A T T E R Y C R 2 0 2 5 3 V CR2025 PUSH OPEN Removing the Remote Control s Battery There is a danger of explosion if the remote control s batteries are incorrectly installed Replace only with the same or equivalent battery ...

Page 7: ...acket into place over the iPod connector in the Docking Station All Brackets will only fit one way onto the Dock When inserting an iPod nano first or second generation slide the Dock connection on the unit so that it matches the opening on the iPod nano first or second generation 3 Connect the iPod to the iPod connector inside the Docking Station Once an iPod is connected to the Docking Station th...

Page 8: ... Button to cycle through the preset equalizer settings on the unit Rock Classic Jazz or Pop 7 Press the Chapter Album or Playlists Buttons on the remote to navigate through the chapters albums or playlists on a docked iPod 8 Press the Menu Button Menu Button and Select Button on the remote to navigate the iPod s menu and make selections 9 Press the Shuffle Button on the remote to turn the shuffle ...

Page 9: ...y flashes 3 Press the Next Up and Prev Dn Buttons to select 12 or 24 Hour clock Press the Clk Set Button 4 Press the Next Up and Prev Dn Buttons to adjust the hour Press the Clk Set Button to set the hour 5 Press the Next Up and Prev Dn Buttons to adjust the minute Press the Clk Set Button to set the adjusted time STANDBY STANDBY ...

Page 10: ...CA Cable not included into the AUX Auxiliary Output on the unit 2 Plug the other end of the 3 5 mm Cable into the audio input line input on a televi sion or stereo system 3 Set the television or stereo system to the appropriate audio input channel 4 Press the Standby Play Pause Button to turn the unit on 5 Audio played from the unit will now be heard on the connected television or stereo system St...

Page 11: ...nit 2 Plug the other end of the 3 5 mm Cable into the audio output headphone output on an Mp3 Player or Other Audio Source 3 Press the Standby Play Pause Button to turn the unit on 4 Remove any docked iPod s from the Docking Station 5 Audio played from the Mp3 Player or Other Audio Source will now be heard on the unit If connecting to the headphone output of an audio source the source s volume con...

Page 12: ...Location of Controls STANDBY 4 3 2 1 5 6 8 7 10 9 ...

Page 13: ...tton Press the Standby Play Pause Button to turn the unit off and on Press the Standby Play Pause Button to play or pause a docked iPod 5 EQ Equalizer Button Press the EQ Button to choose between Rock Classic Jazz and Pop equalizer settings 6 Docking Station Use the Dock as a connection for an iPod 7 Battery Compartment The Battery Compartment serves only as a power back up for the clock It takes ...

Page 14: ...Location of Controls HR MIN DN HR MIN UP SELECT MENU REPEAT SLEEP SHUFFLE MUTE VOLUME EQ CLK SET PLAYLIST CHAPTER ALBUM 11 13 14 15 16 17 18 19 20 22 25 27 23 26 21 12 24 ...

Page 15: ...e to repeat an entire album or playlist 17 Chapter Button Press the Chapter Buttons to cycle through movie chapters on a docked iPod 18 Playlist Button Press the Playlist Buttons to cycle through playlists on a docked iPod 19 Mute Button Press the Mute Button to mute the unit s volume 20 Volume Button Press the Volume Buttons to turn the units volume up or down 21 Menu Button Press the Menu Button...

Page 16: ... 2116 Carr Street St Louis MO 63106 Phone 1 314 621 2881 Fax 1 314 588 1805 Email customerservice ilive net Website www ilive net To download this Instruction Man ual in English Spanish or French visit the Support section at www ilive net Para descargar este manual de instrucción en inglés español o francés visite la sección de la ayu da en www ilive net Pour télécharger ce manuel d instruction en...

Reviews: