background image

IJ328-IB
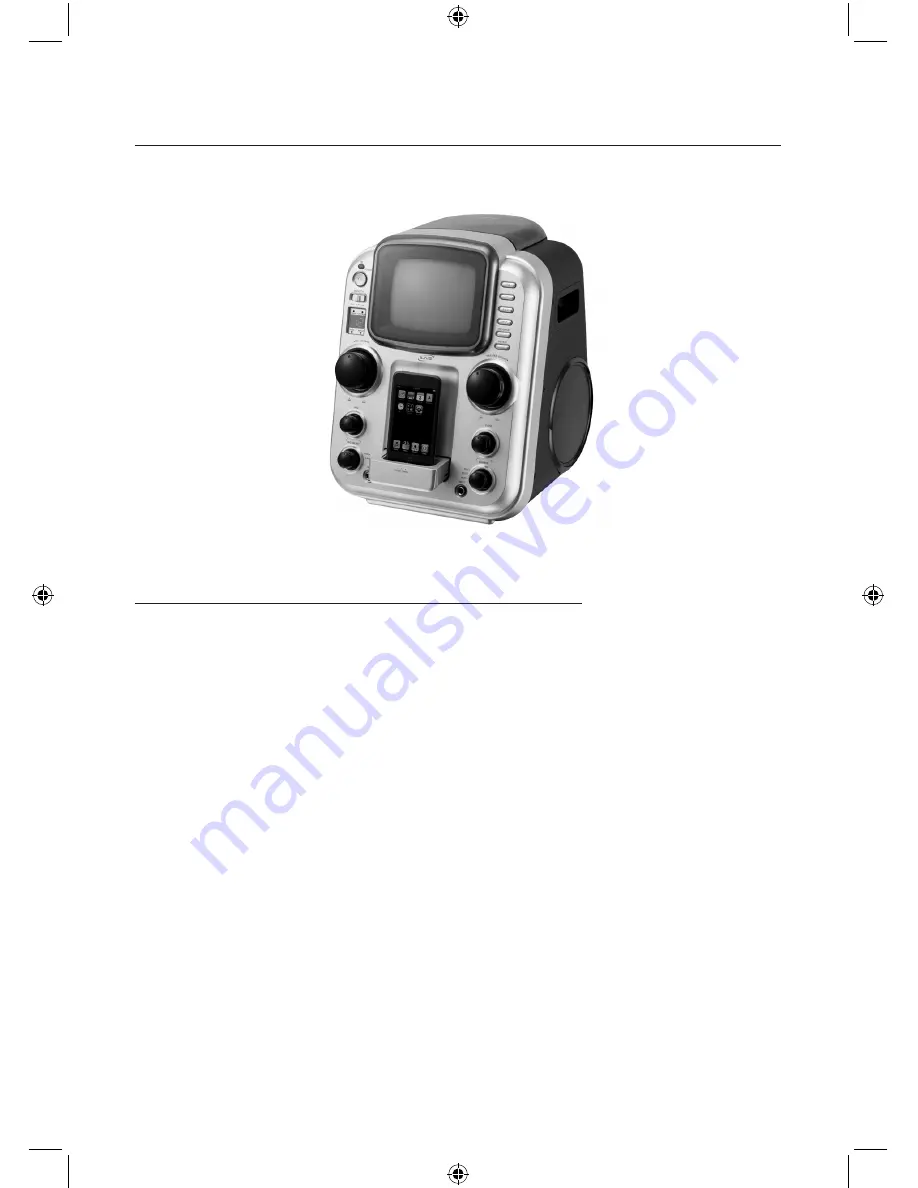
Karaoke Stereo with Dock for iPod

Ta B l e   o f   C o n T e n T S

Warnings and Precautions .......................................................2

Important Safety Instructions ..................................................3

In the Box & features .............................................................4

Powering the Unit & Changing the Remote Battery ..............5

Docking an iPod ......................................................................6

Playing an iPod & Playing an iPod Karaoke Song .................7

Playing a CD & Playing a Standard CD for Karaoke .............8

Playing a CD+G Disc .............................................................9

Programming a CD or CD+G Disc .........................................9

Video output: Connecting a Television ................................10

audio output: Connecting a Stereo System .........................11

audio Input: Connecting an MP3 Player ..............................11

locations of Controls & Definitions ............................... 12-19

Service & Parts Information .................................................20

IJ328-IB.indd   1

7/10/2008   2:21:40 PM

Summary of Contents for IJ328-IB

Page 1: ... 5 Docking an iPod 6 Playing an iPod Playing an iPod Karaoke Song 7 Playing a CD Playing a Standard CD for Karaoke 8 Playing a CD G Disc 9 Programming a CD or CD G Disc 9 Video Output Connecting a Television 10 Audio Output Connecting a Stereo System 11 Audio Input Connecting an MP3 Player 11 Locations of Controls Definitions 12 19 Service Parts Information 20 IJ328 IB indd 1 7 10 2008 2 21 40 PM ...

Page 2: ...or television reception which can be determined by turning the equipment off and on the user is encouraged to try to correct the interference by one or more of the following measures Reorient or relocate the receiving antenna Increase the separation between the equipment and receiver Connect the equipment into an outlet on a circuit different from that to which the receiver is connected Consult th...

Page 3: ...ce technician has used a replacement plug specified by the manufacturer that has the same overload protection as the original plug 15 Outdoor Antenna Grounding If an outside antenna is connected to the receiver be sure the antenna system is grounded so as to provide some protection against voltage surges and built up static charges Article 810 of the National Electrical Code ANSI NFPA 70 provides ...

Page 4: ...nstalled Play Features Programmable Tracks Repeat 1 or ALL Play Song Skip Search on CD Discs Master Volume Control Mic Volume Control Echo Controls AVC Control 2 Digit Red LED Display Jacks 2 Microphone Jacks 6 3mm Aux In Jack RCA type Video Out Jack RCA type works with iPod Nano also Audio Output Jacks L R RCA type Speakers built in Remote Control Controls docked iPod Player Controls Disc Player ...

Page 5: ...Step 3 The positive side of the battery as indicated by a plus symbol must be facing up with inserted into the remote Powering the Unit The unit is powered by plugging the AC adaptor into a standard 120V 60Hz outlet Video Out R Out L Out R In L In V Hold Brightness Contrast Video In L I T H I U M B A T T E R Y C R 2 0 2 5 3 V CR2025 PUSH OPEN L IT H IU M B A T T E R Y C R 2 0 2 5 3 V CR2025 PUSH O...

Page 6: ...et into place over the iPod connector in the docking station All brackets will only fit one way onto the dock When inserting an iPod nano first or second generation slide the dock connection on the unit so that it matches the opening on the iPod nano first or second generation Step 3 Connect the iPod to the iPod connector inside the docking station Once an iPod is connected to the docking station ...

Page 7: ...feedback noise is present move the microphone away from the unit and or reduce the microphone s volume Step 5 Adjust the Volume Dial to adjust the volume of audio output from the speakers Adjust the Microphone Volume Dial to set the volume of a connected microphone Step 6 Turn the AVC Select Dial to Music or Vocal In Music Mode the iPod s track vocals can not be cut out completely even if the AVC ...

Page 8: ...icrophone to the On position If feedback noise is present move the microphone away from the unit and or reduce the microphone s volume Step 6 Adjust the Volume Dial to adjust the volume of audio output from the speakers Adjust the Microphone Volume Dial to set the volume of a connected microphone Step 7 Turn the AVC Select Dial to Music or Vocal In Music Mode the CD s track vocals can not be cut o...

Page 9: ...l to set the volume of a connected microphone Step 7 Turn the AVC Select Dial to Vocal Step 8 Use the AVC Dial to adjust the balance between the music and vocals Step 9 Press the Play Pause Button to play or pause the loaded CD G Step 1 Press the Power Button to turn the unit on Step 2 Load the CD or CD G into the unit s CD drive Step 3 Adjust the Source Dial to CDG Step 4 Press the Program Button...

Page 10: ...Step 5 Insert a CD G disc or iPod with video into the unit Step 6 Adjust the Source Dial to CDG or iPod Step 7 If an iPod with video was connected on the iPod navigate to either the Photos or Videos Select either Slideshow Settings in Photos or Video Settings in Videos Set the TV Out setting to On Step 8 Press the Play Pause Button The connected television will now display lyrics from the loaded C...

Page 11: ...ep 5 Audio played from the unit will now be heard on the connected stereo system Step 1 Plug one end of an RCA 3 5mm Mini Phono Audio Cable into the Audio Input on the unit Step 2 Plug the other end of the RCA 3 5mm Mini Phono Audio Cable into the audio input on an MP3 player Step 3 Set the stereo system to the appropriate audio input channel Step 4 Press the Power Button to turn the unit on Step ...

Page 12: ...ER MONITOR AVC AVC SELECT ECHO SOURCE MIC 1 PUSH OPEN MIC 2 REPEAT PROGRAM OFF MUSIC ON VOCAL iPod CDG AUX MAX MAX MIN MIN L O U V M C I E M O R V E L T U S M A E M L L H H 2 1 3 4 5 6 7 8 9 IJ328 IB indd 12 7 10 2008 2 21 43 PM ...

Page 13: ...l to adjust the volume of audio input from a connected microphone 6 AVC Dial Turn the AVC Dial to adjust the balance between the music and the recorded vocal colume when singing into the microphone 7 AVC Select Dial In Music Mode the iPod s track vocals can not be cut out completely even if the AVC Dial is set to the maximum In Vocal Mode the iPod s karaoke track vocals can be cut out completely t...

Page 14: ...ITOR AVC AVC SELECT ECHO SOURCE MIC 1 PUSH OPEN MIC 2 REPEAT PROGRAM OFF MUSIC ON VOCAL iPod CDG AUX MAX MAX MIN MIN L O U V M C I E M O R V E L T U S M A E M L L H H 10 11 12 13 14 15 16 17 18 19 IJ328 IB indd 14 7 10 2008 2 21 43 PM ...

Page 15: ...er Up to 19 tracks can be programmed at one time When in Program Mode the program indicator light will flash 14 Repeat Button Press the Repeat Button to repeat a single audio track or an entire album 15 Master Volume Dial Turn the Master Volume Dial to adjust the volume of audio output from the unit 16 Echo Dial Turn the Echo Dial to adjust the echo effect on audio input from a connected microphon...

Page 16: ... Locations of Controls MONITOR ADJ V HOLD AUDIO VIDEO OUT IN R R L L BRIGHT CONTRAST 20 23 21 22 24 26 25 IJ328 IB indd 16 7 10 2008 2 21 44 PM ...

Page 17: ... Video Input to connect a video source to the unit 23 Audio Inputs Use the Audio Inputs to connect an audio source to the unit 24 V Hold Dial Turn the V Hold Dial to adjust the vertical hold of the monitor 25 Contrast Dial Turn the Contrast Dial to adjust the contrast of the monitor 26 Brightness Dial Turn the Brightness Dial to adjust the brightness of the monitor IJ328 IB indd 17 7 10 2008 2 21 ...

Page 18: ...ks exactly like the menu button on the iPod In CDG Mode press the Menu Program Button to begin programming a CD or CD G disc Up to 19 tracks can be programmed at one time When in Program Mode the program indicator light will flash 28 Power Button Press the Power Button to turn the unit off and on IJ328 IB indd 18 7 10 2008 2 21 44 PM ...

Page 19: ...lay Pause Button to play or pause a docked iPod or loaded disc 34 Stop Button Press the Stop Button to stop audio from a docked iPod or a loaded disc 35 Up Down Buttons Press the Up Down Buttons to navigate through a docked iPod s menus 36 Shuffle Button Press the Shuffle Button to shuffle songs played from an iPod 37 Repeat Button Press the Repeat Button once to repeat an individual song when act...

Page 20: ...r Street St Louis MO 63106 Phone 1 314 621 2881 Fax 1 314 588 1805 Email partsinfo dpi global com To download this Instruction Manual in English Spanish or French visit the Support section at www ilive net Para descargar este manual de instrucción en inglés español o francés visite la sección de la ayuda en www ilive net Pour télécharger ce manuel d instruction en anglais espagnol ou le Français v...

Reviews: