A U T O
V A C
O R B I T A P R O
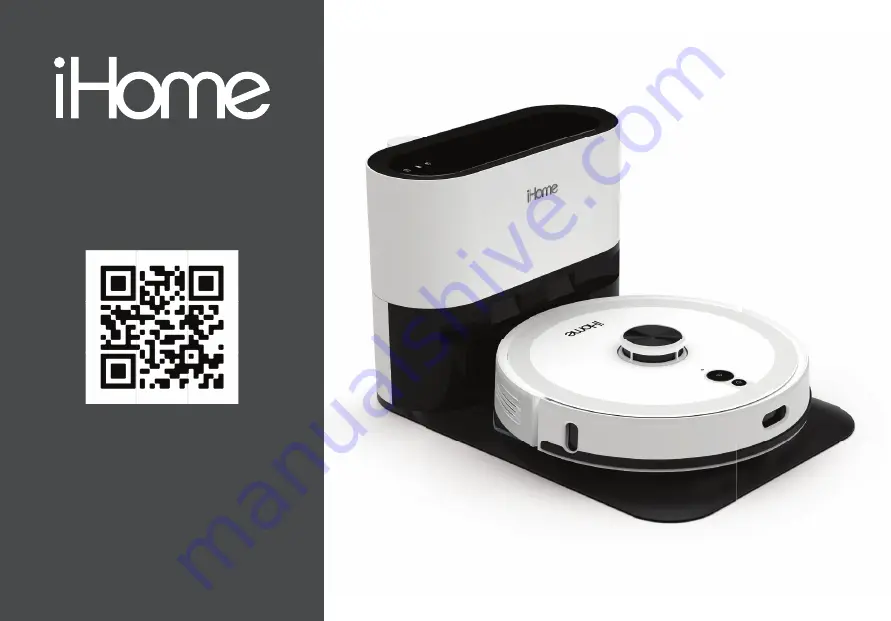
Owner’s Guide
Model iHRV16
For support content and the latest digital
copy of this manual, scan the QR code
above or visit iHomeclean.com
Page 1: ...A U T O VA C O R B I TA P R O Owner s Guide Model iHRV16 For support content and the latest digital copy of this manual scan the QR code above or visit iHomeclean com ...
Page 2: ...sing Powermop Scrub Side Brush and Sensor Maintenance 15 17 20 Product Overview 3 AUTOVAC Indicators 6 Setting Up The AUTOVAC 11 Using Your AUTOVAC 13 Main Brush Maintenance Auto Empty Base Maintenance 18 21 Maintaining the Dustbin Filters and Mop AUTOVAC Orbita Pro Troubleshoot Auto Empty Base Troubleshoot 19 22 23 Questions Contact Customer Service Web Email iHomeclean com Phone 877 370 4580 ...
Page 3: ...This product is an indoor household product Do not use outdoors Do not use this product in wet environment i e bathroom Before using this product please clear the floor of all objects other than furniture as some small objects may obstruct get caught in or damage the Orbita Pro Please use and store Orbita Pro in room temperature environments only FCC Information 1 This device complies with Part 15...
Page 4: ...Powermop Scrub Attachment 3 Autovac Orbita Pro 4 Extra Dust Bag 5 Power Cable 6 Remote 7 Extra HEPA Filter 8 Extra Mop Pad 9 Cleaning Tool 1 0 Extra Side Brush 11 Parking Plate Questions Contact Customer Service Web Email iHomeclean com Phone 877 370 4580 2 ...
Page 5: ...tton 4 Infrared Sensors 5 Omnidirectional Wheel 6 Side Brush 7 Detection Sensors 8 Right Wheel 9 Left Wheel 13 Bin Release Button 14 Dust Collection Port 15 Powermop Scrub Attachment 1 2 3 4 12 13 14 15 6 9 10 5 7 8 11 10 Main Brush 1 1 2 IN 1 Dustbin Mop Tank 12 Charging Contacts ...
Page 6: ... 2 Filter Door Latch 3 Bin Release Button 4 Dust Collection Port 5 Screen Filter 6 Sponge Filter 7 HEPA Filter 8 Charging Contacts 9 Washable Mop Pad 10 Powermop Scrub Attachment 8 5 6 7 9 10 1 3 4 2 4 DUSTBIN OVERVIEW ...
Page 7: ...r Interface 14 Air Outlet 10 Extra Side Brush Storage 1 1 Cleaning Tool Storage 12 Power Cord Organizer NOTE One dustbag is already pre installed in the Auto Empty Base Dustbag may appear to be deflated This is normal The Dustbag handle must be fully lowered as shown in order for debris to enter properly 1 8 9 10 14 11 12 13 3 2 5 6 4 4 7 5 AUTO EMPTY BASE OVERVIEW ...
Page 8: ...ng Flashing green light Charging Solid green light Fully charged Flashing red light Error state Light off Off sleeping Press to return to Auto Empty Base for recharging POWER BUTTON POWER HOME LED STATES WIFI INDICATOR STATES HOME BUTTON WIFI INDICATOR PINHOLE RESET Flashing white light Network configuration mode Solid white light Wifi connected Light off Wifi disconnected Network configuration fa...
Page 9: ...T COLLECTION STATUS 1 Light off Functioning Normally Solid white light Dust bag is full dust duct is blocked Flashing red light Dust bag is not installed dust bag is not installed correctly DUST BAG STATUS 2 Flashing green light Charging Solid green light Fully charged standby ROBOT CHARGING STATUS 1 3 2 7 AUTO BASE INDICATORS ...
Page 10: ...UTOVAC The following pages outline the complete setup process For your convenience we created a step by step video to help guide you through setup Please scan the QR code to access the video and other support content 8 ...
Page 11: ...VAC can return to Base to re charge and empty We strongly recommend placement on a hard surface to ensure smooth parking Avoid placement on edges of carpet as that may become an obstacle for parking Placement on low pile carpet can be attempted if necessary Assemble the parking plate as shown in the picture Please place the assembled parking plate on the horizontal ground 1 2 9 SETTING UP THE AUTO...
Page 12: ... Extra Side Brush 5 Cord Wrap 1 2 3 4 5 Plug the power cable into the back panel of the Auto Empty base Wind extra cable slack around the cord management system 4 Plug the power cable into a functioning wall outlet 6 Conveniently store parts and remote control as shown 3 Position the Auto Empty Base on the Parking Plate as shown The four guide tabs on the parking plate will help align placement 5 ...
Page 13: ...o Empty Base Orbita Pro will navigate and dock to the base for charging Allow Orbita Pro to fully charge up to 5 hours before first use The indicators on your robot will turn solid green when fully charged STEP 1 STEP 2 NOTE Dust collection may activate during initial docking Do not be alarmed Dust collection frequency can be adjusted later in the iHome Clean App 11 SETTING UP THE AUTOVAC ...
Page 14: ...e iHome Clean app provides an easy step by step guide to get your Orbita Pro connected to Wi Fi Here is a checklist of what you ll need before get ting started NOTE Connecting Orbita to Wi Fi is not required but highly recommended Using the iHome Clean app you can follow the steps to connect your Orbita to Wi Fi The app will let you manage Orbita from anywhere set cleaning schedules view cleaning ...
Page 15: ...aning is finished the Orbita Pro will automatically return back to the Auto Empty Base to empty the dustbin and re charge Area Clean Draw customizable areas in your floor plan within the iHome Clean App The Orbita Pro can then be sent to your desired Area Spot Clean The Orbita Pro will deep clean a specific spot First use the manual navigation control to guide your Orbita Pro to the desired locati...
Page 16: ...control range is 10 20 feet 10 20 FT Home Button return to charge Mute Robot Audio Notifications Spot Clean Powermop Scrub Suction Power Adjustment Hyperdrive Mode Manual Navigation Directional Keys Start Pause Button Starts an Auto Clean Cycle OR pause resume an existing cleaning cycle 14 USING THE REMOTE ...
Page 17: ...itiate wet mopping with your Autovac Place the mop pad onto the mop attachment and secure it to the velcro strips Slip corners of the mop pad over the plastic tabs at the rear of the mop attachment 1 Slide mop attachment onto dustbin as shown in figure below until you hear a click confirming that it is locked in place 2 15 USING POWERMOP SCRUB ...
Page 18: ... Orbita Pro with the mop attachment still installed Open the water fill cap on the dustbin and fill with water then close the cap Please ensure that the mop attachment is connected before filling water 3 4 16 USING POWERMOP SCRUB ...
Page 19: ...tivate Powermop Scrub mode in the app or using the remote control Install the dustbin with the mop attachement still installed into the Orbita Pro according to the figure below 5 6 17 USING POWERMOP SCRUB ...
Page 20: ...ush and clean with the included cleaning tool as seen in the figure below 3 Replace the main brush and snap the cover back into place NOTE It is recommended to replace the main brush every 6 12 months depending on use Main Brush Cover Main Brush MAINTENANCE SCHEDULE PART Main Brush Once a month Replace every 6 12 months Side Brushes Once a month Replace every 6 12 months HEPA Filter Every 2 Weeks ...
Page 21: ...er with water and let dry completely before using Remove the mop pad to wash machine washable Clean the inside of the dustbin thoroughly with a dry cloth 1 2 3 4 Clean the inside of the dustbin thoroughly with a dry cloth 2 Press the dustbin release button and remove the dustbin 1 Primary filter Mop Pad HEPA filter Primary filter HEPA filter 19 MAINTAINING THE DUSTBIN FILTERS AND MOP ...
Page 22: ...4580 20 SIDE BRUSH AND SENSOR MAINTENANCE 1 Use a Philips screwdriver to unscrew the side brush screw and remove the side brush 2 Remove dirt and debris and reinstall using Philips screwdriver NOTE It is recommended to replace the side brush every 6 12 months depending on use ...
Page 23: ...ING THE DUCT If the Orbita Pro dustbin is not emptying sufficiently or the is solid white it may indicate that the duct is blocked Refer to the image Unplug and turn over the Auto Empty Base Remove the duct cover with a philips screwdriver and clean out any dirt or debris REPLACING THE DUST BAG Full dust bag Open Cover Close Cover Pull up the dust bag from handle Discard the old dust bag Replace wit...
Page 24: ...d restart Main brush side brush or left right wheel may be obstructed Check underneath the Orbita Pro to make sure it is clear from any obstruction If there is an obstruction clear it and restart the Orbita Pro The dustbin is full please empty the dustbin Check and clean the HEPA filter Check that the brush is clear from obstruction Wi Fi signal is not good please check that there is a strong Wi F...
Page 25: ...t collection leads to fan overheating protection or fan malfunction It is recommended to try to collect dust after 30 minutes 2 Ensure that the cover of the Auto Empty Base is completely closed and that the AutoVac Orbita Pro is properly docked and charging 1 Ensure that the dust bag is properly installed and fully lower the cardboard handle see figure page 21 2 Check whether the dust bag is insta...