background image

Proprietary and Confidential | IGT QuickStart Guide | Page 

6

 of 

11


Tools 

Tools are not required unless you are mounting to a countertop. If mounting to a countertop, use the hardware 

recommended with the specific mounts.  

Installation 

Step 1: Attach the Payment NFC Antenna and Electronics Module 

The payment NFC antenna attaches to the merchant’s payment terminal and works with the electronics module to 

complete the payment transaction using the palm scanner. Both have 3M tape on the back for easy installation 

with the electronics module also containing a separate clip for alternatively attaching to the POS cable. 

1.


Mount payment NFC antenna. 

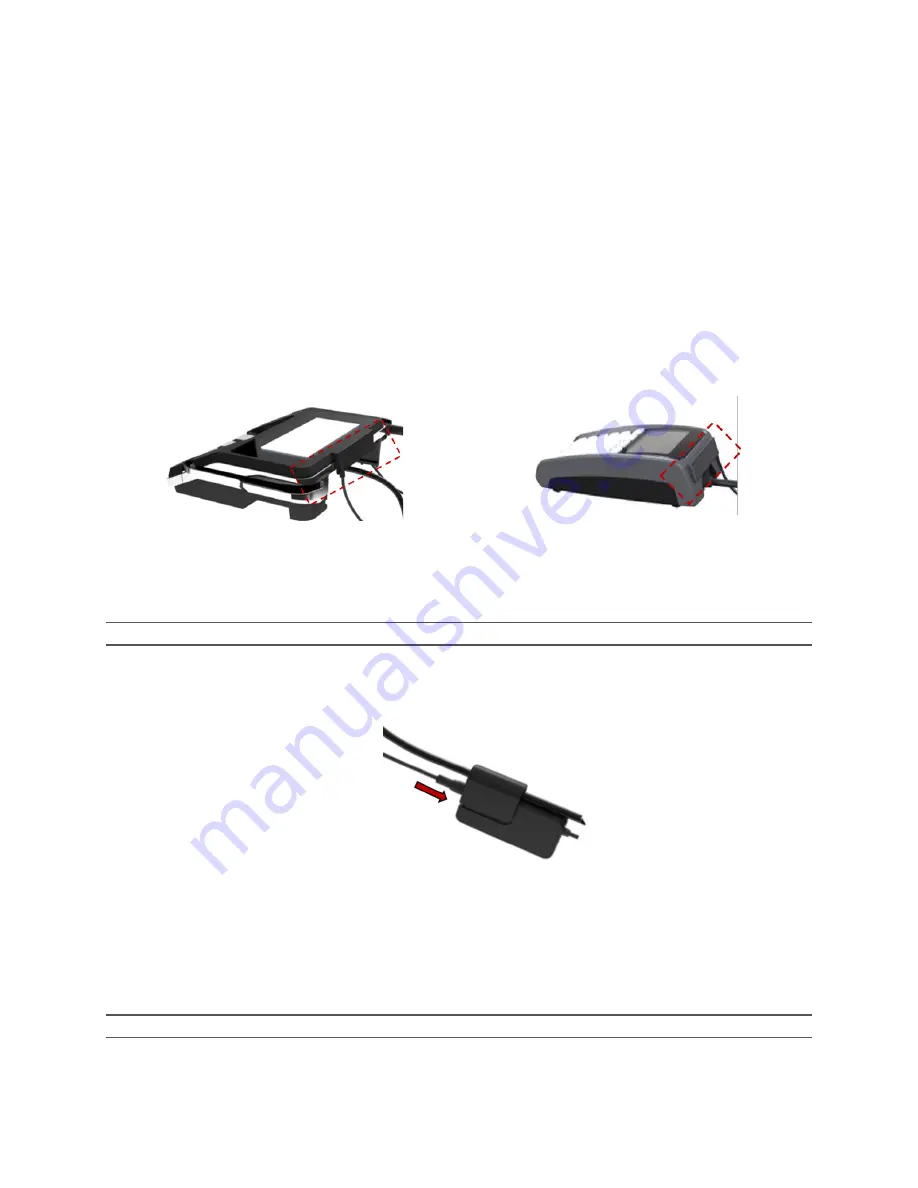
The payment NFC antenna must be attached to the back or side of the POS system. 


Example of POS with the NFC antenna attached 

a.


Determine where to adhere the payment antenna (back or side of the POS system) and make 

sure the area is free of dust and dirt.  

Note

: For best results, wipe down the area with a damp towel and let dry completely before adhering to surface. 

b.


Peel off the 3M tape from the back of the payment NFC antenna and firmly press it on to the POS 

surface. 

2.


Plug the antenna cable firmly into the electronics module. 


NFC antenna cable connected to electronics module 

3.


Mount payment electronics module. 

The electronics module can be secured to any hard surface using the included 3M adhesive tape or it can 

be attached to the POS cable using the included clip. 


Mount using adhesive tape: 

Peel off the 3M tape from the back of the module and firmly press it on to the desired surface. 

Note

: For best results, wipe down the area with a damp towel and let dry completely before adhering to surface. 

Summary of Contents for PFAY0H

Page 1: ...IGT Installation Guide For Vendors Proprietary and Confidential...

Page 2: ...ADA Audio Jack 3 Welcome to IGT 4 Supported Point of Sale POS Systems 4 How It Works 4 Parts List 5 Tools 6 Installation 6 Step 1 Attach the Payment NFC Antenna and Electronics Module 6 Step 2 Set up...

Page 3: ...e equipment FCC This equipment has been tested and found to comply with the limits for a Class B digital device pursuant to part 15 of the FCC Rules These limits are designed to provide reasonable pro...

Page 4: ...T the customer will simply hover their palm over the device to pay and a text receipt is sent to their phone IGT is a simple set up process that connects it to an existing POS system in a store Suppor...

Page 5: ...rt Guide Page 5 of 11 Parts List IGT consists of five hardware components 1 Palm Scanner 2 Palm Scanner AC DC Adapter 3 Payment NFC Antenna with Mounting Plate 4 Payment Module USB AC DC Adapter 5 Pay...

Page 6: ...xample of POS with the NFC antenna attached a Determine where to adhere the payment antenna back or side of the POS system and make sure the area is free of dust and dirt Note For best results wipe do...

Page 7: ...the clip from the module and place the POS cable in between the clip and the module and snap the clip back on to the module Electronics module attached to POS cable with clip 4 Plug the USB cable from...

Page 8: ...4 Place the scanner firmly in the base and twist the black screw into the mount to firmly secure Palm Scanner mounting screw 5 Push down gently on the scanner to see if it moves If it does tighten the...

Page 9: ...r and connect to a WiFi network 2 Enter your WiFi password 3 Set up device This will be completed automatically device will check for updates install WiFi certificate and pair with the other devices 4...

Page 10: ...NOTE If you have signed up with a credit card before then you can sign up with different credit card to walk through the steps or you can use your other palm to sign up again Sign up and pay for an i...

Page 11: ...USB Type C device for point of sale POS integration WiFi 802 11 ac 2x2 MIMO Blue Tooth BLE v4 2 for secured connectivity between the Palm Scanner and Payment Electronics Module Card Reader EMV chip ca...

Reviews: