Please read these instructions carefully before use and retain for future reference
Before switching on your appliance,
always check for any damage which may have been caused in transit
IGFD2016W
16 Inch Digital Pedestal Fan White
USER MANUAL
Page 1: ...tructions carefully before use and retain for future reference Before switching on your appliance always check for any damage which may have been caused in transit IGFD2016W 16 Inch Digital Pedestal F...
Page 2: ...5 Product Overview 5 6 Assembly Instructions 7 9 Operating Instructions 10 11 Cleaning and Maintenance 11 Anomalies and Repair 11 Trouble Shooting Guide 12 Fuse Replacement 13 Disposal Information 13...
Page 3: ...o an authorised service facility for examination and repair Ensure that the fan head is not blocked or covered Do not place the unit too close to curtains or other objects min 30cm Make sure there are...
Page 4: ...Ensure that the fan is switched off from the supply mains before starting any installation or assembly operation This appliance is for domestic use only not for industrial use Connect the appliance t...
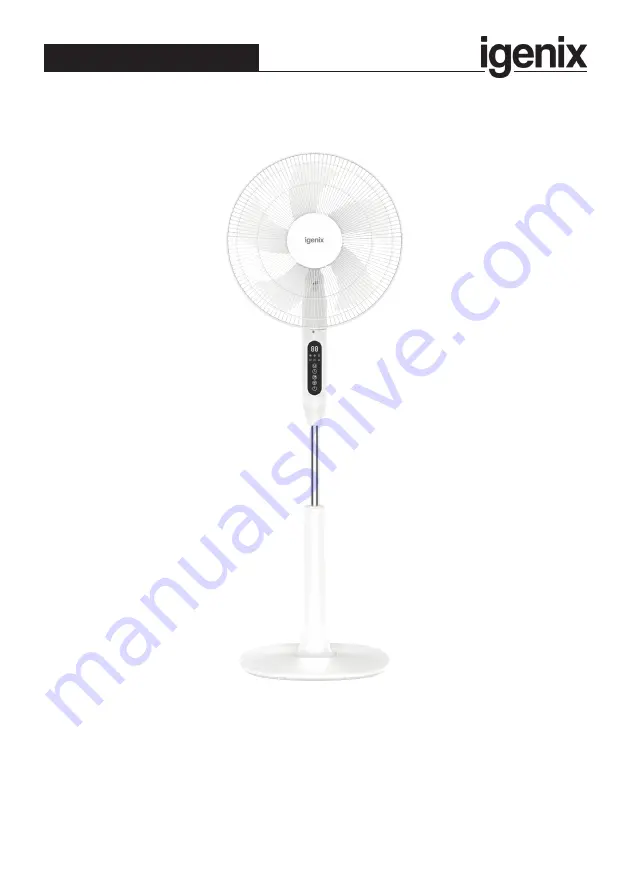
Page 5: ...VERVIEW A B C D E F G I H L J N M O P K A Front Grill B Blade Fastening Nut C Fan Blades D Grill Fastening Nut E Back Grill F Motor Shaft G Motor Cover H Fan Head I Control Panel J Fan Head Bolt K Pow...
Page 6: ...fter 30 seconds 1 3 4 5 6 7 2 A B C D E 1 LED Display 2 Function Lights 3 Oscillation Button 4 Timer Button 5 Modes Button 6 Speed Button 7 On Off Button A Speed Button B Modes Button C Timer Button D...
Page 7: ...ppliance should be used with its base fitted Attach the bottom tube N to the base O and fix it with the plastic nut P Loosen the bottom tube bolt M and carefully pull up the adjustable tube L Tighten...
Page 8: ...ver G before securing the grill fastening nut D Attach the fan blades C to the motor shaft F and fix it with the blade fasten nut B Attach the front grill A to the back grill E Use the grill ring to c...
Page 9: ...the plastic card from the bottom of the remote Please make sure the remote is directed towards the fan when operating NOTE this remote does NOT come with a battery as standard 1 x CR2032 button batte...
Page 10: ...r timer runs out Normal The fan operates constantly at the selected speed To activate these function press the modes button 5 B fig 2 3 The illuminated light will show which mode is selected Oscillati...
Page 11: ...s Store the fan in a ventilated and dry area Do not allow water to get inside the body of the fan Fan function Select the desired ventilation speed by pressing the speed button 6 A The selected speed...
Page 12: ...rvices on 01473 271272 Problem Possible Cause Possible Solution The appliance does not work The appliance is not properly plugged into the wall socket Plug the appliance in firmly The appliance is not...
Page 13: ...pact on human health and the environment The crossed out wheeled bin symbol on the product reminds you of your obligation that when you dispose of the appliance it must be separately collected Consume...
Page 14: ...ccessories or consumable parts that require replacement under normal use This includes shelving dials filters belts and trays etc In the unlikely event of a breakdown please refer to the Troubleshooti...
Page 15: ...his means that in the unlikely event you develop a fault or problem with your product we will happily repair or replace the item free of charge To qualify for the 2 year warranty you must register you...
Page 16: ...9R IR Tel 01473 271 272 Disclaimer Igenix operate a policy of continual improvement and development We therefore reserve the right to change alter the specification and appearance of our appliances wi...