background image

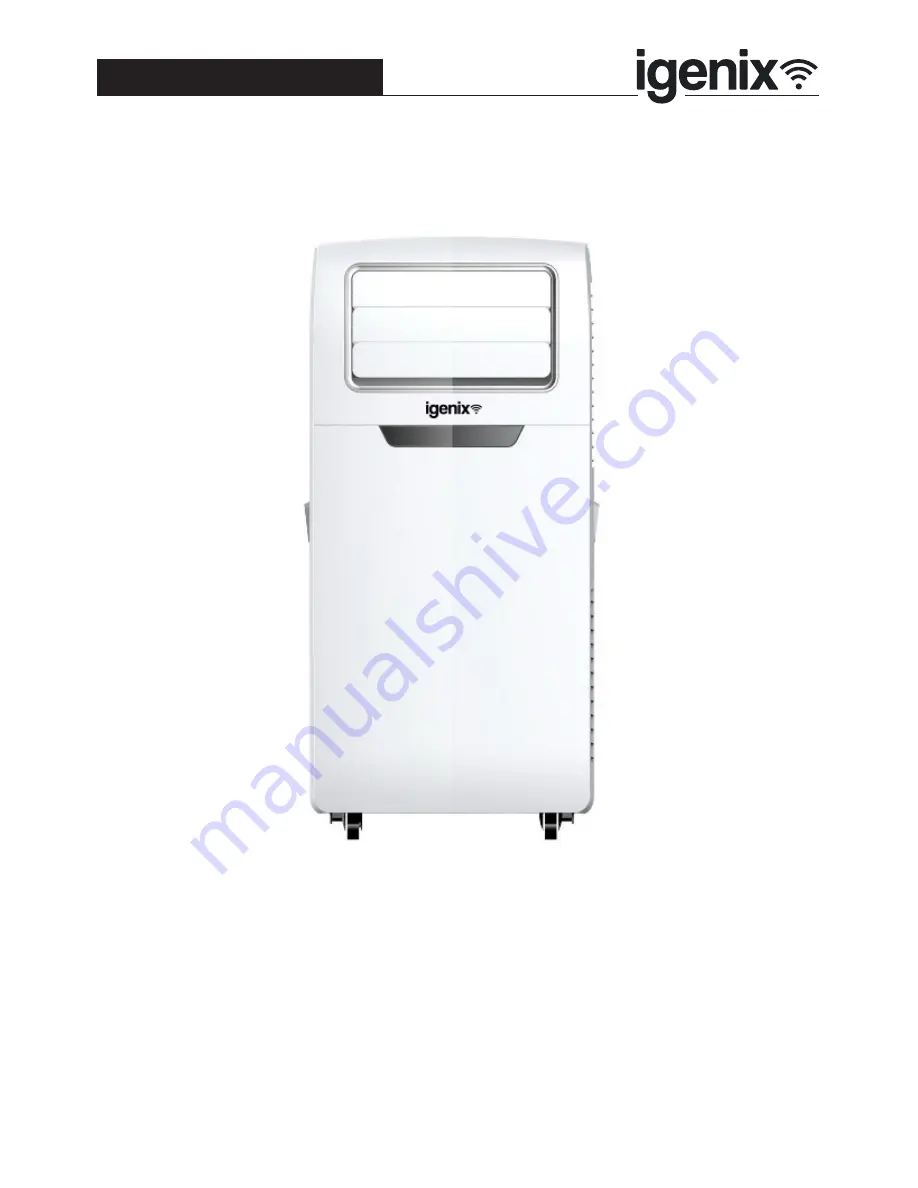
9000 BTU 3in1 Air Conditioner with Wi-Fi

Please read these instructions carefully before use and retain for future reference 

Before switching on your appliance,  

always check for any damage which may have been caused in transit

IG9901WIFI

Batch code: 

USER MANUAL

Summary of Contents for IG9901WIFI

Page 1: ...with Wi Fi Please read these instructions carefully before use and retain for future reference Before switching on your appliance always check for any damage which may have been caused in transit IG99...

Page 2: ...llation Instructions 7 Positioning the Appliance 8 Operating Instructions 9 10 Setting up Wi Fi Function 11 16 Cleaning and Maintenance 17 Water Drainage 18 Trouble Shooting Guide 19 Fuse Replacement...

Page 3: ...ed at the side of the unit 4 Leave the unit to stand for 12 hours before connecting to the mains electricity supply after transport or when it has been tilted e g cleaning to allow the coolant gases t...

Page 4: ...an the unit by spraying it or immersing in water 21 Do not unplug the unit while it is working this could damage the electronic circuits Always use the control panel to start and stop the unit 22 Alwa...

Page 5: ...H L day 27 L day Cooling Input Power Current 950W 4 3A Air FlowVolume m3 h 300m3 h Power Supply 220 240V 50Hz Compressor Rotary Refrigerant R410A Fan Speeds 3 Timer 24 Hour Operating Temperature 15 31...

Page 6: ...l 2 Louvers and Air Outlet 3 Remote Control Sensor 4 Remote Control 5 Handle 6 Exhaust Hose assembly 7 Filters and Air Inlets 8 Drain Point 9 Secondary Drain Point Exhaust Assembly Front Back Exhaust...

Page 7: ...ry handles located on either side and carefully lift until it slides out of the foam base Install the exhaust hose assembly onto the unit before switching on Installing Exhaust Hose Extend the exhaust...

Page 8: ...s to ensure adequate air circulation The exhaust hose can be extended from 30cm to 150cm however it is recommended to extend the hose as much as possible to minimise the escape of any expelled air and...

Page 9: ...utes after the unit is turned on this will help prolong the life of the compressor After switching the unit off please wait at least 3 minutes before turning the unit back on Turning On Once the appli...

Page 10: ...e is lower than the desired room temperature the compressor will stop and the fan will operate at the selected speed Fan Mode The fan will operate at the desired speed The compressor will not run in t...

Page 11: ...ul you then have the option to rename your device Note In order to successfully sync with your Amazon Echo it is advised that you rename your device to an easily recognised word or phrase such as Air...

Page 12: ...ctionality If you already have an Echo device that is set up you can skip this step Plug your Echo device Echo Echo Tap or Echo Dot into a power socket and turn it on Make sure your Echo device is ene...

Page 13: ...age fig 7 and then tap CONNECT TO WI FI fig 8 Hold down the dot button on the top of your Echo device until the orange light shows up fig 9 and then tap CONTINUE When your device is connected to Echo...

Page 14: ...introduction video tap NEXT to finish the setup fig 16 Select a Wi Fi network to let Echo access the internet fig 12 Type in the Wi Fi password and then tap CONNECT fig 13 Echo may take several minute...

Page 15: ...genix in the search bar fig 18 Select Igenix and tap ENABLE to enable the skill You will be redirected to the account link page Type in your Igenix account and password and then tap Link Now to link y...

Page 16: ...shown in the list fig 22 Note Every time you change the device s name in the Igenix app Echo must rediscover before you can control them fig 20 fig 21 fig 22 2b Control your Air Conditioner by Voice...

Page 17: ...side of the unit Use a vacuum cleaner or tap the filter lightly to remove loose dust and dirt and then wash the air filters by immersing them in lukewarm water with a neutral detergent Note Extreme c...

Page 18: ...he unit will stop working Turn off the unit and unplug from the mains socket Place the water drainage hose into a suitable container Remove the rubber cap from the drain point Insert the drainage hose...

Page 19: ...r function has been activated Runs without cooling in Air Conditioning mode 1 If the door or window is open 2 If there is another appliance creating heat in the same room 3 Check if the air filter is...

Page 20: ...human health and the environment The crossed out wheeled bin symbol on the product reminds you of your obligation that when you dispose of the appliance it must be separately collected Consumers shoul...

Page 21: ...21...

Page 22: ...over accessories or consumable parts that require replacement under normal use This includes shelving dials filters belts and trays etc In the unlikely event of a breakdown please refer to the Trouble...

Page 23: ...ble on our website www igenix co uk To register your product please complete all sections of the form below and return to us at the following address lgenix 38 Bluestem Road Ransomes Europark Ipswich...

Page 24: ...claimer Igenix operate a policy of continual improvement and development We therefore reserve the right to change alter the specification and appearance of our appliances without prior notice All diag...

Reviews: