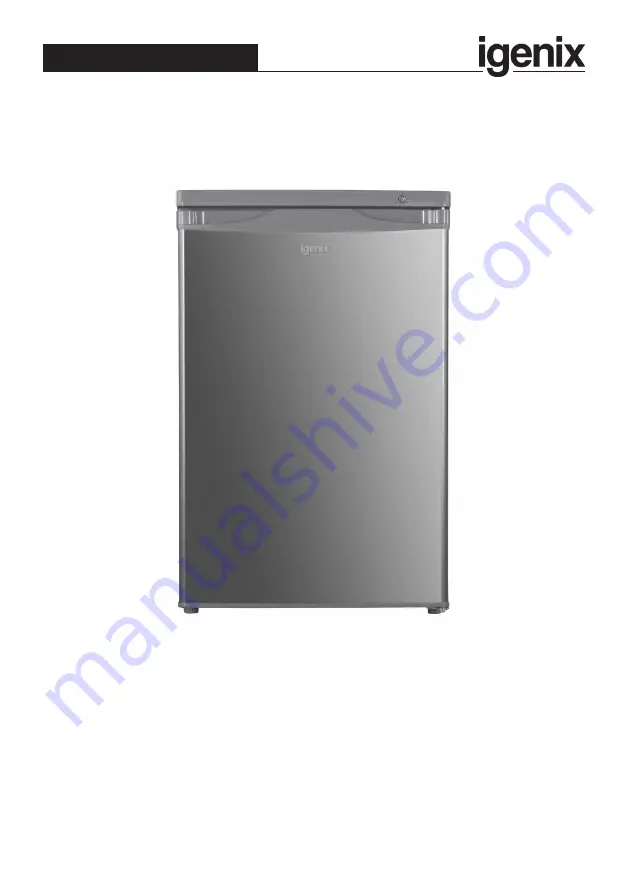
USER MANUAL
55cm Under Counter Freezer
Please read these instructions carefully before use and retain for future reference
Before switching on your appliance,
always check for any damage which may have been caused in transit
IG355X
PO Number
Page 1: ...er Counter Freezer Please read these instructions carefully before use and retain for future reference Before switching on your appliance always check for any damage which may have been caused in tran...
Page 2: ...s 3 6 Technical Specification 7 Appliance Overview 8 Installation 8 12 Operating Instructions 12 15 Cleaning and Maintenance 15 16 Disposal Information 16 Fuse Replacement 16 Trouble Shooting Guide 17...
Page 3: ...cal devices or other means to accelerate the defrosting process other than those recommended by the manufacturer Do not use electrical appliances inside the food storage compartments of the appliance...
Page 4: ...asily climb inside When disposing of the appliance remove the plug so the appliance is unusable IMPORTANT Always allow 12 hours before turning on the refrigerator to allow the coolant gases time to se...
Page 5: ...faces that can come in contact with food and accessible drainage systems clean water tanks if they have not been used for 48 hours flush the water system connected to a water supply if water has not b...
Page 6: ...r Fridge shelf bottom Chiller bin Raw meat poultry fish for short term storage Fridge shelf middle Dairy products eggs Fridge shelf top Foods that do not need cooking such as ready to eat foods deli m...
Page 7: ...Energy Consumption 208kWa Freezing Capacity 4 4Kg 24h Fridge StorageVolume Litre and Applicable Star Rating Compartment N A Freezer StorageVolume Applicable Star Rating Compartment N A Refrigeration S...
Page 8: ...ome help during this procedure Ensure the unit is unplugged and empty To take the door off it is necessary to tilt the unit backwards You should rest the unit on something solid so that it will not sl...
Page 9: ...e door and place it on a soft pad to avoid scratching 4 Unscrew bottom hinge Then remove the adjustable feet from both side Unscrew Screw 5 Unscrew and remove the bottom hinge pin turn the bracket ove...
Page 10: ...lace the door back on Ensure the door is aligned horizontally and vertically so that the seals are closed on all sides before finally tightening the top hinge 9 Put the top cover and fix it with 2 scr...
Page 11: ...d be installed well away from sources of heat such as radiators boilers direct sunlight etc Ensure that air can circulate freely around the back of the cabinet To ensure best performance if the applia...
Page 12: ...or often Position different food in each compartment according to the below table Refrigerator Compartments Type of Food Freezer drawer s shelf Foods for long term storage Bottom drawer shelf Raw meat...
Page 13: ...e the most of the freezing process here are some important hints The maximum quantity of food that can be frozen in 24 hours is shown on the rating plate The freezing process takes 24 hours No further...
Page 14: ...The best storage time may reduce under other settings Storing Frozen Food When first starting up or after a period out of use before putting the product in the drawer let the appliance run at least 2...
Page 15: ...or switch off or turn out the circuit breaker or fuse Never clean the appliance with a steam cleaner Moisture could accumulate in electrical components danger of electrical shock Hot vapours can lead...
Page 16: ...nce must be earthed Remove the fuse cover with a small flat head screw driver Take out the fuse and replace with a new fuse of the same Amp Replace the fuse cover and push back into place MAINS PLUG F...
Page 17: ...frozen enough Temperature is not properly adjusted Refer to the Temperature Setting section Door was open for an extended period Open the door only as long as necessary A large quantity of warm food w...
Page 18: ...ccessories or consumable parts that require replacement under normal use This includes shelving dials filters belts and trays etc In the unlikely event of a breakdown please refer to the Troubleshooti...
Page 19: ...his means that in the unlikely event you develop a fault or problem with your product we will happily repair or replace the item free of charge To qualify for the 2 year warranty you must register you...
Page 20: ...claimer Igenix operate a policy of continual improvement and development We therefore reserve the right to change alter the specification and appearance of our appliances without prior notice All diag...