KINO-780AM2 Motherboard
Page 40
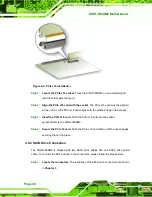
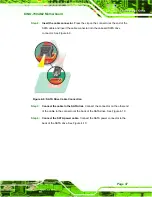
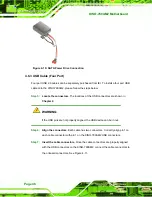
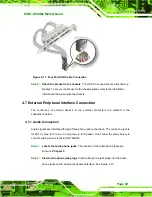
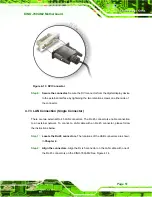
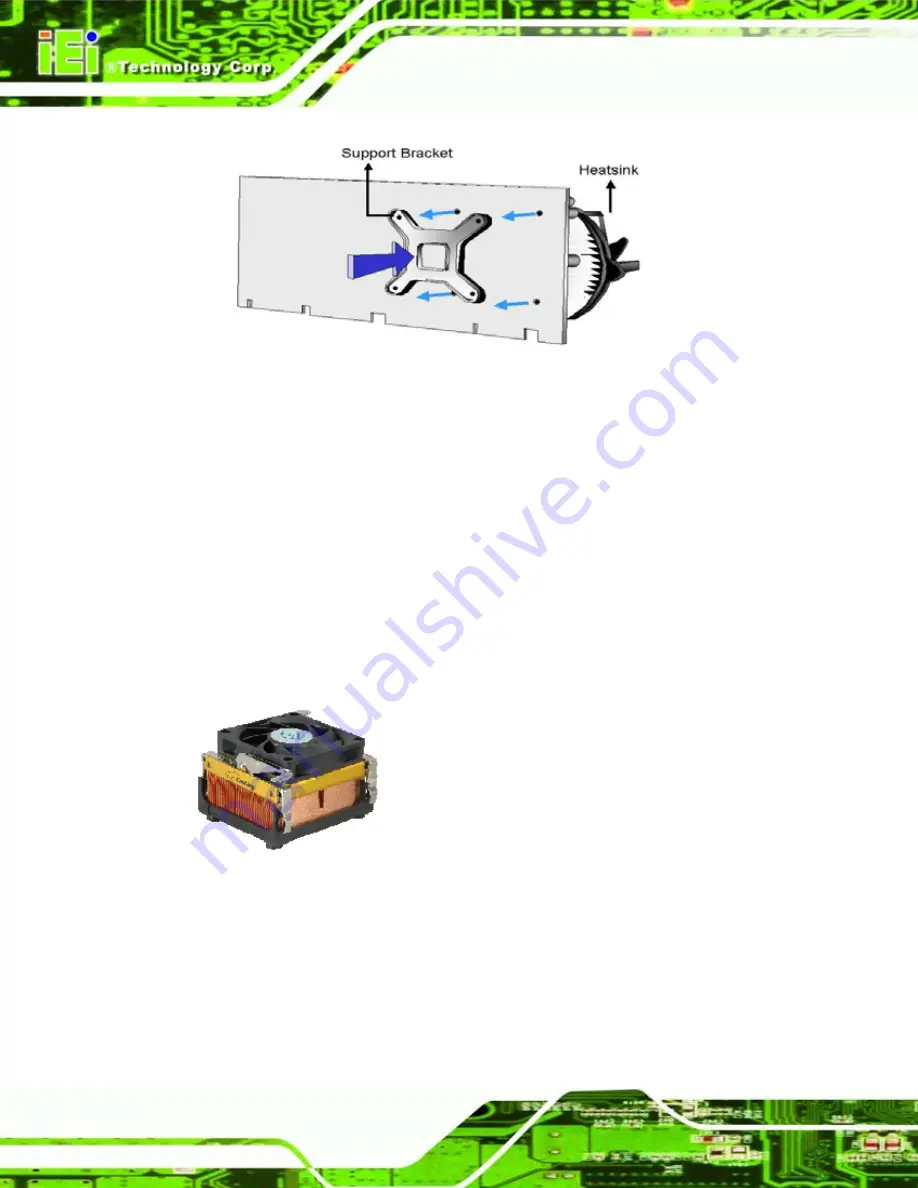
Figure 4-3: Securing the Heat sink to the PCB Board
Step 5:
Tighten the screws
. Use a screwdriver to tighten the four screws. Tighten each
nut a few turns at a time and do not over-tighten the screws.
Step 6:
Connect the fan cable
. Connect the cooling kit fan cable to the fan connector
on the KINO-780AM2. Carefully route the cable and avoid heat generating chips
and fan blades.
Step 6:
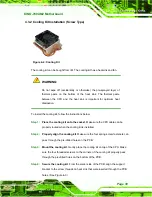
4.3.3 Cooling Kit Installation (Clip Type)
Figure 4-4: Cooling Kit
A cooling kit can be purchased separately. The cooling kit comprises a CPU heat sink and
a cooling fan. To install the cooling kit, please follow the steps below.
Summary of Contents for KINO-780AM2
Page 12: ...KINO 780AM2 Motherboard Page xii...
Page 13: ...KINO 780AM2 Motherboard Page 1 Chapter 1 1 Introduction...
Page 16: ...KINO 780AM2 Motherboard Page 4 Figure 1 3 KINO 780AM2 Dimensions mm...
Page 20: ...KINO 780AM2 Motherboard Page 8 Chapter 2 2 Packing List...
Page 24: ...KINO 780AM2 Motherboard Page 12 Chapter 3 3 Connectors...
Page 45: ...KINO 780AM2 Motherboard Page 33 Chapter 4 4 Installation...
Page 70: ...KINO 780AM2 Motherboard Page 58 Chapter 5 5 BIOS...
Page 114: ...KINO 780AM2 Motherboard Page 102 Appendix A A BIOS Options...
Page 117: ...KINO 780AM2 Motherboard Page 105 Load Optimal Defaults 100 Load Failsafe Defaults 101...
Page 118: ...KINO 780AM2 Motherboard Page 106 Appendix B B Terminology...
Page 122: ...KINO 780AM2 Motherboard Page 110 Appendix C C Digital I O Interface...
Page 125: ...KINO 780AM2 Motherboard Page 113 Appendix D D Watchdog Timer...
Page 128: ...KINO 780AM2 Motherboard Page 116 Appendix E E Hazardous Materials Disclosure...

