


Part 1 - Getting Started
11
•
Camera Menu
–
PTZ:
Allows you to control the selected camera as
long as it has Pan, Tilt and Zoom capabilities.
–
Zoom:
Zooms the current image of the selected
camera on the screen. Right-click on the mouse and
drag to change the orientation, and use the wheel
with the left-click on the mouse to zoom in/out
more precisely.
–
Color Control:
Allows you to control brightness,
contrast, hue and saturation for each camera for
the selected camera if a user who has Color Control
authority logs into the system.
–
Menu Control:
Adjusts the camera’s self-settings.
Menu Control
is supported only for the cameras that
use Pelco-C /H-C/ACP Protocol and support UTC (Up
The Coax) function.
–
Edit Group:
Enter to the Edit Group mode in the
split screen layout.
–
Information:
Displays currently connected camera
information and recording status.
•
Search
–
All Channels:
Exits the live monitoring mode and
enters the search mode.
–
Triplex:
Enters the Triplex mode. Selecting the
camera number plays back video of the selected
camera.
•
Setup
Used to access the Setup menu.
•
Status
Allows you to check the status of the DVR’s system,
event and storage.
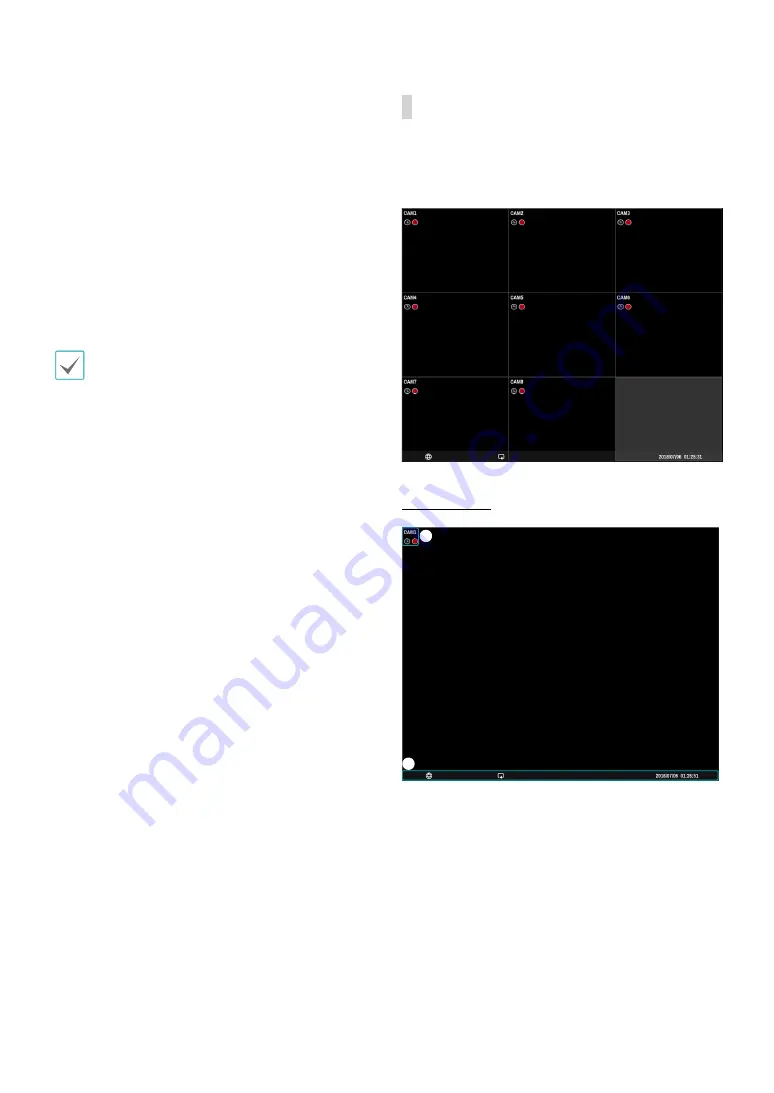
Video Display Area
Left-click on the video display area to toggle between
split screen and single screen modes.
Drag the camera screens around to rearrange them.
Camera Screen
2
1
1
Camera Title:
Indicates the camera’s title.