Part 1 - Remote Setup
10
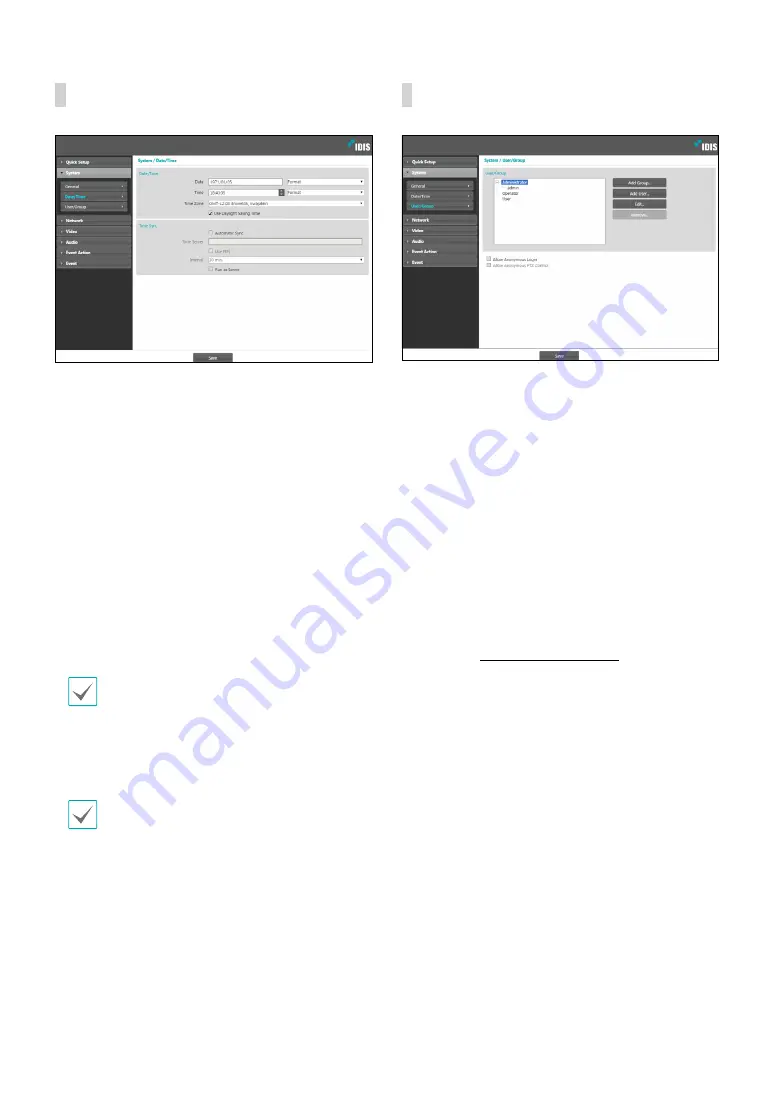
Date/Time
•
Date/Time
: Change the camera’s date/time settings
and display formats and configure the time zone and
daylight saving time settings. Click
Save
to apply the
changes right away.
•
Time Sync
-
Automatic Sync
: Select to synchronize the system’s
time with the time server at a specified interval.
Enter the time server’s IP address or domain name
and then specify the interval. If the time server
is
FEN
-enabled, select the
Use FEN
option and
then enter the time server’s name instead of its IP
address or domain name.
-
Run as Server
: Select to run the camera as a
time server. Other devices will then be able to
synchronize its time setting with this camera’s time
setting.
If you wish to enter a domain name instead of an
IP address for the
Time Server
setting, DNS server
must be configured during
setup. If you
wish to enter a server name instead of an IP address
or a domain name, the
Use FEN
option must be
enabled during
setup.
Setting up the Automatic Sync is required to ensure
there is no error to the SD memory card recording
time.
User/Group
•
User/Group
: Change remote camera control
permission settings for users and user groups.
-
Add Group
: Add a new user group. Designate
a name for the group and then specify control
authorities.
-
Add User
: Add a new user. Designate a name for
the user, select which group to add the user to, and
then enter a connection password.
-
Edit
: Edit group authorities and/or user passwords.
Select a group or user and then click on the button.
-
Remove
: Delete groups or users. Select a group
of user you wish to delete and then click on the
button.
•
Allow Anonymous Login
: Select if you are using
Webcasting. For more information on webcasting,
refer to the
.
•
Allow Anonymous PTZ Control
: Select to control
the pan/tilt driver remotely from a website using
webcasting.


