

Connecting the LightScanner
1. Make sure the power is
OFF
on the LightScanner.
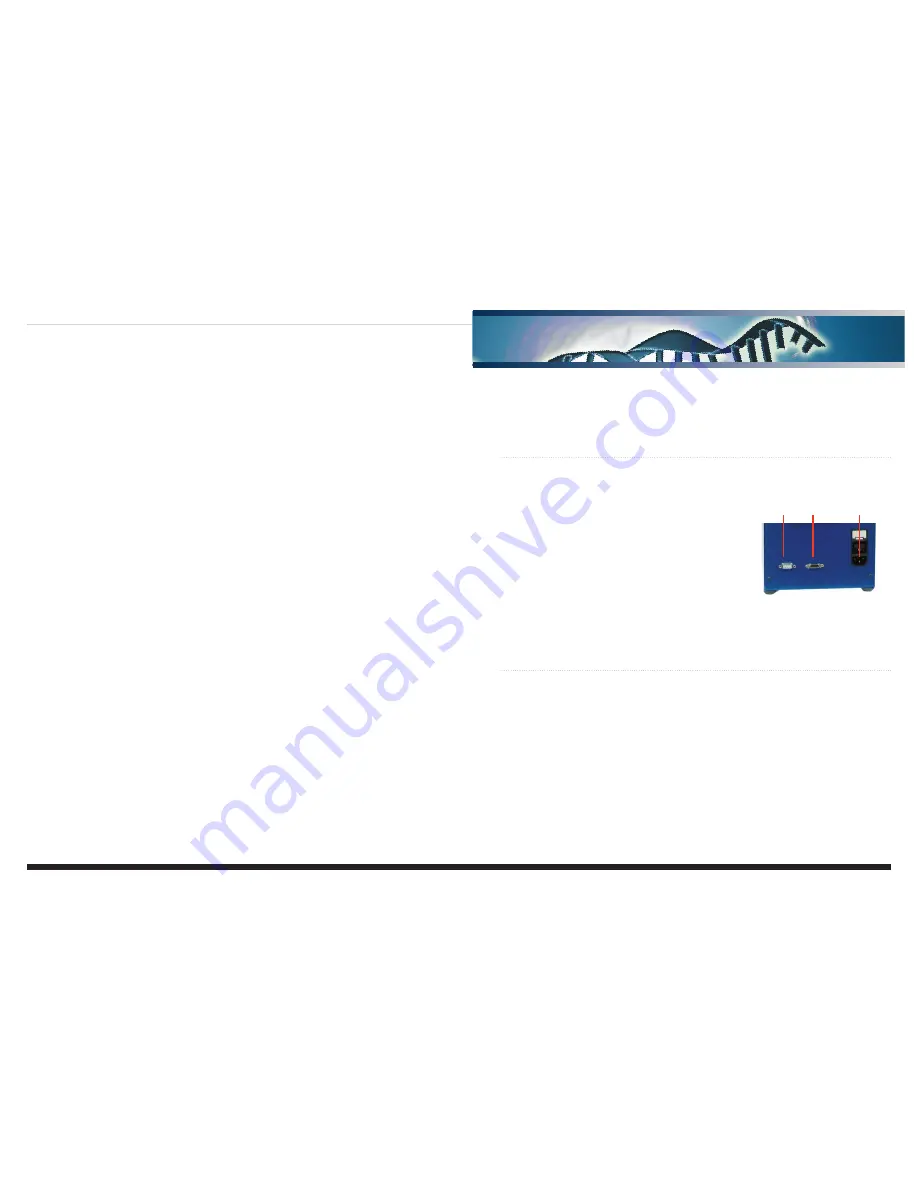
2. Connect the cables to the instrument (all on the back panel) in the following order:
a. Power cord
b. Camera cable (snap on, make sure the connection is secure)
c. Serial cable
3. Next plug in the power cord to the wall power source.
4. Connect the camera cable to the computer tower (connection on the
bottom of the tower).
5. Connect the serial cable to the computer.
6. Connect the remainder of the computer cables (monitor, mouse,
power etc).
7. Turn on the computer.
8. Turn on the power switch on the back of the LightScanner instrument. You will hear two beeps, the sound of
a fan and the
RED
power light on the front of the instrument will turn on.
9. You are now ready to run the LightScanner.
Camera Check
A quick check to confirm that the camera is communicating with the computer should be performed.
Open the camera software found under:
Programs >> Roper Scientific >> RS config
1. A table will open displaying a NAME in the Camera 1 box, usually “
Camera 1”
confirming that the camera is
communicating with the computer.
2. If there is not a name displayed and the boxes are gray, it indicates that the computer is not communicating
with the camera. If this is the case, please contact Idaho Technology technical support.
3. Open the following program:
Programs >> Roper Scientific >> Pvcam test
4. Select
Collect Image.
This will generate an image of the heat block confirming that the camera is working
correctly.
5. Once you see the image click
Done
.
LightScanner
®
Start-Up and
Installation Instructions
for Users
Idaho Technology Inc. | www.idahotech.com
LightScanner
®
Start-Up and Installation Instructions for Users
Power
Switch
Serial
Port
Camera
Port
LSCN-PRT-0021 Rev 01