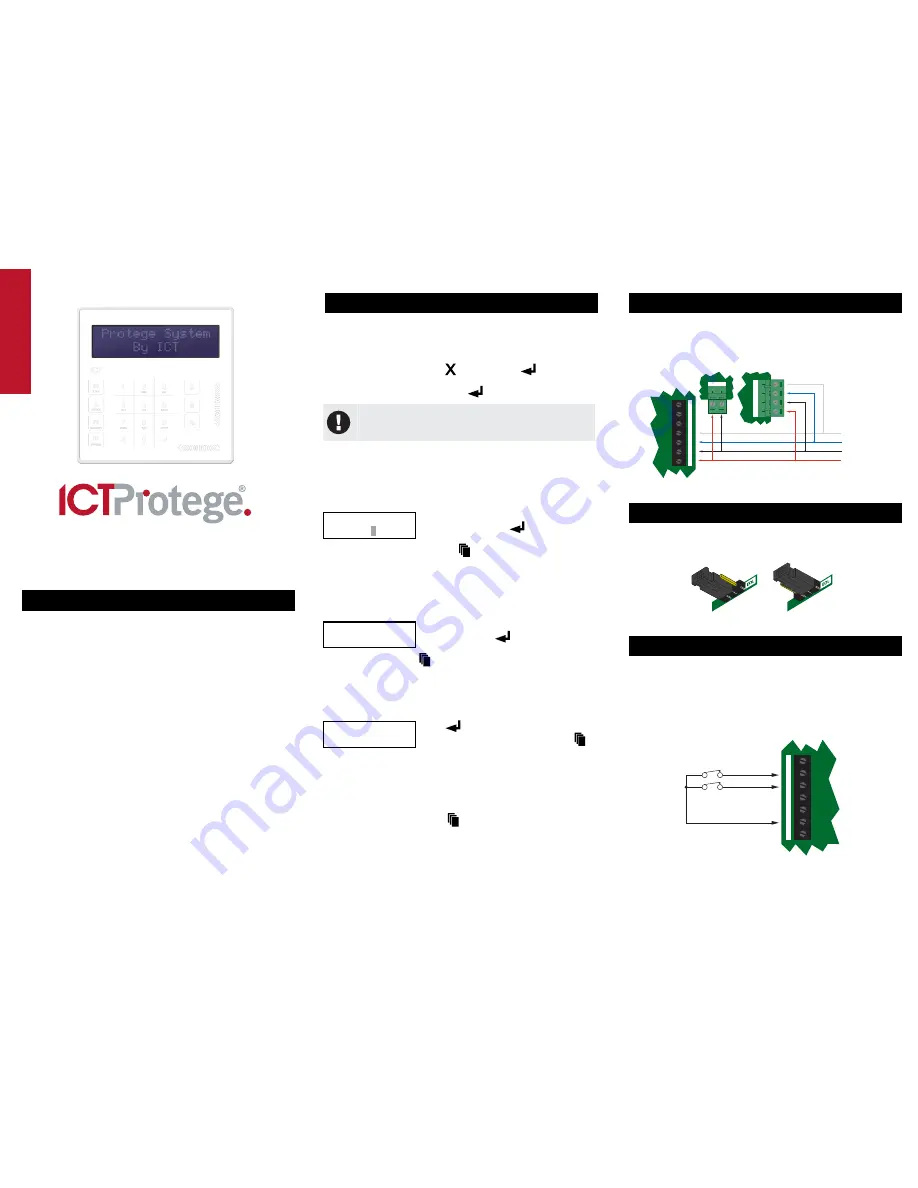
PRT-KLCS
Protege Touch Sense LCD Keypad
Quick Start Guide
1. Introduction
Thank you for purchasing the Protege Touch Sense LCD Keypad by
Integrated Control Technology. The Touch Sense Keypad provides
a sleek, user friendly human interface to the Protege Integrated
System, an advanced technology security product providing
seamless and powerful integration of access, security and building
automation.
When receiving the Touch Sense Keypad you should find the kit
contains the items listed below. Please note that if you do not have
the correct contents, you should contact your distributor
immediately.
Protege Touch Sense LCD Keypad
Protege Touch Sense LCD Keypad Quick Start Guide
4 1K Ohm Resistors
2 2K4 Ohm Resistors
For more information on the Touch Sense LCD Keypad and other
Integrated Control Technology products please visit the ICT website
(http://www.incontrol.co.nz).
2. Configuration
Before the keypad will communicate with the Protege System it
must be assigned an address.
To program an address using the system configuration menu, apply
power to the keypad and when the screen displays the keypad
version information, press the
key then press
. A
configuration menu is displayed. Scroll the available options by
pressing the up and down keys and
to select the menu item.
The configuration menu can only be accessed when the
keypad powers up. It cannot be accessed when the keypad
is operational.
Keypad Address
The address selection sets the address of the keypad. This address
must be a unique address in the Protege System that is below an
address of 250.
Enter
device
address:
256
Use the numerical keys 0 to 9 to program
the address and press
to save the
setting. To exit without making changes
press the
key.
Display Contrast Setting
The display contrast setting adjusts the LCD display contrast
settings.
Contrast
[*******
]
Use the left and right keys to adjust the
contrast and press
to save the setting.
To exit without making changes press the
key.
Default Configuration
The default setting resets the keypad to the factory default settings.
Press
[ENTER]
to
default
keypad.
Press
to default the keypad. To exit
without defaulting the keypad press the
key.
Keypad Version Information
The version menu option displays the version and build information
about the keypad. The version information is displayed on two lines
and can be scrolled. Press the
key to exit.
3. Communication
The Protege System incorporates encrypted RS-485
communications technology for its module network. Each system
controller supports up to 250 keypads.
NA
N+
N-
NB
Next modules
on network
System Controller Module Network
Communicaon Terminals.
Power Supply for Network
Devices Powering modules
on the system controller
Keypad Terminal
Connecon
+AUX-
-
+N
A
N
B
P1
Z1
Z2
Standard Communications Connection
4. End of Line Termination (EOL)
The EOL (End of Line) jumper should be placed in the ON position
when the keypad is inserted as the FIRST or LAST module on the
RS-485 network.
EOL OFF
EOL ON
EOL Jumpers
5. Inputs
The keypad is capable of connecting to 4 zone inputs, where each
zone input can then be programmed to perform the required
function in the Protege System.
The following diagrams show examples of the zone wiring
configuration settings that can be programmed under the
Keypad
General Options
settings. For more information please refer to the
Protege System Controller Reference Manual.
Common
Zone 1 (1+2)
Zone 2 (3+4)
Zone 2
N.C Zone Contact
Zone 1
N.C Zone Contact
Z2
P1
Z1
NB
+
NA
-
Zone Input (No Resistors)


