OPERATING GUIDE
iF1000D
series
VHF DIGITAL TRANSCEIVERS
iF2000D
UHF DIGITAL TRANSCEIVERS
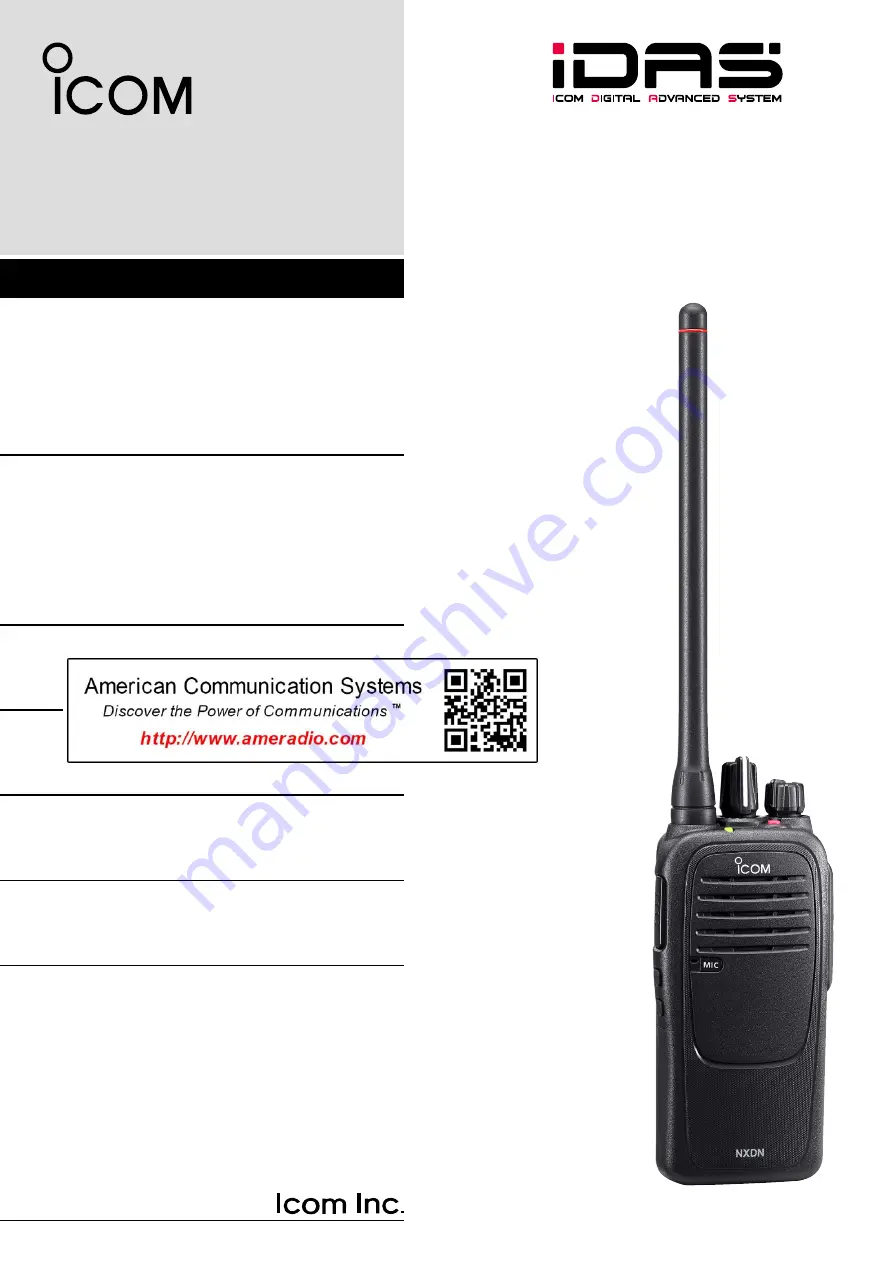
The photo shows the VHF transceiver.
Page 1: ...OPERATING GUIDE iF1000D series VHF DIGITAL TRANSCEIVERS iF2000D series UHF DIGITAL TRANSCEIVERS The photo shows the VHF transceiver...
Page 2: ...tional mode 3 2 Trunking mode 3 2 Receiving a call 3 3 Receiving a Call Alert 3 3 Receiving a Stun Kill and Revive call 3 3 Receiving a Remote Monitor or Radio Check call 3 3 Receiving a Status call 3...
Page 3: ...1 1 Section 1 PANEL DESCRIPTION Front top and side panels 1 2 LED indicator 1 3 Programmable function keys 1 4...
Page 4: ...SIGNABLE KEYS Upper or Lower Desired functions can be independently preset by your dealer PTT SWITCH PTT Hold down to transmit release to receive LED INDICATOR p 1 3 Lights red while transmitting Ligh...
Page 5: ...ll LED ON when receiving a matching 2 Tone or 5 Tone O O Call LED Blink when receiving a matching 2 Tone or 5 Tone O O Scanning G G Low Battery 2 You must charge the battery G G G G Low Battery 1 You...
Page 6: ...te The transceiver enters Audible mode Push or hold down to activate one or two functions if preset LOCK Hold down this key for 1 second to turn the Key Lock function ON or OFF The Key Lock function l...
Page 7: ...the set time period to cancel the Emergency function Depending on the presetting Ask your dealer for details SURVEILLANCE Hold down for 1 second to turn ON the Surveillance function Push to turn OFF t...
Page 8: ...l 2 2 Receiving and transmitting 2 3 Transmitting notes 2 3 Receiving a Stun Kill and Revive call 2 3 Emergency call 2 4 About other Emergency calls 2 5 Lone Worker Emergency call 2 5 Man Down Emergen...
Page 9: ...details NON ZONE TYPE To select the desired operating channel Rotate ROTARY SELECTOR Push one of MR CH 1 to MR CH 4 Push Prio A Prio B Prio A Rewrite or Prio B Rewrite AUTOMATIC SCAN TYPE Channel set...
Page 10: ...annel is busy However depending on the presetting you can transmit when the call includes an unmatching or matching CTCSS DTCS tone The selected channel is a receive only channel Time out timer TOT If...
Page 11: ...ime period again during the first countdown If your transceiver is set for the Silent operation you can transmit an Emergency call without beeps and the LED indicator lighting NOTE Depending on the pr...
Page 12: ...mode and then a countdown starts After a set time period has passed an Emergency call is automatically transmitted once or repeatedly If the transceiver is placed again within the preset angle during...
Page 13: ...vive call 3 3 Receiving a Remote Monitor or Radio Check call 3 3 Receiving a Status call 3 3 Transmitting a call 3 4 Transmitting a Call Alert 3 4 Transmitting an Emergency call 3 4 Transmitting a Sta...
Page 14: ...1200 and MDC 1200 system operations are not usable You can use a preset operation type in a zone Ask your dealer for details Conventional mode The Conventional system enables normal digital mode chan...
Page 15: ...ansceiver is necessary to operate the transceiver again When a Kill command is received The transceiver becomes unusable The LED indicator alternately blinks red and orange Cloning the transceiver is...
Page 16: ...mergency call turn OFF the transceiver or hold down Emergency for the set time period again during the first countdown If your transceiver is set for Silent operation you can transmit an Emergency cal...
Page 17: ...mode and then a countdown starts After a set time period has passed an Emergency call is automatically transmitted once or repeatedly If the transceiver is placed again within the preset angle during...
Page 18: ...vate digital communication between stations Hold down Encryption for 1 second to turn ON the 1 Encryption function Push Encryption to turn OFF the Encryption 2 function NOTE This function and operatio...
Page 19: ...RATION MDC 1200 system operation 4 2 Receiving a call 4 3 Receiving a PTT ID 4 3 Receiving an Emergency call 4 3 Receiving a Stun or Revive call 4 3 Transmitting a call 4 4 Transmitting a PTT ID 4 4 T...
Page 20: ...ional feature of the MDC 1200 system included in Icom transceivers is called aliasing Each transceiver on the system has a unique ID number Aliasing is a substitute for this ID number and you can set...
Page 21: ...ll is received 1 Beeps sound Turn power OFF or change the channel to stop the 2 beep Receiving a Stun or Revive call If a Stun call is received that matches your station ID you can not receive or tran...
Page 22: ...ified Emergency channel Countdown beeps sound for the set time period When no Emergency channel is specified it transmits the call on the previously selected channel If you want to cancel the Emergenc...
Page 23: ...SER SETTINGS Setting the Beep function 5 2 Setting the Beep level 5 3 Setting the Ringer level 5 4 Setting the microphone gain 5 5 Setting the squelch level 5 6 Setting the VOX function 5 7 Setting th...
Page 24: ...r 2 than Channel 16 While holding down Lower rotate VOL to turn 3 ON the power to enter the Beep level adjustment mode Push Lower to turn the Beep function ON or OFF 4 When a beep sounds after pushing...
Page 25: ...ushing Upper repeats the cycle See the illustration on the right The adjustable range is 1 to 5 or 1 Linked to 5 Linked A beep sounds every time you push Upper Therefore you can determine the current...
Page 26: ...g Upper or Lower repeats the cycle See the illustration on the right The adjustable range is 1 to 5 or 1 Linked to 5 Linked A beep sounds after pushing Upper Therefore you can determine the current le...
Page 27: ...ower and enter the microphone gain adjustment mode Push Upper to increase or push Lower to 4 decrease the microphone gain The adjustable range is 1 minimum to 4 maximum A beep sounds after pushing Upp...
Page 28: ...squelch level adjustment mode Push Upper to increase the squelch level tight 4 squelch or push Lower to decrease the squelch level loose squelch The adjustable range is 0 loose squelch to 9 tight sque...
Page 29: ...OR to any channel other 2 than Channel 16 While holding down PTT and Upper rotate 3 VOL to turn ON the power to turn the VOX function ON or OFF When the VOX function is ON a beep sounds When the VOX f...
Page 30: ...the power and enter the VOX gain adjustment mode Push Upper to increase or push Lower to 4 decrease the microphone gain The adjustable range is 1 minimum to 10 maximum A beep sounds after pushing Upp...
Page 31: ...1 1 32 Kamiminami Hirano ku Osaka 547 0003 Japan A 7206 5EX 2015 Icom Inc...
Page 32: ...dio when not using it for a long time Otherwise the installed battery pack will become exhausted and will need to be recharged or replaced MAKE SURE to turn the radio power OFF before connecting the s...
Page 33: ...verely impacted or dropped or if the battery has been subjected to heavy pressure Battery damage may not be visible on the outside of the case Even if the surface of the battery does not show cracks o...