Replacing
the
system
board
Attention
Do
not
open
your
computer
or
attempt
any
repair
before
reading
the
“Important
safety
information”
in
the
Quick
Reference
that
was
included
with
your
computer
or
in
the
Hardware
Maintenance
Manual
(HMM)
for
the
computer.
To
obtain
copies
of
the
Quick
Reference
or
HMM
,
go
to
http://www.ibm.com/pc/support/.
This
section
provides
instructions
on
how
to
replace
the
system
board.
1.
Open
the
computer
cover.
See
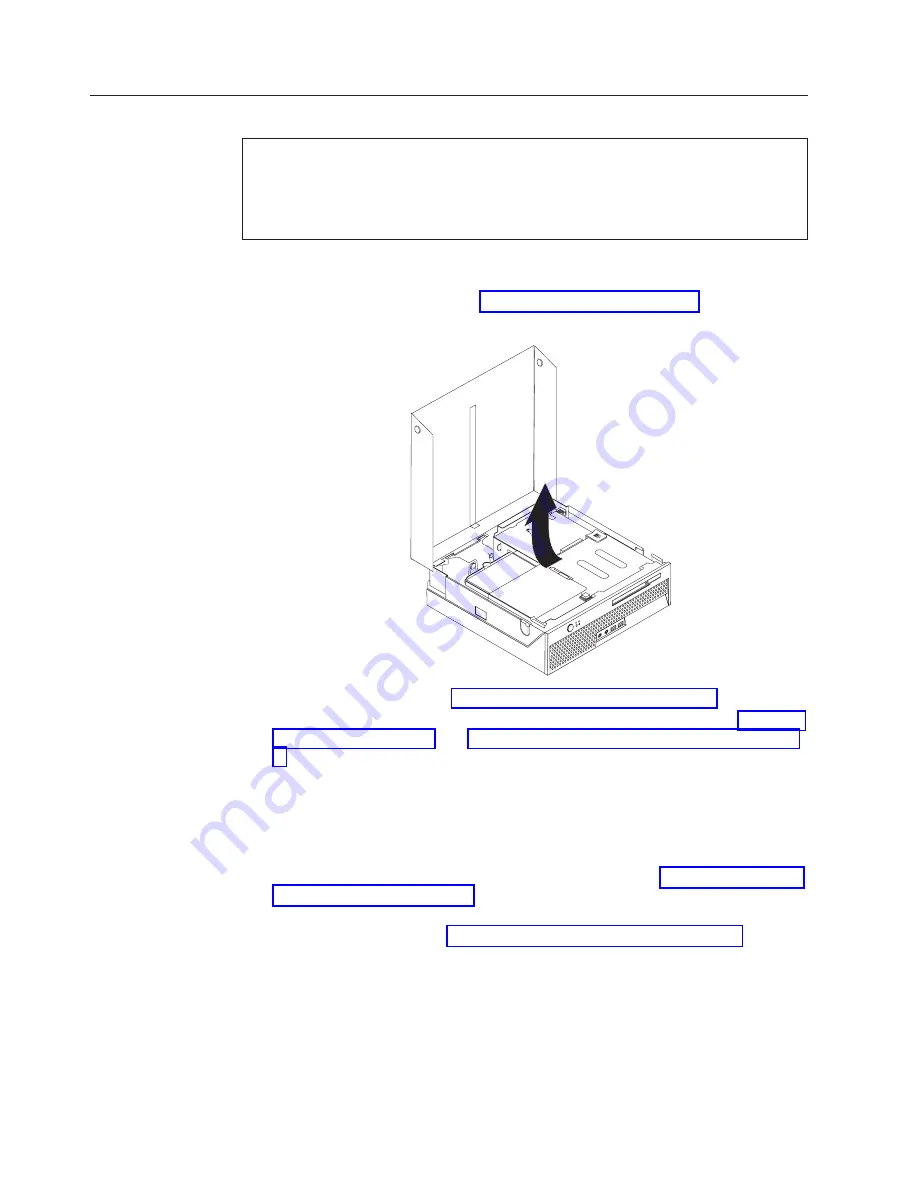
2.
Pivot
the
drive
bay
assembly
upward
to
gain
access
to
the
system
board.
3.
Remove
the
PCI
riser.
See
4.
Locate
the
rear
fan
bracket
assembly
and
the
rear
fan
connector.
See
and
5.
Disconnect
the
rear
fan
cable
and
remove
the
rear
fan
bracket
assembly
by
lifting
it
off
the
system
board.
6.
Carefully
take
note
of
the
location
of
all
cable
connections
on
the
system
board.
It
will
be
necessary
to
reconnect
them
properly
when
installing
a
new
system
board.
7.
Disconnect
all
cables
connected
to
the
system
board.
See
8.
Take
note
of
the
location
of
the
memory
modules
and
remove
them
from
the
failing
system
board.
See
Return
here
after
removing
the
memory
modules.
8
Hardware
Replacement
Guide
Summary of Contents for ThinkCentre 8104
Page 2: ......
Page 6: ...iv Hardware Replacement Guide...
Page 36: ...28 Hardware Replacement Guide...
Page 37: ......
Page 38: ...Part Number 39J8095 Printed in USA 1P P N 39J8095...


