Connecting power to the EXN3200
Use these instructions to connect power to the EXN3200.
1.
Make sure all power supply switches of the storage expansion unit (or units) are in the Off position.
2.
Connect the power cords to each EXN3200 and secure the power cords in place with the power cord
retainer. Make sure that the power supplies on the left side of the system are connected to a separate
AC source than the power supplies on the right side of the system. This ensures redundant power.
Notes:
v
Connect power supplies in slots 1 and 3 to one power source and power supplies in slots 2 and 4
to a different power source.
v
EXN3200 storage expansion units do not need additional grounding.
3.
Turn on power to the storage expansion units and wait for the disk drives to spin up.
Note:
When the storage expansion unit has the maximum number of supported power supplies, all
disk drives or carriers spin up at the same time. However, if one or two power supplies have faulted
in a storage expansion unit with four power supplies, disk drives spin up in sets of six at 12 second
intervals.
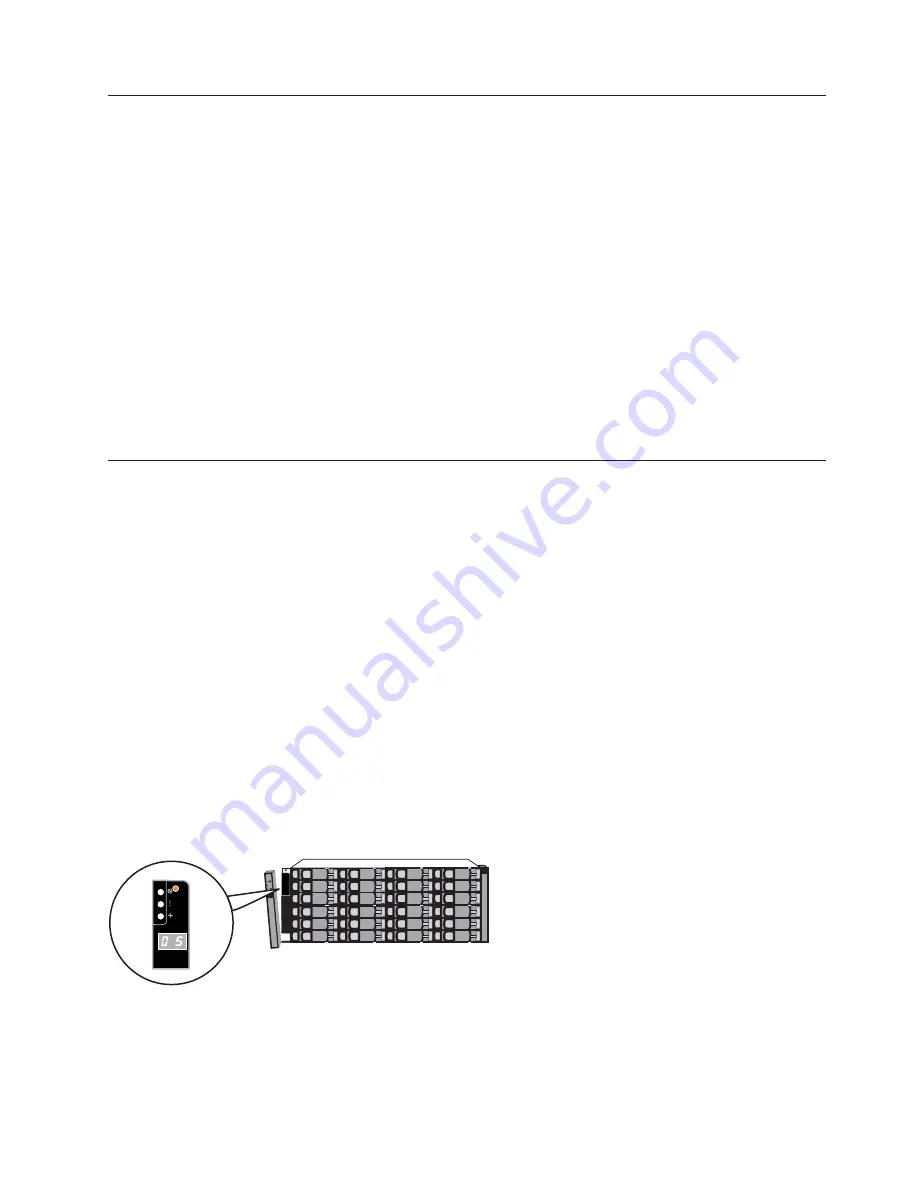
Setting the storage expansion unit shelf IDs
A unique shelf ID is required for each SAS storage expansion unit within the entire storage system.
A valid EXN3200 storage expansion unit shelf ID is 00 - 98.
Note:
N3400 and N3600 systems have an internal shelf ID preset to 00, so for N3400 and N3600
configurations, valid EXN3200 shelf IDs are 01 - 98.
If your storage system has SAS and Fibre Channel (FC) storage expansion units, the storage expansion
unit shelf IDs do not need to be unique between the SAS and FC expansion units. (FC expansion unit
shelf IDs continue to be unique within each FC loop. SAS expansion unit shelf IDs continue to be unique
to all other SAS expansion units in the storage system, including the N3400 or N3600 system's internal
shelf ID.)
Visually verify that the shelf ID for each storage expansion unit is unique. If not, set the shelf ID as
follows. For additional details, see the
IBM System Storage EXN3200 Storage Expansion Unit Hardware and
Service Guide
.
1.
Remove the front bezel if you have not already removed it.
2.
Press and hold the button above the LEDs until the first digit flashes.
3.
Press the button until the correct number is displayed.
4.
Repeat steps 2 and 3 for the second digit.
5.
Press and hold the button until the second number stops flashing.
!
exn30007
Figure 7. Expansion unit shelf ID tab
Installation and setup instructions
5
Summary of Contents for System Storage EXN3200
Page 4: ...iv...
Page 8: ...viii...
Page 19: ......
Page 20: ...Part Number 35P1601 Printed in USA GC27 4217 00 1P P N 35P1601...


