


4.
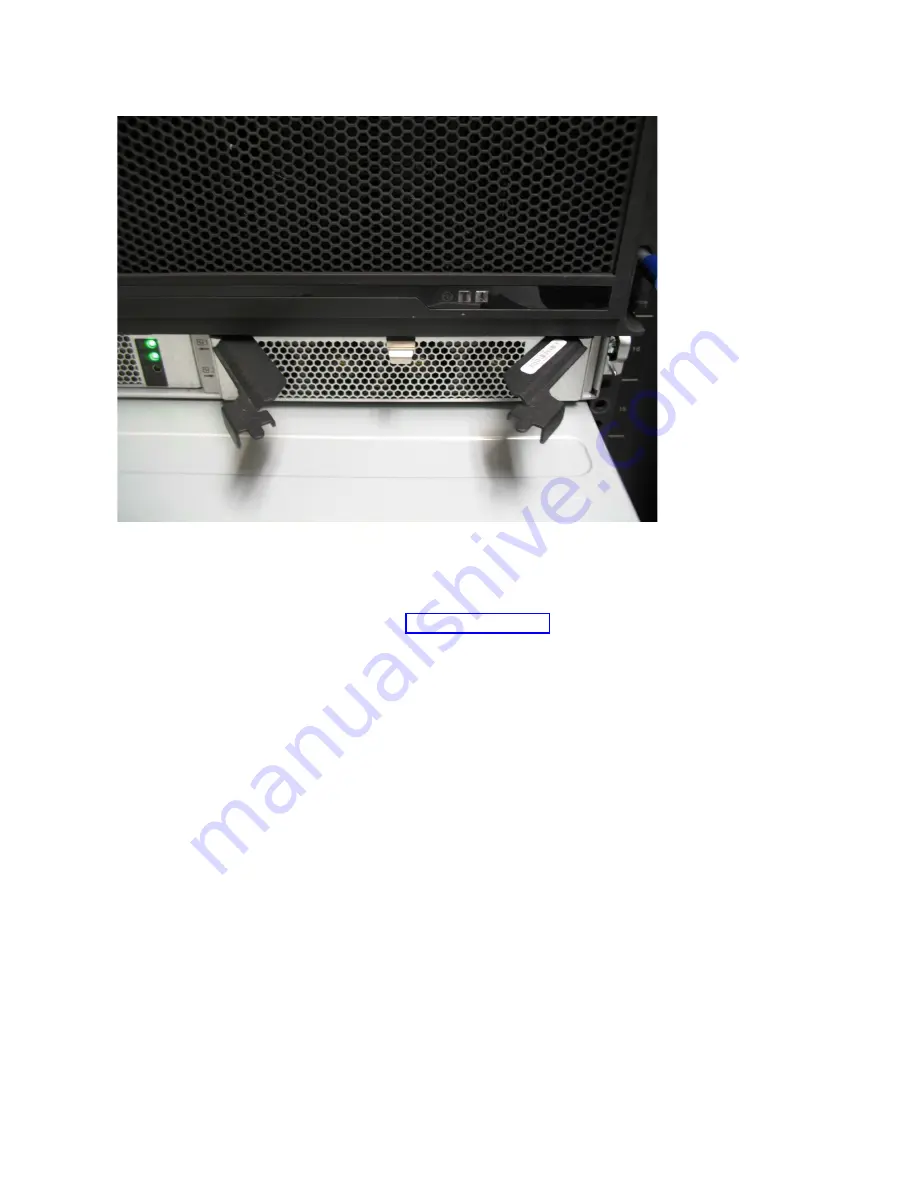
Close the handles on the PSU and ensure the handle lock clicks in to place.
5.
Verify that the AC input and the DC power indicators are lit on the front of the
PSU, as shown in Figure 74 on page 82.
svc01033
Figure 73. Install the power supply
Chapter 2. Installing the Storwize V7000 Gen2 and Storwize V7000 Gen2+ hardware
81
Summary of Contents for StorVize V7000 Gen2
Page 8: ...viii Storwize V7000 Gen2 and Gen2 Quick Installation Guide ...
Page 24: ...xxiv Storwize V7000 Gen2 and Gen2 Quick Installation Guide ...
Page 36: ...12 Storwize V7000 Gen2 and Gen2 Quick Installation Guide ...
Page 166: ...142 Storwize V7000 Gen2 and Gen2 Quick Installation Guide ...
Page 174: ...150 Storwize V7000 Gen2 and Gen2 Quick Installation Guide ...
Page 176: ...152 Storwize V7000 Gen2 and Gen2 Quick Installation Guide ...
Page 184: ...160 Storwize V7000 Gen2 and Gen2 Quick Installation Guide ...
Page 187: ......
Page 188: ...IBM Printed in USA GC27 6500 08 ...


