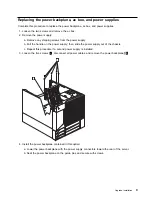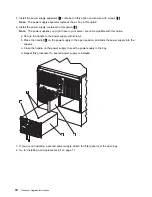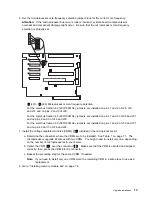
5. Install the power supply separator
.2/
contained in this option and secure with screws
.1/
.
Note: The power supply separator replaces the ac box in this option.
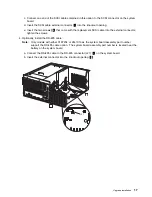
6. Install the power supply contained in this option
.3/
:
Note: The power supplies you might have in your server are not compatible with this option.
a. Secure the handle to the power supply with screws.
b. Place the handle
.4/
on the power supply in the open position, and slide the power supply into the
chassis.
c. Close the handle on the power supply to seat the power supply in the bay.
d. Repeat this procedure if a second power supply is installed.
7. If you are not installing a second power supply, attach the filler panel over the open bay.
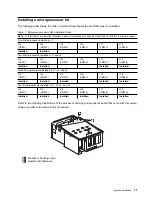
8. Go to “Installing a microprocessor kit” on page 11.
10
Processor Upgrade Instructions
Summary of Contents for Netfinity Series
Page 1: ...IBM Netfinity Four Way Processor Upgrade Kit Installation Instructions ...
Page 2: ......
Page 3: ...IBM Netfinity Four Way Processor Upgrade Kit Installation Instructions ...
Page 8: ...vi Processor Upgrade Instructions ...
Page 43: ......
Page 44: ...IBM Part Number 01K7672 Printed in U S A ð1K7672 ...


