


Attention:
You must perform a clean system shutdown before replacing
system components to avoid losing unwritten data in the NVRAM. The
NVRAM adapter has a red LED that blinks if there is unwritten data in the
NVRAM. If this LED is flashing red after you enter the
halt local
command,
reboot your system and try halting it again.
2.
If you are not already grounded, properly ground yourself.
3.
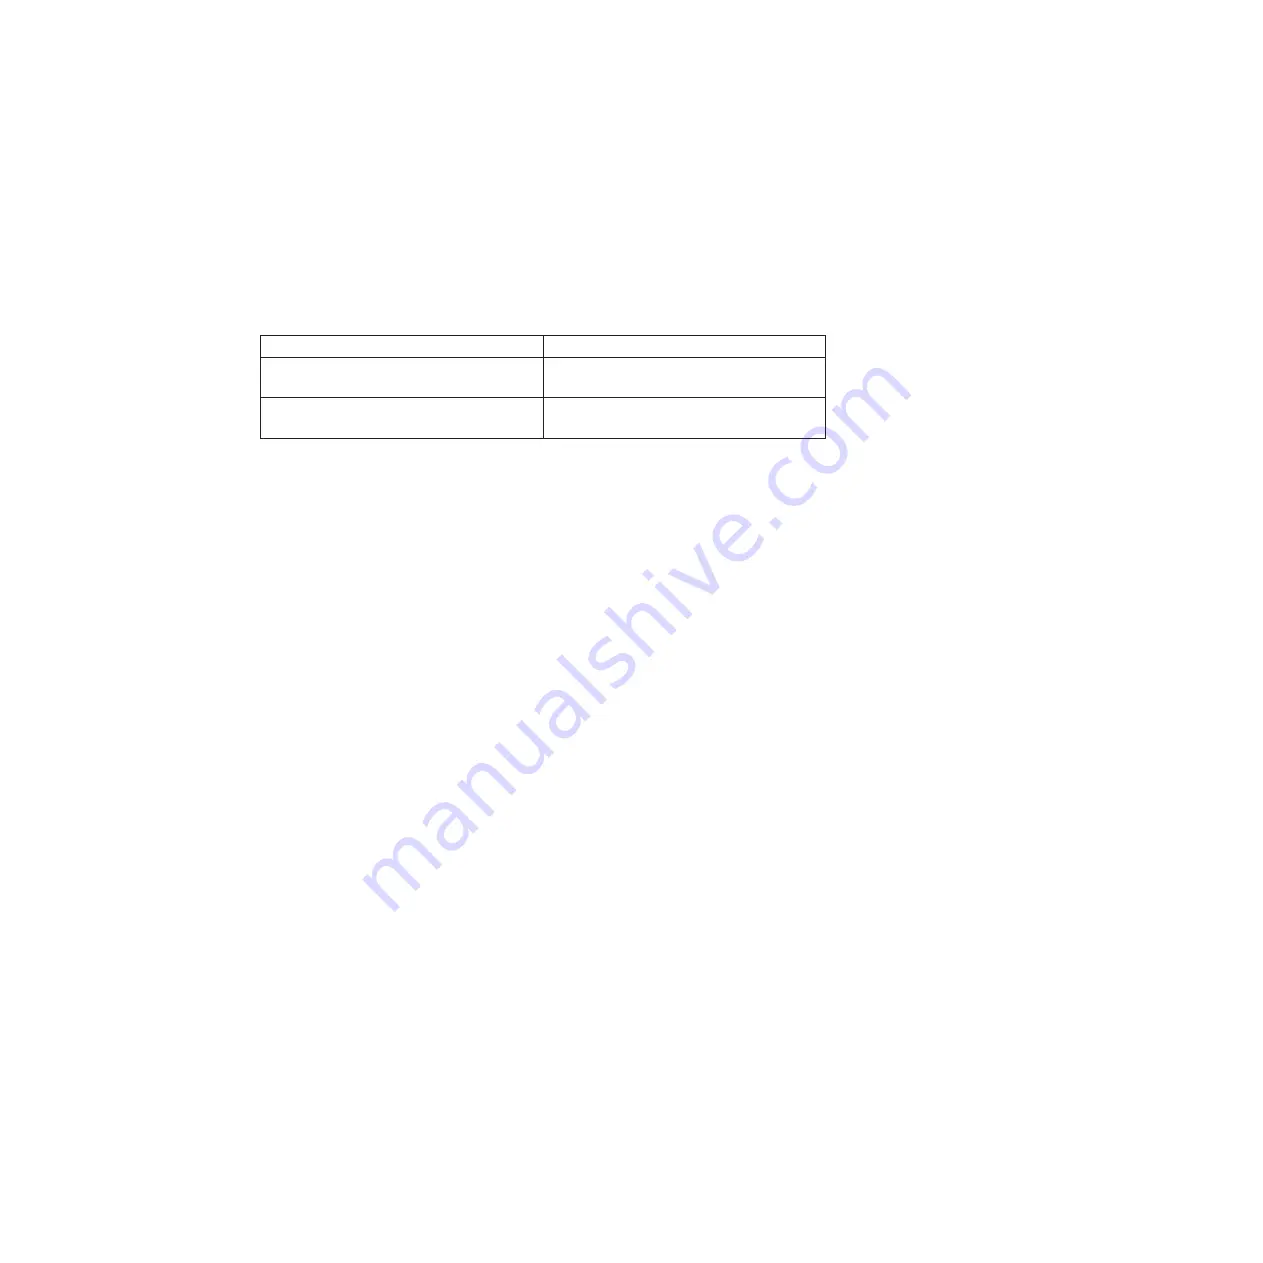
Turn off the power supplies and unplug both power cords from the power
source:
If your system uses...
Then...
AC power
Unplug the power cords from the power
source, and then remove the power cords.
DC power
Remove the power at the DC source, and
then remove the DC wires, if necessary.
Saving the Fibre Channel configuration for HA pairs in SAN
configurations
If you have a SAN configuration and the system is in an HA pair, you must save
the onboard Fibre Channel port configuration information before replacing the
motherboard tray, so you can re-enter it on the new motherboard tray.
Procedure
1.
Enter the following command from the partner node to save the onboard Fibre
Channel port configuration information for the target node (the system on
which you are replacing the motherboard tray):
partner fcadmin config
2.
Copy and save the screen display to a safe location for the steps later in this
procedure.
Removing the motherboard tray and components
You must remove the old motherboard tray from the chassis and move all
field-replaceable components to the new motherboard tray.
Opening the system
To access components inside the controller, you must open the system.
Procedure
1.
If you are not already grounded, properly ground yourself.
2.
Unplug the system cables from the motherboard tray, as needed, and keep
track of where the cables were connected. Leave the cables in the cable clips
of the cable management tray so that when you reinstall the cable
management tray, the cables are already aligned.
3.
Remove the media converters from the NVRAM6 adapters, and set them
aside.
4.
Grasp the cable management tray by the side, gently push on the sides of the
tray to unhook it, and then pull the tray off the back of the motherboard tray
and set it aside.
Chapter 5. Replacing N7000 series system devices
85
Summary of Contents for N7800
Page 2: ......
Page 12: ...x IBM System Storage N7000 Series Hardware and Service Guide...
Page 18: ...xvi IBM System Storage N7000 Series Hardware and Service Guide...
Page 20: ...xviii IBM System Storage N7000 Series Hardware and Service Guide...
Page 42: ...16 IBM System Storage N7000 Series Hardware and Service Guide...
Page 46: ...20 IBM System Storage N7000 Series Hardware and Service Guide...
Page 54: ...28 IBM System Storage N7000 Series Hardware and Service Guide...
Page 162: ...136 IBM System Storage N7000 Series Hardware and Service Guide...
Page 164: ...138 IBM System Storage N7000 Series Hardware and Service Guide...
Page 168: ...142 IBM System Storage N7000 Series Hardware and Service Guide...
Page 181: ......
Page 182: ...Printed in USA GC26 7953 13...


