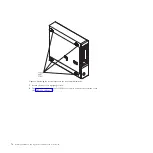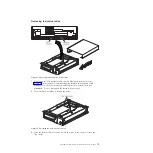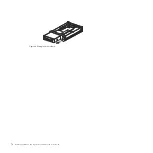
5.
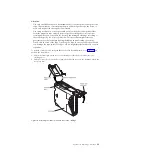
Return the unit to its upright position.
6.
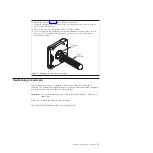
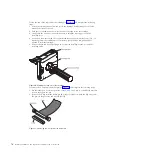
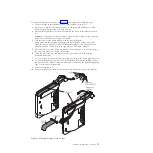
Gently push on the rear panel of the drive to remove the chassis from the cover
(see Figure 24 on page 75).
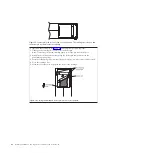
Figure 23. Removing the screws that secure the cover and internal drive
74
Half-High LTO Gen 5 SAS Tape Drive Installation and User's Guide
Summary of Contents for L5X
Page 2: ......
Page 10: ...viii Half High LTO Gen 5 SAS Tape Drive Installation and User s Guide...
Page 14: ...xii Half High LTO Gen 5 SAS Tape Drive Installation and User s Guide...
Page 16: ...xiv Half High LTO Gen 5 SAS Tape Drive Installation and User s Guide...
Page 58: ...40 Half High LTO Gen 5 SAS Tape Drive Installation and User s Guide...
Page 71: ...Figure 14 RID tag on rear panel Chapter 5 Resolving problems 53...
Page 72: ...54 Half High LTO Gen 5 SAS Tape Drive Installation and User s Guide...
Page 76: ...58 Half High LTO Gen 5 SAS Tape Drive Installation and User s Guide...
Page 90: ...72 Half High LTO Gen 5 SAS Tape Drive Installation and User s Guide...
Page 102: ...84 Half High LTO Gen 5 SAS Tape Drive Installation and User s Guide...
Page 119: ......
Page 120: ...Part Number 60Y1487 Printed in USA 1P P N 60Y1487...

