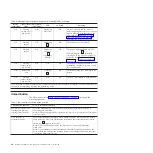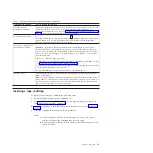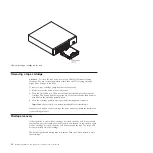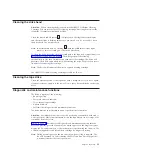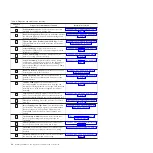
5.
If you selected
5
-
0
the drive will exit Maintenance mode. If you selected
5
-
8
or
5
-
3
the SCD will change to a flashing
5
while the procedure
is being performed. After the procedure is completed the drive will exit
Maintenance mode. If you selected
5
-
1
the SCD will change to a flashing
C
indicating that a data cartridge is to be inserted.
6.
Insert a scratch (blank) data cartridge within 60 seconds, or the drive will exit
Maintenance mode. Make sure that the scratch cartridge is not write protected
(or the tape drive exits Maintenance mode). The SCD flashes the selection
number while performing the function.
v
If the copy operation completes successfully, the tape drive rewinds and
unloads the tape, and exits Maintenance mode after the cartridge is removed.
v
If the copy operation fails, an error code appears in the SCD. To determine
the error, locate the code in Appendix C, “Error codes and messages,” on
page 59. The tape drive unloads the tape cartridge and exits Maintenance
mode after the cartridge is removed.
Function code 6: Run host interface wrap test
Approximate Run Time = 10 seconds per loop
Number of Loops = This test runs until stopped by pressing the Unload button.
Function code
6
performs a check of the host interface circuitry and host
connector on the drive.
To execute Function code 6: Run host interface wrap test:
1.
Make sure that the host interface wrap plug is connected to the host interface
connector at the rear of the drive.
2.
Place the drive in Maintenance mode. For instructions, see “Entering
Maintenance mode” on page 25.
3.
Press the Unload button once per second until
6
appears in the SCD. Index
through the Maintenance mode options until
6
is displayed on the SCD.
4.
Press and hold the Unload button for 3 seconds to select Function code 6. After
selecting Function code 6 the SCD will display option
6
-
1
. Press the
Unload button within 5 seconds to make a different selection. If no other
selection is made, the drive will perform option
6
-
1
.
5.
Press the Unload button once per second to cycle through the following
functions:
v
6
-
1
: test the primary SAS port
v
6
-
8
: test the secondary SAS port
v
6
-
3
: test both primary and secondary SAS ports at the same time
(requires a wrap plug in both ports)
30
Half-High LTO Gen 5 SAS Tape Drive Installation and User's Guide
Summary of Contents for L5X
Page 2: ......
Page 10: ...viii Half High LTO Gen 5 SAS Tape Drive Installation and User s Guide...
Page 14: ...xii Half High LTO Gen 5 SAS Tape Drive Installation and User s Guide...
Page 16: ...xiv Half High LTO Gen 5 SAS Tape Drive Installation and User s Guide...
Page 58: ...40 Half High LTO Gen 5 SAS Tape Drive Installation and User s Guide...
Page 71: ...Figure 14 RID tag on rear panel Chapter 5 Resolving problems 53...
Page 72: ...54 Half High LTO Gen 5 SAS Tape Drive Installation and User s Guide...
Page 76: ...58 Half High LTO Gen 5 SAS Tape Drive Installation and User s Guide...
Page 90: ...72 Half High LTO Gen 5 SAS Tape Drive Installation and User s Guide...
Page 102: ...84 Half High LTO Gen 5 SAS Tape Drive Installation and User s Guide...
Page 119: ......
Page 120: ...Part Number 60Y1487 Printed in USA 1P P N 60Y1487...

