3.
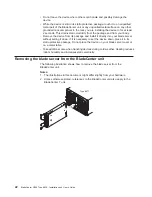
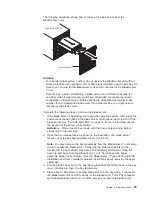
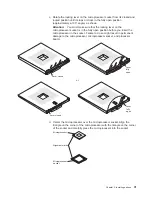
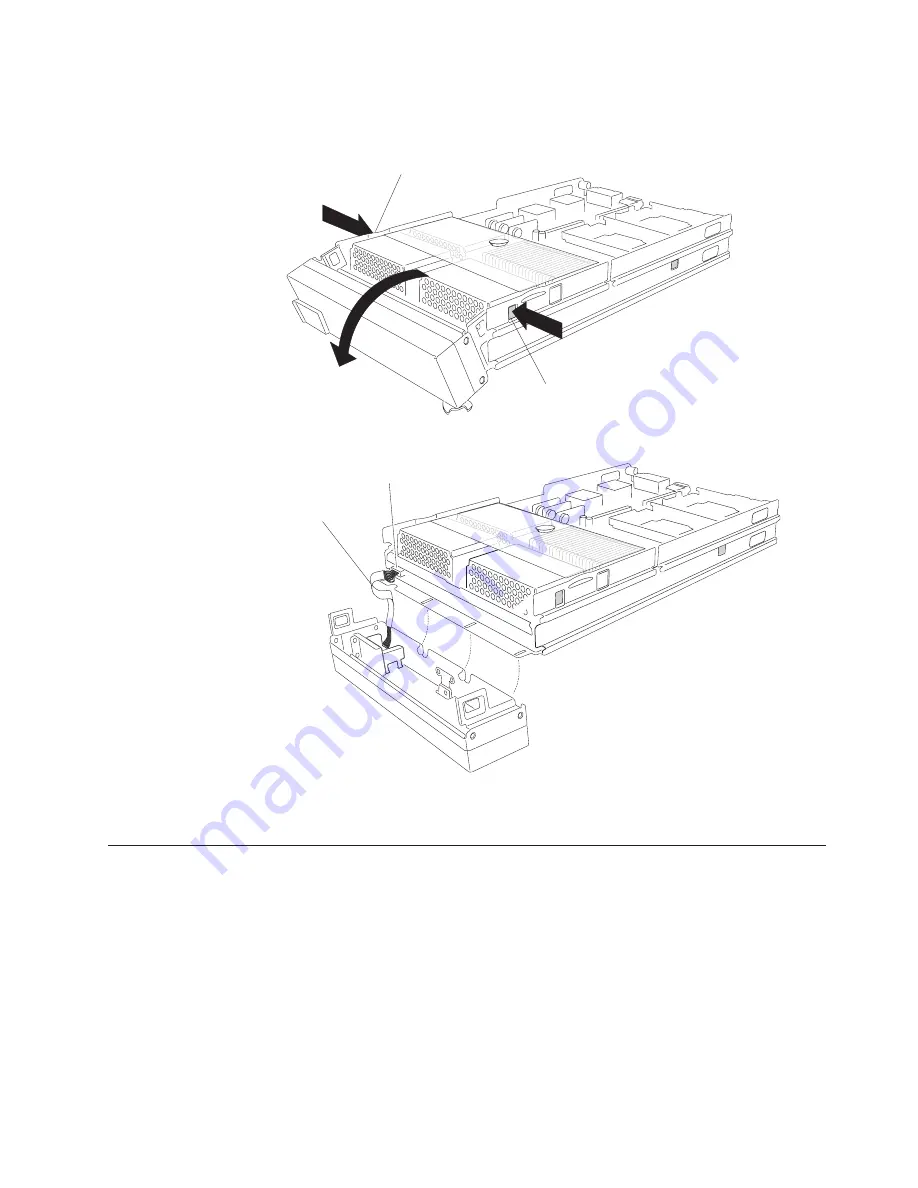
Press
the
bezel-assembly
release
and
rotate
the
bezel
assembly
away
from
the
blade
server
chassis;
then,
unhook
the
tabs
on
the
bottom
of
the
bezel
from
the
holes
on
the
server
chassis
and
remove
the
bezel.
Bezel-assembly release
Bezel-assembly release
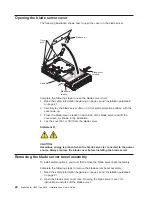
4.
Disconnect
the
control-panel
cable
from
the
control-panel
connector.
Control-panel
cable
Control-panel
connector
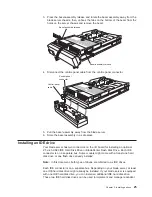
5.
Pull
the
bezel
assembly
away
from
the
blade
server.
6.
Store
the
bezel
assembly
in
a
safe
place.
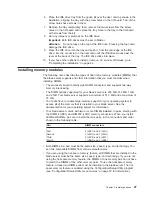
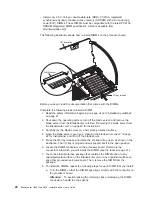
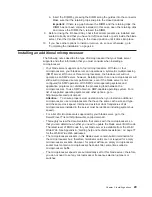
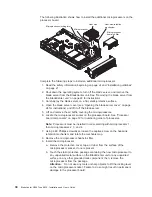
Installing
an
IDE
drive
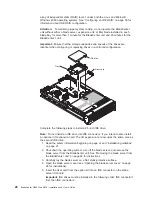
Your
blade
server
has
two
connectors
on
the
I/O
board
for
installing
an
optional
2.5-inch
HS20
IDE
Hard
Disk
Drive
or
BladeCenter
Flash
Disk
Drive.
Each
IDE
connector
is
on
a
separate
bus.
Some
models
might
come
with
at
least
one
hard
disk
drive
or
one
flash
drive
already
installed.
Note:
In
this
document,
both
types
of
drives
are
referred
to
as
IDE
drives.
Each
IDE
connector
is
on
a
separate
bus.
Depending
on
your
blade
server,
at
least
one
IDE
hard
disk
drive
might
already
be
installed.
If
your
blade
server
is
equipped
with
one
IDE
hard
disk
drive,
you
can
install
an
additional
IDE
hard
disk
drive.
These
two
IDE
hard
disk
drives
can
be
used
to
implement
and
manage
redundant
Chapter
3.
Installing
options
25
Summary of Contents for eServer BladeCenter HS40 Type 8839
Page 3: ...BladeCenter HS40 Type 8839 Installation and User s Guide ERserver ...
Page 8: ...vi BladeCenter HS40 Type 8839 Installation and User s Guide ...
Page 76: ...62 BladeCenter HS40 Type 8839 Installation and User s Guide ...
Page 90: ...76 BladeCenter HS40 Type 8839 Installation and User s Guide ...
Page 114: ...100 BladeCenter HS40 Type 8839 Installation and User s Guide ...
Page 118: ...104 BladeCenter HS40 Type 8839 Installation and User s Guide ...
Page 119: ......
Page 120: ... Part Number 90P3102 Printed in USA 1P P N 90P3102 ...

