5. Extend the inner slide rail until it is fully extended and clicks into place.
6. Repeat these steps for the other rail.
7. Align the unit with the extended inner slide rails and then press the unit into the rack.
Installing the cable-management arm
Install the cable-management arm.
Attach the electrostatic discharge (ESD) wrist strap. The ESD wrist strap must be connected to an
unpainted metal surface until the service procedure is completed, and if applicable, until the service
access cover is replaced.
Attention:
• Attach an electrostatic discharge (ESD) wrist strap to the front ESD jack, to the rear ESD jack, or
to an unpainted metal surface of your hardware to prevent the electrostatic discharge from
damaging your hardware.
• When you use an ESD wrist strap, follow all electrical safety procedures. An ESD wrist strap is
used for static control. It does not increase or decrease your risk of receiving electric shock
when using or working on electrical equipment.
• If you do not have an ESD wrist strap, just prior to removing the product from ESD packaging and
installing or replacing hardware, touch an unpainted metal surface of the system for a minimum
of 5 seconds. If at any point in this service process you move away from the system, it is
important to again discharge yourself by touching an unpainted metal surface for at least 5
seconds before you continue with the service process.
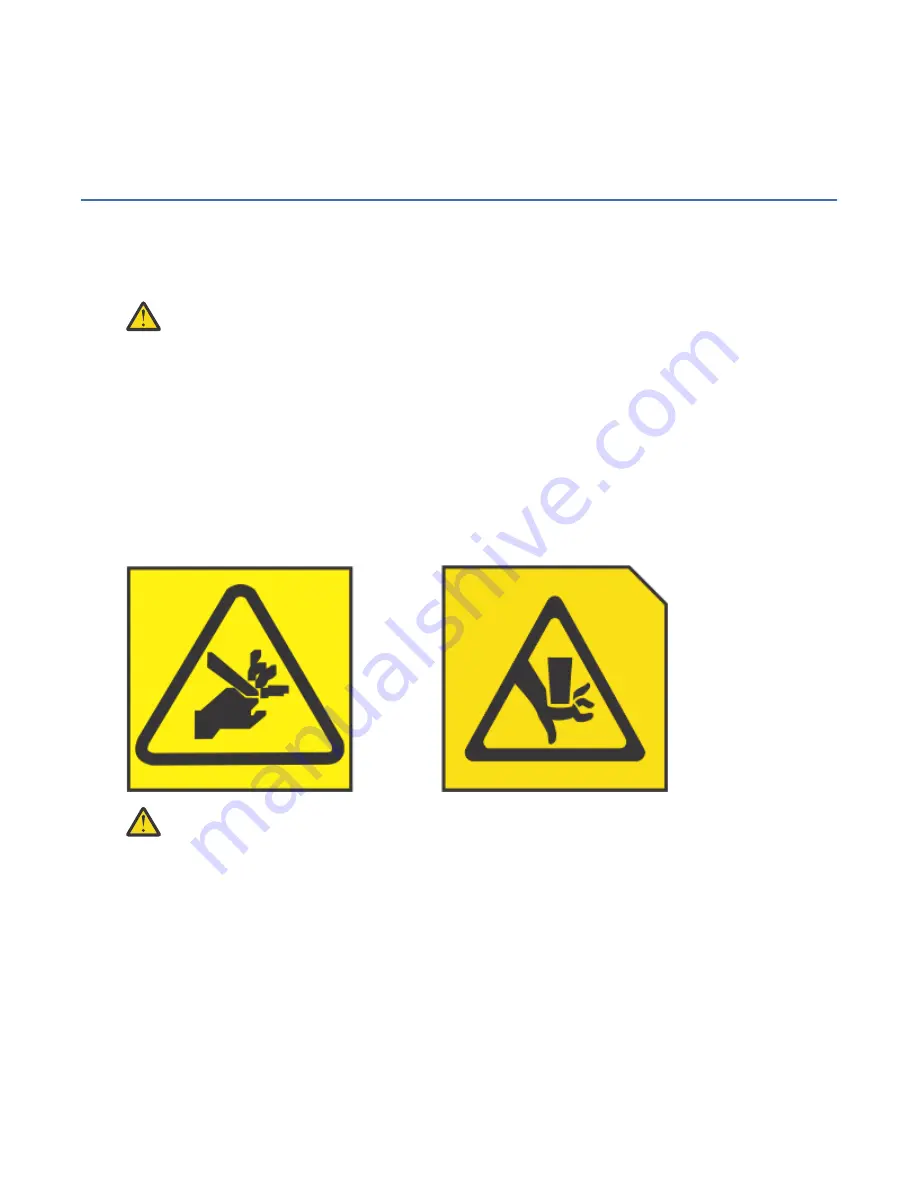
(L012)
CAUTION: Pinch hazard. (L012)
To install the cable management arm, do the following:
1. Move to the rear of the rack. From the rear of the rack, slide the cable-management arm between the
rails.
2. Align the two screw holes on the cable management arm with the two screw holes on the rails. Install
a screw through each hole.
3. Remove the two 6-32 screws from the rear of the monitor and keyboard assembly. Set the two screws
aside.
4. Attach the cable management arm to the rear of the unit with the two 6-32 screws that removed in the
previous step.
5. Connect the cables and route them through the cable management arm and unit opening.
Installing the 7316-TF5 17.3-Inch flat panel rack-mounted monitor and keyboard 63
Summary of Contents for 7316-TF4
Page 4: ...iv ...
Page 71: ...Installing the 7316 TF4 18 5 Inch Flat Panel Rack Mounted monitor and keyboard 57 ...
Page 89: ......
Page 90: ...IBM ...


