


78
Chapter
2
Test The Printer
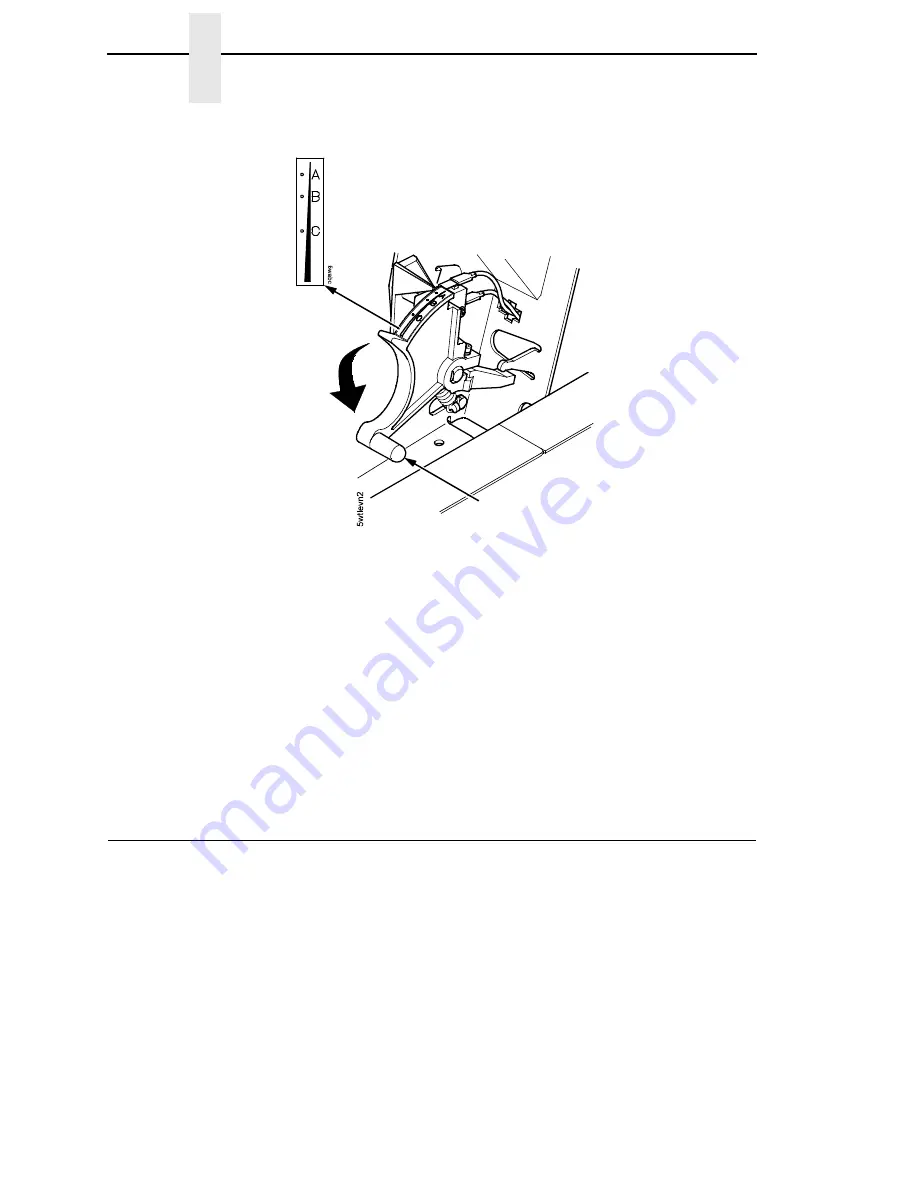
Figure 63. The Forms Thickness Lever in the Lowered Position
5.
Lower the forms thickness lever. The CLOSE PLATEN fault clears
automatically.
6.
Set it to match the paper thickness. If you are using single–part forms, set
the forms thickness lever so that “A” is next to the indicator (refer to the
note on the shuttle cover).
NOTE: Do not set the forms thickness lever too tightly; excessive friction can
cause paper jams and ribbon jams with potential for ribbon damage,
smeared ink, or wavy print.
7.
Press Set Top of Form. The paper moves downward to the top-of-form
print position.
Test The Printer
To run an initial printer test, print the current configuration page. See “Printing
The Current Configuration” on page 85.
On the configuration printout, examine the print quality of the characters. They
should be fully formed and of uniform density. If text characters do not appear
correctly formed or if the test does not run, contact your IBM service
representative.
The printer is now ready for configuration. Refer to Chapter 3, “Configuring
the Printer” for more information.
Forms Thickness Lever
Summary of Contents for 6400i
Page 1: ...Setup Guide Cabinet and Pedestal Models 6400i Line Matrix Printers S544 5640 04...
Page 2: ......
Page 3: ...S544 5640 04 Setup Guide Cabinet and Pedestal Models 6400i Line Matrix Printers...
Page 6: ......
Page 24: ...24 Chapter 1 The IBM 6400 Printer Family...
Page 102: ...102 Chapter 3 Changing The Power On Configuration...
Page 248: ...248 Chapter 4 RibbonMinder Menu...
Page 288: ...288 Chapter 6 Fault Messages...
Page 304: ...304 Appendix B Printing Speed...
Page 310: ...310 Appendix C Compatibility and Limitations...
Page 328: ...328 Appendix D Physical and Logical Unit Types...
Page 366: ...366...
Page 369: ......


