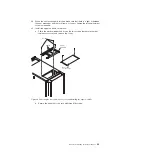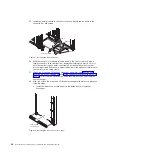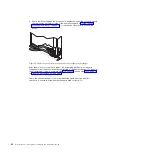
7. Install the latch plate on the left side of the rack.
a. Install two M6 clip nuts on the left-side rack-mounting flange of the rack.
b. Align the holes in the latch plate with the holes in the flange and clip nuts;
then, secure the latch plate in place with two M6 screws.
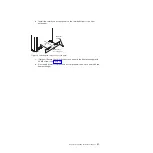
Screws
M6 clip nuts
Latch plate
Figure 18. Installing the latch plate
32
Rear Door Heat eXchanger V2: Installation and Maintenance Guide
Summary of Contents for 1756
Page 1: ...Rear Door Heat eXchanger V2 Type 1756 Installation and Maintenance Guide ...
Page 2: ......
Page 3: ...Rear Door Heat eXchanger V2 Type 1756 Installation and Maintenance Guide ...
Page 38: ...28 Rear Door Heat eXchanger V2 Installation and Maintenance Guide ...
Page 64: ...54 Rear Door Heat eXchanger V2 Installation and Maintenance Guide ...
Page 90: ...80 Rear Door Heat eXchanger V2 Installation and Maintenance Guide ...
Page 98: ...88 Rear Door Heat eXchanger V2 Installation and Maintenance Guide ...
Page 101: ...website continued support line telephone numbers 79 Index 91 ...
Page 102: ...92 Rear Door Heat eXchanger V2 Installation and Maintenance Guide ...
Page 103: ......
Page 104: ... Part Number 00D2434 Printed in USA 1P P N 00D2434 ...


