


For detailed installation instructions and
installation video guides visit our website
support.myiblinds.com.
IBLINDS KIT CHECK LIST
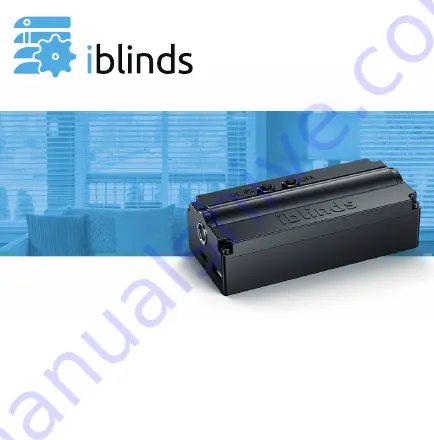
IBLIND MOTOR
IBlind motor
v3
USB Adapter
Battery
Charge Adapter and Clip
Height Adapter
Z-Wave Include/
Exclude Button
CLBR Reset
Button
iblinds Motor
Charge Adapter
Battery
Connector
Solar
Connector
String Pass-Through
Channel
iBlind Motor
Tilt Shaft
Micro USB
Connector
USB Charging
Power Cable
Tilt Shaft
Hex Wrench
WINDOW BLIND COMPONETS
Window Blind Mounting Bracket
Tilting Mechanism
Tilt Drum
End Cap
Tilt Rod
End Cap
Headrail
CHARGE BATTERY
IMPORTANT:
Charge battery before
first use.
Connect battery cable
to the red battery
connector. Connect
USB Charging Power
Cable to the Micro
USB connector. Move
battery switch to the
ON [I] position.
Plug USB power
adapter into wall outlet.
The Battery is fully
charged when the Green
LED is illuminated.
BUTTON FUNCTIONS
IN /EX
Press 3 times
Z-Wave network include /
exclude
IN /EX
Press 5 times
Z-Wave Device Reset Locally
CLBR
Press 5 times
Reboot
CLBR
Press and hold
7-10 seconds
Set All Z-Wave Parameters
to Default Values
Charge Adapter
Push Button
Press 1 time,
release, and wait
5 seconds
Toggle blind between
closed and last open position
Charge Adapter
Push Button
Press 3 times
Z-Wave network include /
exclude
Charge Adapter
Push Button
Press and hold
7-10 seconds
Start manual calibration
BUTTON
PRESS
FUNCTION
INSTALLATION
Z-WAVE DEVICE SPECIFIC KEY (DSK)
IMPORTANT NOTICE
Step 1
Raise existing blind then
remove from wall mount.
This page contains important Z-Wave S2 Information about
your device. You can scan below QR code to connect with
any Security 2 (S2) Z-Wave controller directly or enter the first
5 digits of the DSK if prompted. Please keep in a safe place.
Z-Wave Device Specific Key (DSK)
Step 2
Remove existing tilt
mechanism.
(RED)
5V USB or Direct Power is connected
(YELLOW)
Battery in charging mode
(GREEN)
Battery is fully charged
LED
INDICATION


