iAN QMC-VA30-01 User Manual Download Page 1

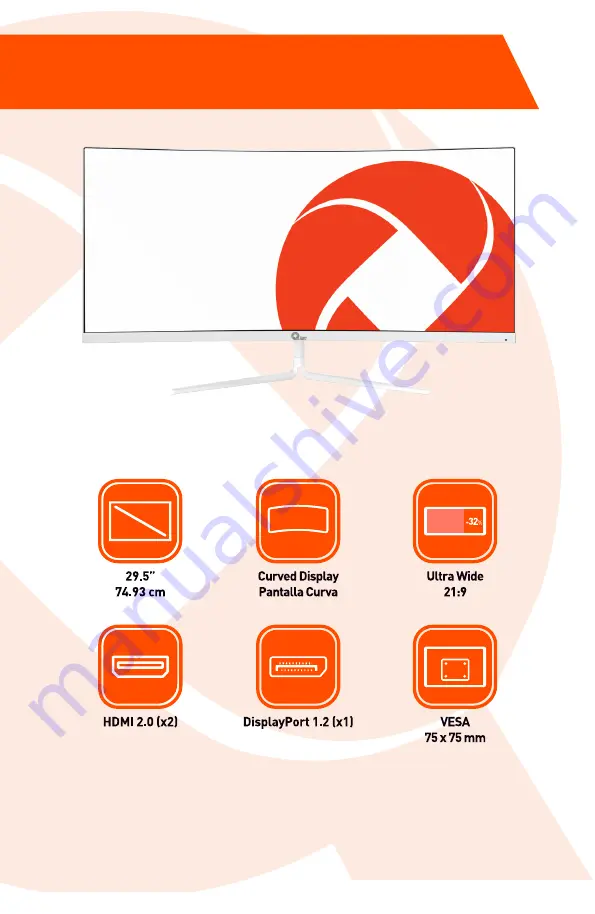
ULTRA WIDE 1080P CURVED MONITOR 29.5”

MONITOR CURVO ULTRA WIDE 1080P 29.5” (74.93CM) 

MOD. QMC-VA30-01

Please read carefully before using your equipment 

and save for future reference. 

Por favor léalo cuidadosamente antes de usar su equipo 

y guárdelo para uso de futuras consultas.

USER MANUAL / MANUAL DE USUARIO

Summary of Contents for QMC-VA30-01

Page 1: ...ULTRA WIDE 1080P 29 5 74 93CM MOD QMC VA30 01 Please read carefully before using your equipment and save for future reference Por favor l alo cuidadosamente antes de usar su equipo y gu rdelo para us...

Page 2: ...nenforceable such term in so far as it is invalid or unenforceable shall be given no effect and deemed to be excluded without invalidating any of the remaining terms Qian reserves the right to amend a...

Page 3: ...e power supply to avoid electric shock on rainy days or damage due to abnormal voltage supply Please use a reliable earthing socket do not overload the socket or it may cause fire or electric shock Do...

Page 4: ...parts If any part is lost The color and shape of parts may vary with models Figures in this User Manual are for reference only Cables supplied may vary with purchased products Figures in this User Man...

Page 5: ...cator Light Color Indicator Light Indicator light Steady blue light indicates the power is on and the monitor is running normally Red light indicates no horizontal or vertical synchronous signal detec...

Page 6: ...sting the monitor Tilting angle 5 0 2 0 20 2 0 Stand installation 1 Open the cardboard box take the foam out and lay it flat on the table top Keep the foam underneath the monitor before attaching the...

Page 7: ...slot of the back shell gently press the bracket to lock it into the lock then hold the middle of the bracket gently lift the body twice without loosening your grip to make sure that it s locked 5 Afte...

Page 8: ...the wall mount assembly with four screws 3 Note Mount the assembled product on a hard wall Do not press on the screen with your hands during the hanging process to avoid damaging the screen Note In or...

Page 9: ...ntenance Departments HDMI interface Plug your HDMI cable into the HDMI IN port of the product and the other end into the HDMI OUT port on your PC Plug your HDMI DVI cable into the HDMI IN port of the...

Page 10: ...erent from the one shown in the figure Settings in the OSD menu may change with updates of its settings without prior notice Press the menu button on the control panel to access the monitor menu The d...

Page 11: ...ottom Right Bottom Left Game Crosshair Off on Crosshair 1 Crosshair 2 Crosshair 3 Crosshair 4 Crosshair 5 Crosshair 6 Game Time Off 15 00 30 00 45 00 60 00 On Position Top Right Top Left Bottom Right...

Page 12: ...ight Bottom Left PIP Size Small Medium Large Window Swap Off On OSD settings Language English Portugues do Brasilazil Deutsch Nederland Suomi Fran ais Indonesia Italiano Malaysia Polskie Portugu s P E...

Page 13: ...13 Other Settings Input Signal Auto DP HDMI1 HDMI2 Volume 0 100 Mute Off On Auto Power Off On Eyeshield Remind Off On Reset Yes No Information Input Source Resolution Mode SN...

Page 14: ...icable dicho t rmino en la medida en que sea inv lido o inaplicable no tendr efecto y se considerar excluido sin invalidar ninguno de los t rminos restantes Qian se reserva el derecho de modificar cua...

Page 15: ...te al distribuidor o a la compa a el ctrica local Si no va a utilizar el monitor durante un per odo prolongado corte el suministro de energ a para evitar descargas el ctricas en d as de lluvia y da os...

Page 16: ...piezas pueden variar seg n los modelos Las figuras en este Manual del usuario son solo para referencia Los cables proporcionados pueden variar seg n los productos adquiridos Las figuras en este Manual...

Page 17: ...de mira Explicaci n de la luz indicadora Luz indicadora La luz azul fija indica que est encendido y que el monitor funciona con normalidad La luz roja indica que no se detect ninguna se al s ncrona ho...

Page 18: ...0 20 2 0 Instalaci n de la base 1 Abra el empaquete de cart n saque la espuma y col quela sobre la mesa Mantenga la espuma debajo del monitor antes de colocar el soporte 2 Saque el conjunto de soporte...

Page 19: ...ente el soporte para fijarlo en la cerradura luego sostenga el medio del soporte levante suavemente el cuerpo 5 Despu s del montaje simplemente enderece el soporte con la mano para colocar el monitor...

Page 20: ...ared con cuatro tornillos 3 Nota cuelgue el producto ensamblado en una pared dura No presione la pantalla con las manos durante el proceso de colgado para evitar da ar la pantalla Nota Para evitar que...

Page 21: ...nuestro departamento de fabricaci n o mantenimiento Interfaz HDMI Use el cable HDMl para conectar la interfaz HDMI IN del producto a la interfaz HDMI OUT de su PC Use el cable HDMI DVl para conectar...

Page 22: ...aviso Presione el bot n de men en el panel de control para acceder al men del monitor La informaci n detallada de cada men se puede encontrar en las siguientes secciones 1 Tecla basculante derecha pa...

Page 23: ...Izda Abajo Derecha Abajo Izda Pto mira juego Cerrar Activado Punto mira 1 Punto mira 2 Punto mira 3 Punto mira 4 Punto mira 5 Punto mira 6 Tiempo juego Cerrar 15 00 30 00 45 00 60 00 Activado Pos Arri...

Page 24: ...e azul Usuario3 Cerrar Activado rojo verde azul Matiz Rojo Verde Azul Cian Magenta Amarillo 0 100 Saturaci n PIP PBP Modo PIP PBP Cerrar Modo PIP PBP 2Vent 1 1 Fuente de subse al DP HDMI1 HDMI2 Fuente...

Page 25: ...llo Contraste Volumen Silencio Bal sombras Pto mira juego Frec actualizac Tiempo juego Modo contextual Modo PIP PBP Se al de entrada Brillo din mico Conf acceso2 Conf acceso3 Rotaci n OSD Normal 90 18...

Page 26: ......

Page 27: ......

Page 28: ......

Reviews: