6
------------------------ Operation
The LEDs on the Extender Units show the real-time status indicating the linking and
communication between the Transmitter/Sender Unit and the Receiver Unit. Users can
identify the current status through the LED indicators on the unit.
The quality of the output signal will depend largely upon the quality of video source,
cable and display device used. Low quality cables degrade output signal causing
elevated noise levels. Please use the proper cable and make sure the display device is
capable of handling the resolution and refresh rate selected.
NOTE
:
1. The system will disable the video output signal when it detects non-HDCP compliant
display(s) on playing the HDCP video source. All the connected output displays
MUST be HDCP compliant, when the video source is HDCP compliant.
2. It is NOT suggested setting up your screen array as N (row) x 1 (column) when
horizontal resolution is greater than 1280 pixels.
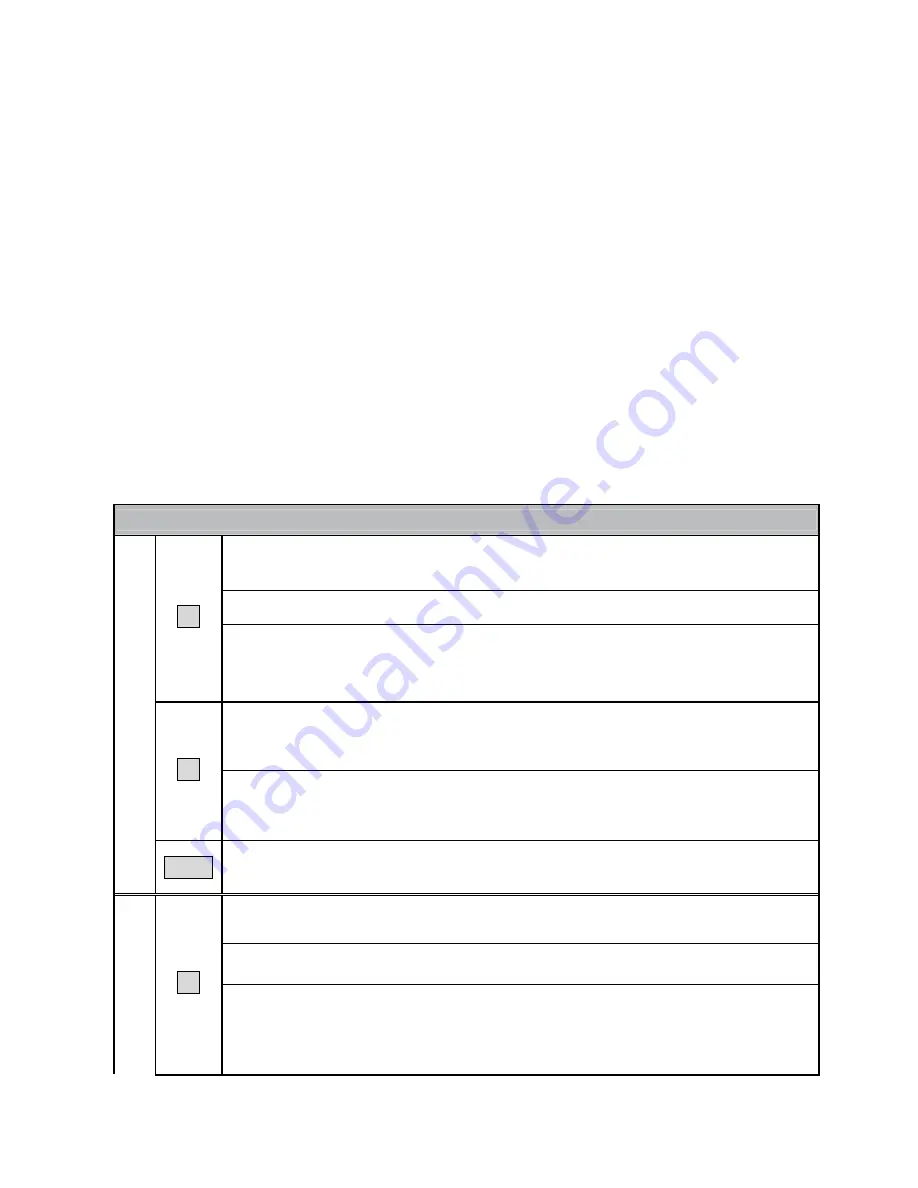
Push Button Control
HDMI Screen Array over Giga LAN
Press once (click within 0.3 sec.) - Link/ Unlink video (also functions for
all Tx & Rx in the same channel)
Press and hold – Reserve for further version
F1
Factory Default Setting for Tx: Power off the unit
→
Press and hold the
button
→
Power on the unit
→
Release the button after 17 sec. (the
Power/Link LED flashes green & blue)
→
Re-power the unit
Press for 1 sec. - Select Graphic Mode or Video Mode (also functions for
all Tx & Rx in the same channel)
(Factory default: Graphic Mode)
F2
Press for 3 sec. – Enter Anti-Dither Adjustment Mode: Level 1 /Level 2 /
Off (also functions for all Tx & Rx in the same channel)
(Factory Default: Off)
Tx
Reset
Reboot the system
Press once (click within 0.3 sec.) - Link/ Unlink video (also functions for
all Tx & Rx in the same channel)
Press and hold – Reserve for further version
Rx
F1
Factory Default Setting for Rx: Power off the unit
→
Press and hold the
button
→
Power on the unit
→
Release the button after 17 sec. (the
Power/Link LED flashes red & blue)
→
Re-power the unit
Summary of Contents for RVW130T
Page 1: ......
Page 4: ...R V W1 3 0i s u s e d...
Page 5: ...R V W1 3 0a r eu s e d t h eI G MPG i g aH u bs h o u l dh a v e...
Page 6: ......
Page 18: ...R V W1 3 0 L R V W1 3 0 R...


