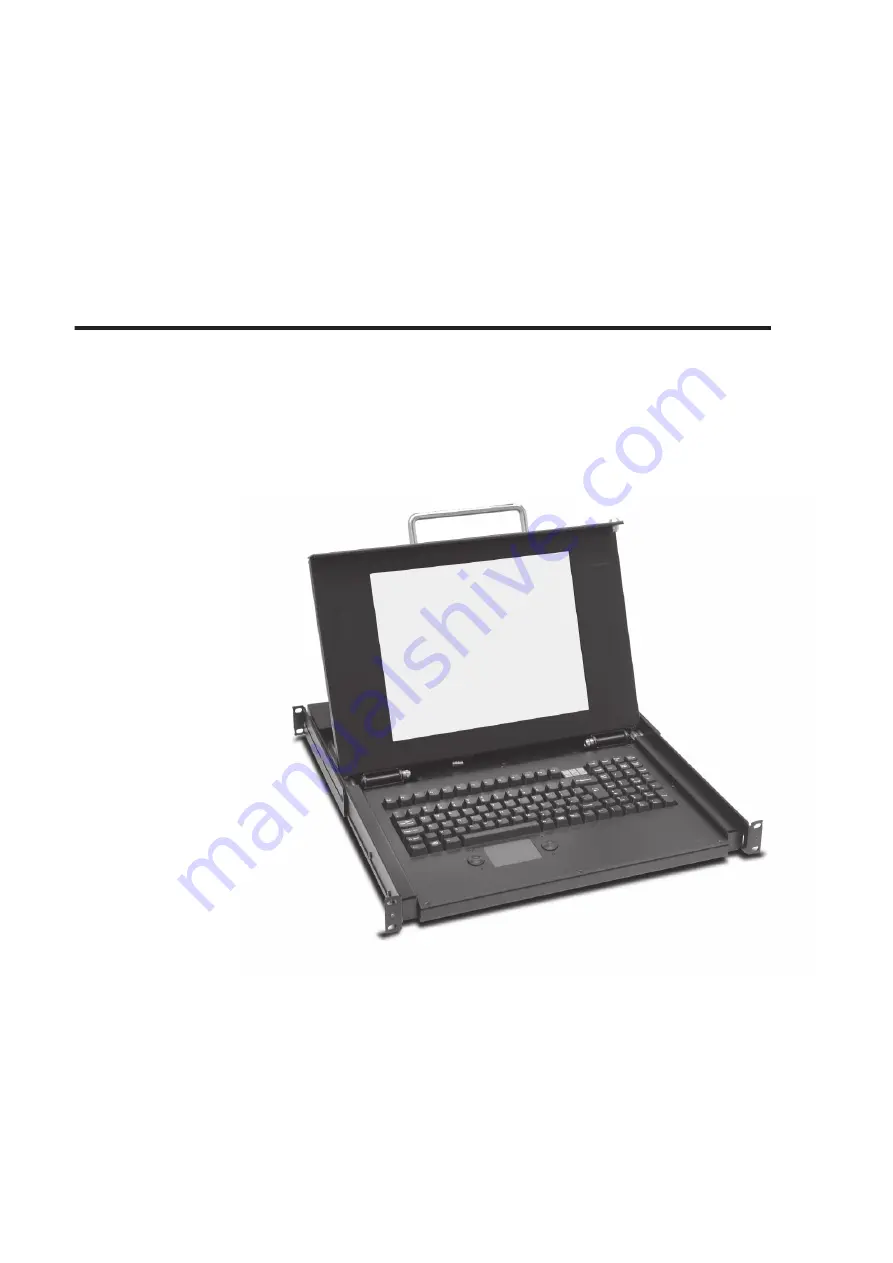
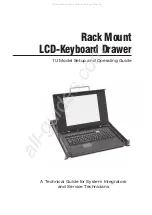
Rack Mount
LCD-Keyboard Drawer
1U Model Setup and Operating Guide
A Technical Guide for System Integrators
and Service Technicians
All manuals and user guides at all-guides.com
all-guides.com
Page 1: ...Rack Mount LCD Keyboard Drawer 1U Model Setup and Operating Guide A Technical Guide for System Integrators and Service Technicians All manuals and user guides at all guides com a l l g u i d e s c o m...
Page 2: ...accurate However no responsibility is assumed for its use nor for any infringements of patents or other rights of third parties which may result from its use This information is subject to change with...
Page 3: ...View OSD Controls 6 Top View Audio Components 7 Back View Connectors 8 System Requirements 9 Rack Installation 10 Mounting Procedure 10 OSD Controls 14 Using the OSD 15 OSD Menu System 16 Troubleshoot...
Page 4: ...Setup and Operating Guide All manuals and user guides at all guides com...
Page 5: ...d down design makes storage and access a real convenience The monitor keyboard consists of a 14 or 15 depending on the model you purchased TFT active matrix LCD monitor LCD controller designed to auto...
Page 6: ...identally sliding out and cause bodily injury the unit is shipped with a metal strap installed across the front bezel It is recommended that you do not remove it until the unit is installed in the rac...
Page 7: ...ays are made of glass which will break or crack if mishandled Ventilation The ambient temperature within a densely filled rack cabinet may exceed that of the room temperature It is important that noth...
Page 8: ...ories Save all of the shipping material in case you need it for transporting the unit in the future The monitor keyboard comes completely assembled You should find these items in your package w 14 or...
Page 9: ...onitor keyboard drawer includes a flip up LCD Unlock the flip up LCD and use the handle to lift the LCD up Facing the unit you ll find these components Slide rail LCD Touchpad mouse Keyboard Rack moun...
Page 10: ...e left side of the LCD you ll find four push buttons You use them to adjust the display properties through an OSD On Screen Display menu system see page 16 for a description of the OSD Power supply OS...
Page 11: ...7 Setup and Operating Guide Top View Audio Components Left speaker Volume and Tone controls Right speaker All manuals and user guides at all guides com a l l g u i d e s c o m...
Page 12: ...Setup and Operating Guide 8 Back View Connectors Audio input jack Keyboard video mouse connectors Power ON OFF switch and AC power connector All manuals and user guides at all guides com...
Page 13: ...system is required to have the following w A standard video card with an analog 15 pin video output connector You are also responsible to have the video card and its driver already installed w PS 2 p...
Page 14: ...nging from 19 to 23 in depth You ll find the unit fully assembled on slide rails and func tional Use the following steps to install the unit connect the cables and it s ready to use Step 1 Determine t...
Page 15: ...screw holes along the rack posts Step 4 Install the mounting screws Tighten down all of the mounting bolts Step 5 Once the unit has been installed and secured remove the metal strap Removing the meta...
Page 16: ...ter and then make all of the cable connections The keyboard and mouse port connectors are color coded purple colored connector for the keyboard and green colored connector for the mouse All manuals an...
Page 17: ...essing the AC power switch on the back of the unit to the ON position Grasp the handle and pull the drawer forward This will disengage the momentary on off switch and the unit should power on Turn the...
Page 18: ...tegrated RAM based OSD On Screen Display menu The OSD uses four push buttons to let you access menu system and make adjustments to the display for optimum performance The front panel push buttons are...
Page 19: ...on to bring up sub menus of the highlighted option Step 5 Press M to step through the sub menu options Step 6 Press either or to modify the selected parameter value Pressing a button once in creases o...
Page 20: ...int reference SHARPNESS Adjusts image sharpness 2 GEOMETRY MENU AUTO ADJUSTMENT Performs automatic adjustment of the vertical and horizontal image positions within the display area of the LCD RGB Menu...
Page 21: ...relation to the background CONTRAST Manual adjustment of individual RGB channel contrast 4 LANGUAGE MENU Selects English or Spanish language OSD 5 RESET Reloads all parameters to factory settings 6 S...
Page 22: ...acted funny when running certain programs or games The built in Intelligent Analog Digital conversion board AD board should adjust the screen to the proper resolution to fill the entire display Howeve...
Page 23: ...trix LCD Color 262K 16M LCD Size 14 1 15 1 Resolution 1024x768 Brightness 100 250 cd m Response 40ms 25ms Contrast 150 1 300 1 Environment Operating Temp 0 to 40o C Storage Temp 20 to 60o C Relative H...