Getting Started with WiFi and
mySewnet
™ Cloud
Follow the steps below to connect your machine.
Connect to a Network with WiFi
WiFi button
Touch the WiFi button in the top left corner of the screen.
Select from the list of available networks. If your network is
password protected, you will be prompted to enter the
password to connect.
For more information, see WiFi Introduction.
Connect to
mySewnet
™ Cloud
mySewnet™
cloud button
When you have established a WiFi connection, touch the
cloud button next to the WiFi button on the screen. Touch
the button to sign in. A web view opens where you can log
in. If you do not have a user name and password, select
Register to create an account.
For more information, see
LED Lights
Your machine has LED lights which distribute the light
evenly over the sewing area and eliminate shadows. You can
adjust the brightness of the light in the settings menu, see
LED Work Light Brightness .
Free Arm
To use the free arm, slide off the accessory tray. When
attached, a hook keeps the accessory tray locked to the
machine. Remove the tray by sliding it to the left.
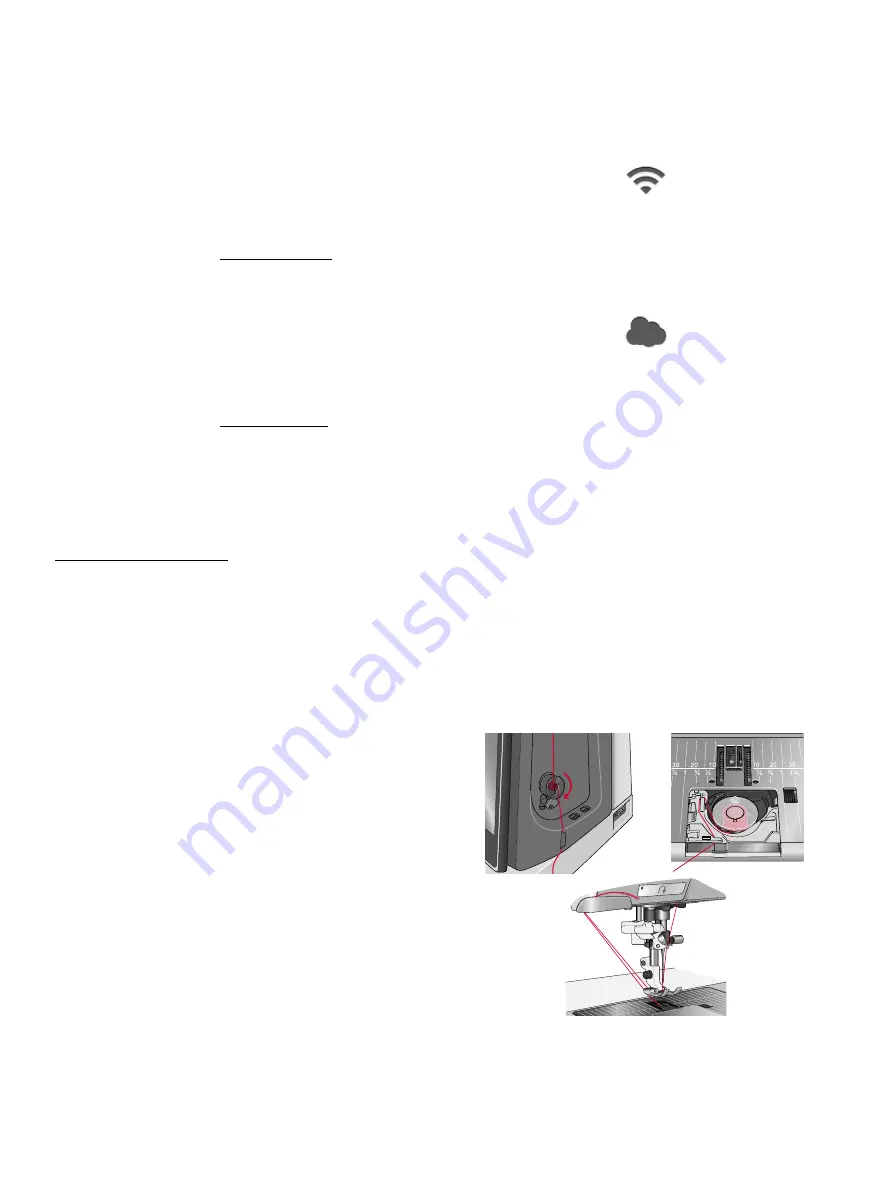
Manual Thread Cutter
There are three manual thread cutters on your machine. The
first one is close to the bobbin winder spindle for cutting the
thread before and after winding.
The second one is next to the bobbin area for cutting the
bobbin thread after placing the bobbin in the machine.
The third one is on the left side of the machine for manually
cutting top and bobbin threads. Pull both threads into the
cutter from the back to the front and pull down quickly.
26
Summary of Contents for VIKING Designer EPIC
Page 1: ...User s Guide KEEPING THE WORLD SEWING ...
Page 9: ...1 Introduction ...
Page 23: ...2 Preparations ...
Page 47: ...3 Embroidery Preparations ...
Page 52: ......
Page 53: ...4 The Multi Touch Screen ...
Page 60: ......
Page 61: ...5 WiFi mySewnet Services ...
Page 69: ...6 JoyOS advisor ...
Page 84: ......
Page 85: ...7 Sewing ...
Page 105: ...8 Embroidery ...
Page 132: ......
Page 133: ...9 Embroidery Stitch Out ...
Page 152: ......
Page 153: ...10 Program ...
Page 162: ......
Page 163: ...11 Settings ...
Page 173: ...12 File Manager ...
Page 181: ...13 Maintenance ...
Page 191: ...14 IMPORTANT 191 ...
Page 192: ......


