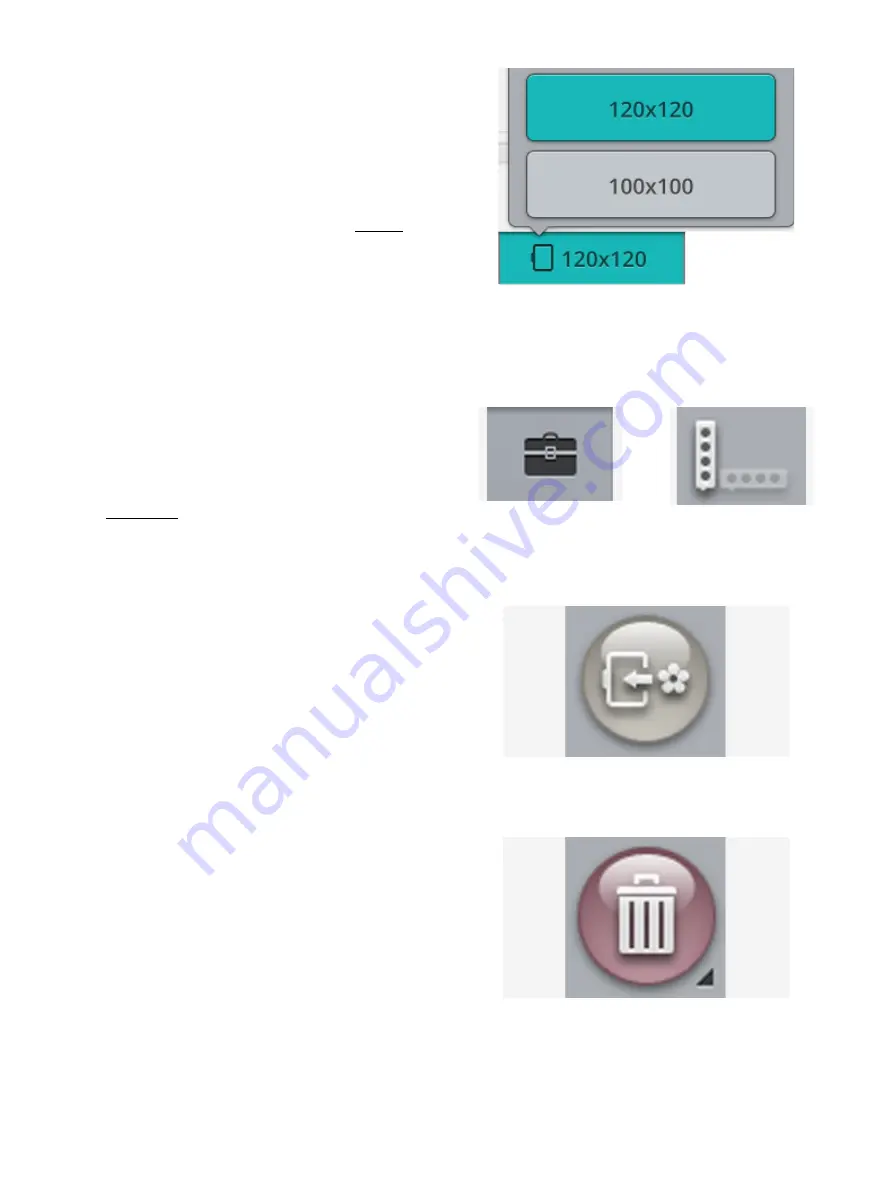
Hoop Selection
The machine will choose the most suitable hoop for the
loaded design. To select a different hoop size, touch the hoop
selection button. A list will appear with hoop choices,
including hoops that are available to purchase from your
authorized HUSQVARNA VIKING® retailer.
After selecting your hoop size, the list will close
automatically.
Note: You can adjust the list by choosing specific hoops in my hoops in
default embroidery settings. The selected hoops will be shown at the top
in the hoop selection list.
Note: In the hoop list you will find that some hoop sizes are followed by
a letter. These are specialty hoops. For example, E stands for endless
hoop, T for texture hoop and M for metal hoop.
Toolbox
Toolbox button
Change direction button
In embroidery edit several edit functions can be found in the
toolbox. Touch the button to open the toolbox and touch it
again to close. You can place the toolbox horizontally or
vertically on the screen by touching the change direction
button.
Tip: Use smart toolbox on the screen to open a shortcut for some edit
functions.
Move to Hoop
A red frame will surround the embroidery area if a design is
placed outside the hoop area. Touch move to hoop to move
any design that is outside the hoop area into the hoop area.
The design will be placed at the outermost edge of the hoop.
Tip: If you want to place a design e.g. in the top left corner as near as
possible easily, touch and drag your design to the top left corner. Make
sure that the design is placed outside the hoop area. Touch move to hoop
and the design will be placed at the top left corner of the hoop area, as
close to the hoop edge as possible.
Delete
When you touch delete, the selected design(s) will be deleted
from the embroidery area. If more than one design is
selected, a pop-up message will appear. Touch OK to
confirm to delete all designs. Touch & hold to delete all
loaded designs from the embroidery area and touch OK in
the pop-up window to confirm.
110
Summary of Contents for VIKING Designer EPIC
Page 1: ...User s Guide KEEPING THE WORLD SEWING ...
Page 9: ...1 Introduction ...
Page 23: ...2 Preparations ...
Page 47: ...3 Embroidery Preparations ...
Page 52: ......
Page 53: ...4 The Multi Touch Screen ...
Page 60: ......
Page 61: ...5 WiFi mySewnet Services ...
Page 69: ...6 JoyOS advisor ...
Page 84: ......
Page 85: ...7 Sewing ...
Page 105: ...8 Embroidery ...
Page 132: ......
Page 133: ...9 Embroidery Stitch Out ...
Page 152: ......
Page 153: ...10 Program ...
Page 162: ......
Page 163: ...11 Settings ...
Page 173: ...12 File Manager ...
Page 181: ...13 Maintenance ...
Page 191: ...14 IMPORTANT 191 ...
Page 192: ......


