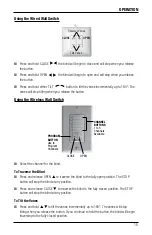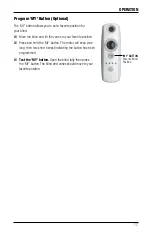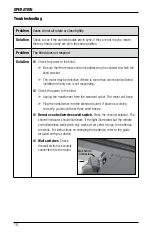
INSTALLATION
9
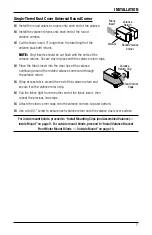
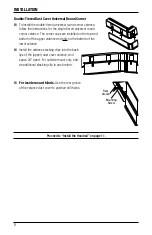
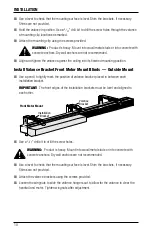
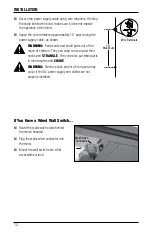
Install Mounting Clips (and Assembled Valance) — Inside Mount
Refer to the appropriate section below based on your motor mount position.
Front Mounted Motor
■
Mounting clips have to be mounted separate
from the valance.
➤
See the table below for mounting depths.
■
Mark 2 to 4" in from each end of the
valance for the screws locations. If more
than two screws are needed, space
evenly at a minimum of 24".
■
Hold the valance in position. Use a
3
∕
32
"
drill bit to drill the screw holes through
the valance as marked.
■
Attach the valance using the screws
provided.
➤
Align and tighten the valance against the ceiling into its finished mounting position.
■
Mark the location for the mounting clips. Place mounting clips ½" behind the valance in the
same locations as the screws for the valance.
■
Use a
3
∕
32
" drill bit to drill the screw holes.
■
Attach the mounting clip using the screws provided.
Warning:
Product is heavy. Mount into wood/metal studs or into concrete with
concrete anchors. Drywall anchors are not recommended.
Rear Mounted Motor
■
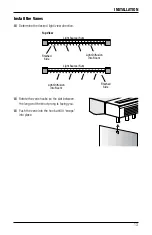
Mark the underside of the valance 2 to 4" in
from each end of the valance for the mounting
clip locations. If more than two mounting clips
are needed, space evenly at a minimum of 24".
➤
See the table for mounting depths.
➤
For single-tiered valance mark in the
center groove. For double-tiered valance
mark in the rear groove.
Valance
Mounting
Clip
2 to 4"
½"
Motor Position
Rear
Front
Minimum with
Valance
3
1
/
8
"
3
1
/
8
"
Fully Recessed
with Valance
5¾"
6"
Groove for
Double-Tiered
Valance
Valance
Single-Tiered
Valance
Mounting
Clip
Motor Position
Rear
Front
Minimum with
Valance
3
1
/
8
"
3
1
/
8
"
Fully Recessed
with Valance
5¾"
6"
Summary of Contents for Specialty Motorized Vertical Blinds
Page 1: ...Installation Operation Care Vertical Blinds Specialty Motorized...
Page 22: ...Notes...
Page 23: ......


