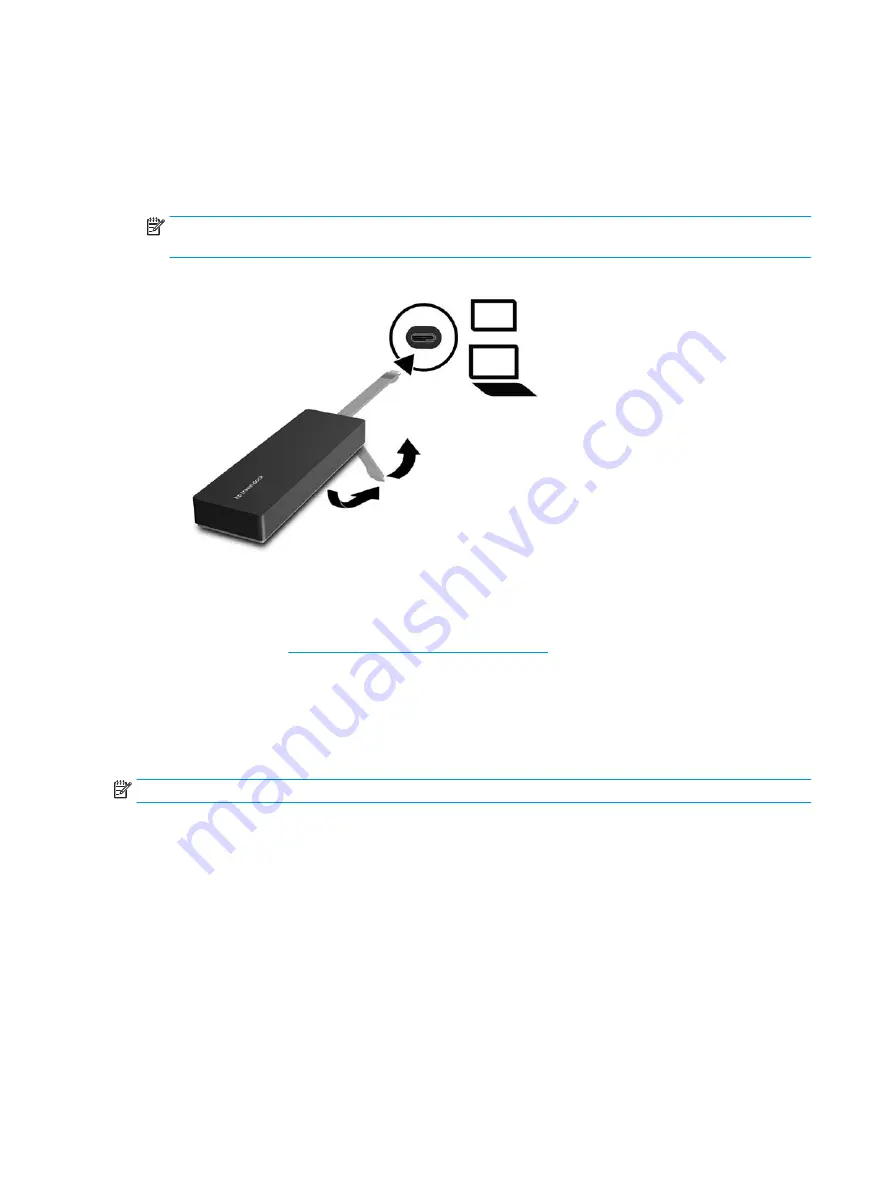
Setting up the USB dock
Step 1: Connecting to a computer
▲
Connect the USB Type-C cable attached to the dock to a USB Type-C charging port on the computer that
is charged or connected to an AC power source.
NOTE:
The dock is bus-powered, which means that it receives power via the same connection used for
transferring data.
Step 2: Prevent Sleep or Hibernation
When using an external monitor, you might want to close the computer. For more information on configuring
an external monitor, see
Configuring an external monitor on page 3
.
To ensure that the computer does not initiate Sleep or Hibernation when it is closed:
1.
Open the Control Panel and select the Power Options page.
2.
Click Choose what closing the lid does. Click Do nothing, and then click OK.
3.
Under Plugged in, select Do nothing, and then click Save changes.
NOTE:
For instructions on accessing the Power Options page, see Help and Support on the computer.
Setting up the software
This section describes how to install the HP USB-C Travel Dock software on a computer running the Windows
®
10, Windows 8, or Windows 7 operating system. The software is preinstalled in flash memory on the dock.
1.
With the computer on, Windows running, and the Internet connected, connect the USB cable from the
dock to the computer. The device drivers should install automatically.
2.
If the device drivers do not install automatically, do the following:
2
Chapter 1 Getting started
Summary of Contents for USB-C Travel Dock
Page 1: ...HP USB C Travel Dock User Guide ...
Page 4: ...iv ...


