


Chapter 3 Installing the switch
33
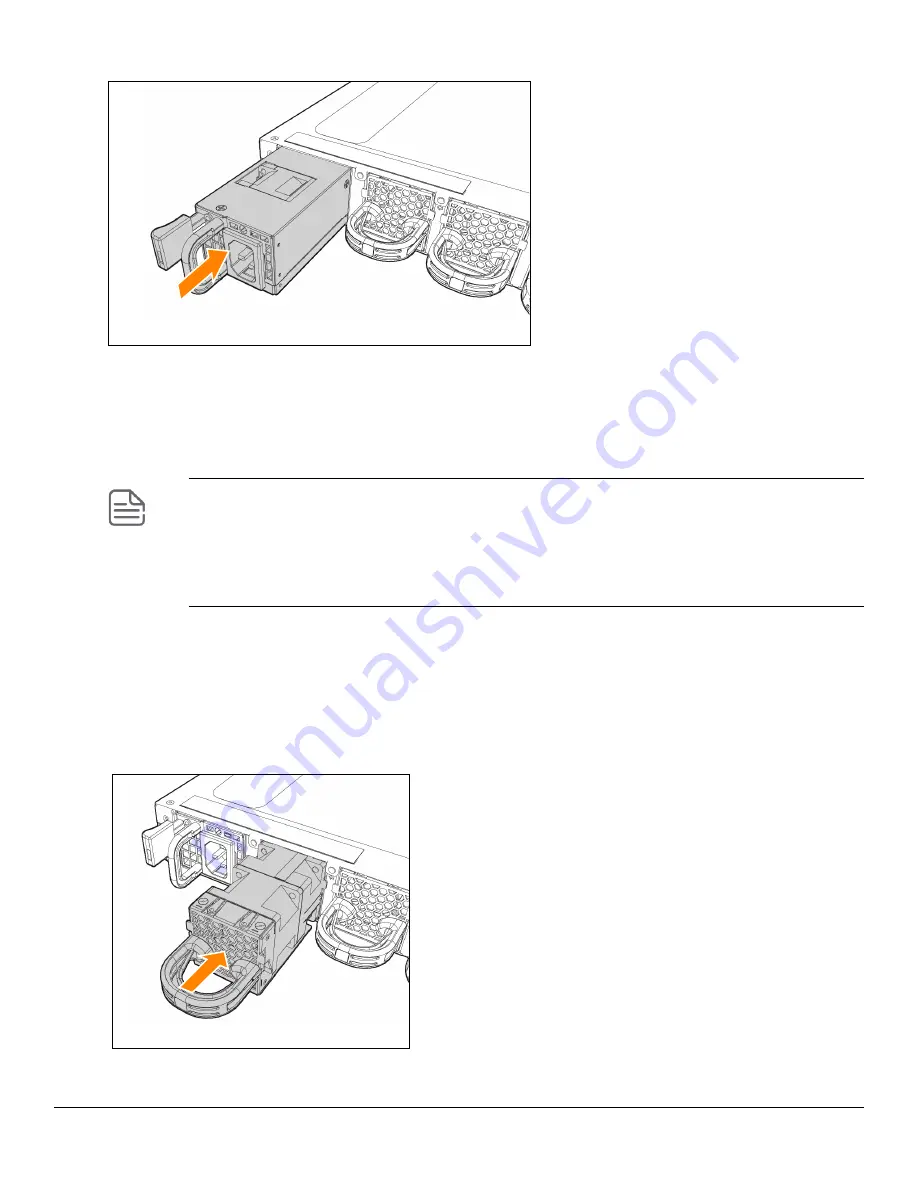
Figure 12:
Installing a power supply
3. Install fan assemblies
Skip this step if all six fan slots are already populated with fan assemblies.
Use the following steps to install a fan assembly in any empty fan slot.
1.
Remove the new fan assembly from its packaging, being careful to not touch any of the circuitry on the board.
2.
Insert the new fan assembly fully into the slot so that its face plate is flush with the back face of the switch. If
the switch is connected to a power source, the fan assembly should immediately start running.
3.
For the 32-port switch fan assembly, engage the retaining screw and tighten it. Be sure to not over-tighten the
screw.
Figure 13:
Installing a fan assembly
•
The 48-port switches and the 32-port switches use different fan assemblies. Each fan assembly
type can only be installed in the correct switch model.
•
Ensure that a replacement fan has the same airflow as other fans installed in the switch (FB or
BF).
•
A red-colored fan handle indicates a Front-to-Back (FB) air flow. A blue-colored fan handle
indicates a Back-to-Front (BF) air flow.
Summary of Contents for Aruba 8325 Series
Page 1: ...Aruba 8325 Switch Series Installation and Getting Started Guide Published June 2022 Edition 3 ...
Page 6: ...6 Aruba 8325 Switch Installation and Getting Started Guide ...
Page 8: ...8 Aruba 8325 Switch Installation and Getting Started Guide ...
Page 28: ...28 Aruba 8325 Switch Installation and Getting Started Guide ...
Page 46: ...46 Aruba 8325 Switch Installation and Getting Started Guide ...
Page 52: ...52 Aruba 8325 Switch Installation and Getting Started Guide ...
Page 60: ...60 Aruba 8325 Switch Installation and Getting Started Guide ...
Page 68: ...68 Aruba 8325 Switch Installation and Getting Started Guide ...


