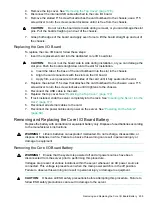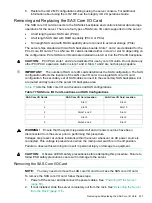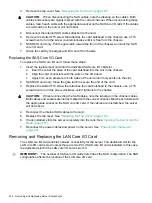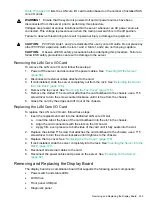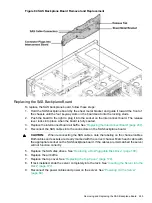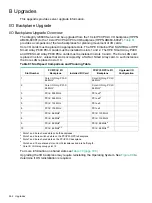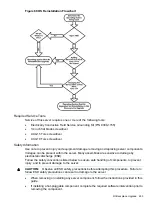
13. If rack installed, slide the server completely into the rack. See
“Inserting the Server into the
.
14. Reconnect the power cables and power on the server. See
15. Respond
YES
to prompts regarding copying information onto the new board.
IMPORTANT:
Serial number and model string data information is stored on both the
interconnect board and the I/O board. When you install a new interconnect board, you must
copy this information from the I/O board to the new interconnect board.
16. Verify the serial number and model string data information copied onto the new interconnect
board.
a.
Boot to EFI.
b.
Enter
service
mode:
Shell> sysmode service
Current System Mode: ADMIN
You are now in SERVICE mode.
c.
Use the
sysset
command to verify that all values are set:
Shell> sysset
System Information:
Manufacturer: hp
Product Name: server rx6600
Product Number: AB464A
Secondary Product Number is Identical
Serial number: SGH43442VB
Secondary Serial Number is Identical
UUID: 3C33C58E-2E5A-11D8-A33B-4188C0AEFAE2 (Valid)
Secondary UUID is Identical
Product ID: 0x301
Removing and Replacing the Midplane Board
The midplane board is attached to the main bulkhead in the center of the chassis. It provides a
connection between the power supplies, the I/O board assembly, and the processor board
assembly.
WARNING!
Ensure that the system is powered off and all power sources have been
disconnected from the server prior to performing this procedure.
Voltages are present at various locations within the server whenever an AC power source is
connected. This voltage is present even when the main power switch is in the off position.
Failure to observe this warning can result in personal injury or damage to equipment.
CAUTION:
Observe all ESD safety precautions before attempting this procedure. Failure to
follow ESD safety precautions can result in damage to the server.
Removing the Midplane Board
To remove the midplane board, perform the following steps:
1.
Power off the server and disconnect the power cables. See
2.
If rack installed, slide the server completely out from the rack. See
.
3.
Remove the top cover. See
“Removing and Replacing the Top Cover” (page 178)
.
248
Removing and Replacing Server Components


