187
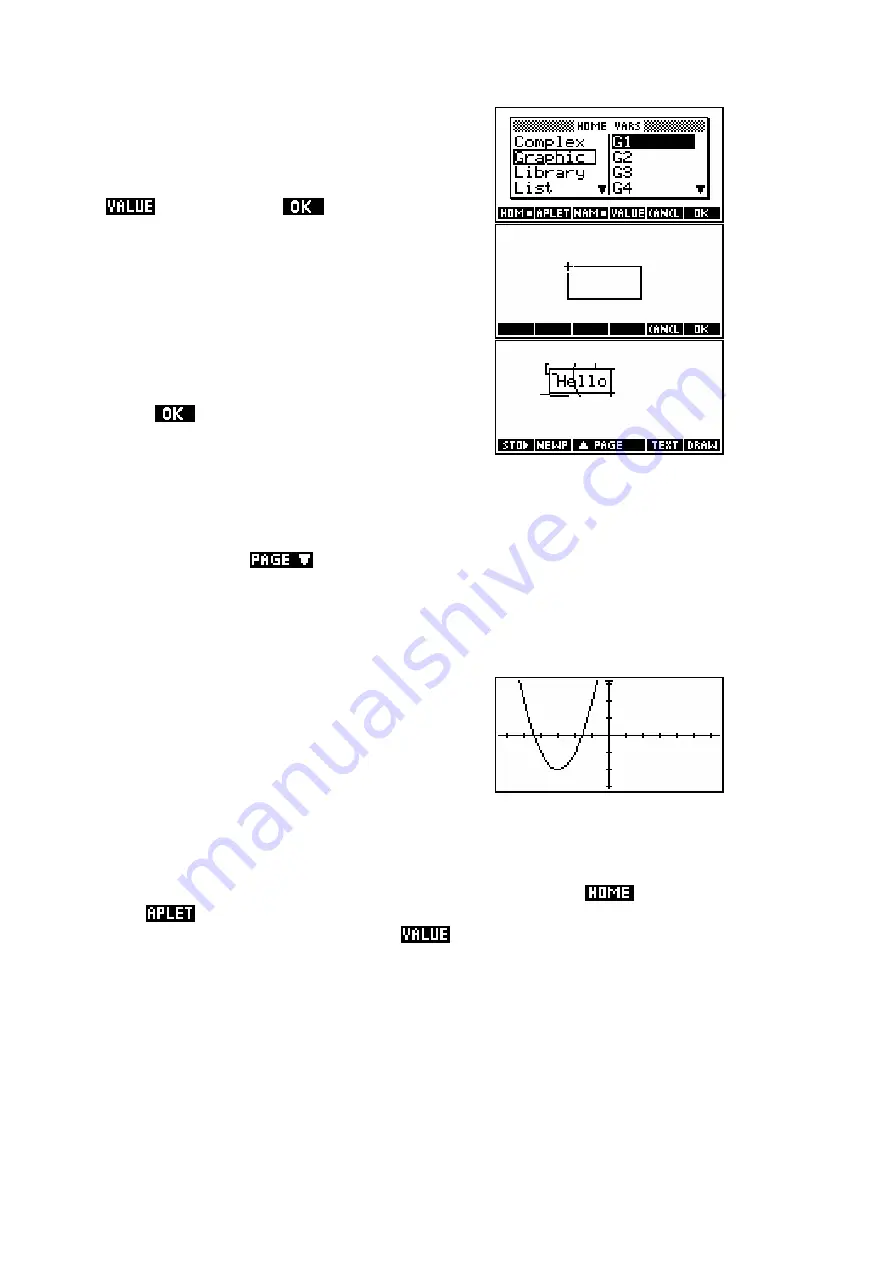
Move down through the menu until you reach
Graphic
and across to the particular GROB
you chose. Now also press the key labeled
and then press
.
You will now find yourself back in the graphics
screen with a rectangle representing the size
of the GROB to be pasted in.
Move the rectangle to the desired position and
press
. The GROB will appear.
Animations
This technique can be very useful in building a Sketch, particularly when
used in conjunction with the ability to capture
PLOT
screens and store them
in GROBs (see below). You can also use it to create animations by pasting
the same image in successively moved locations on each of the pages.
Holding down the
key will move rapidly through the sketches,
animating them. If you can program then you can even automate the
animation quite simply.
Capturing the
PLOT
screen
To capture a
PLOT
screen, just arrange the
PLOT
display so that it shows the features you
wish to capture. For example, if you don’t
want the screen menu showing, make sure it is
set up that way before you proceed. When
ready, press
and hold down
the
ON
key, then
press the
PLOT
key and release both. The screen will be automatically
stored into GROB
G0
.
Now change into the sketch view, press the
VAR
key, select
rather
than
, move the highlight to
Graphic
and then move it into the right-
hand column and find
G0
. Press the
key and then press
ENTER
.
Unlike the previous example where the pasted GROB now had to be located
on the sketch page, the captured screen in this case is a full size image and
so will be pasted in as a fresh page not over an existing one.


