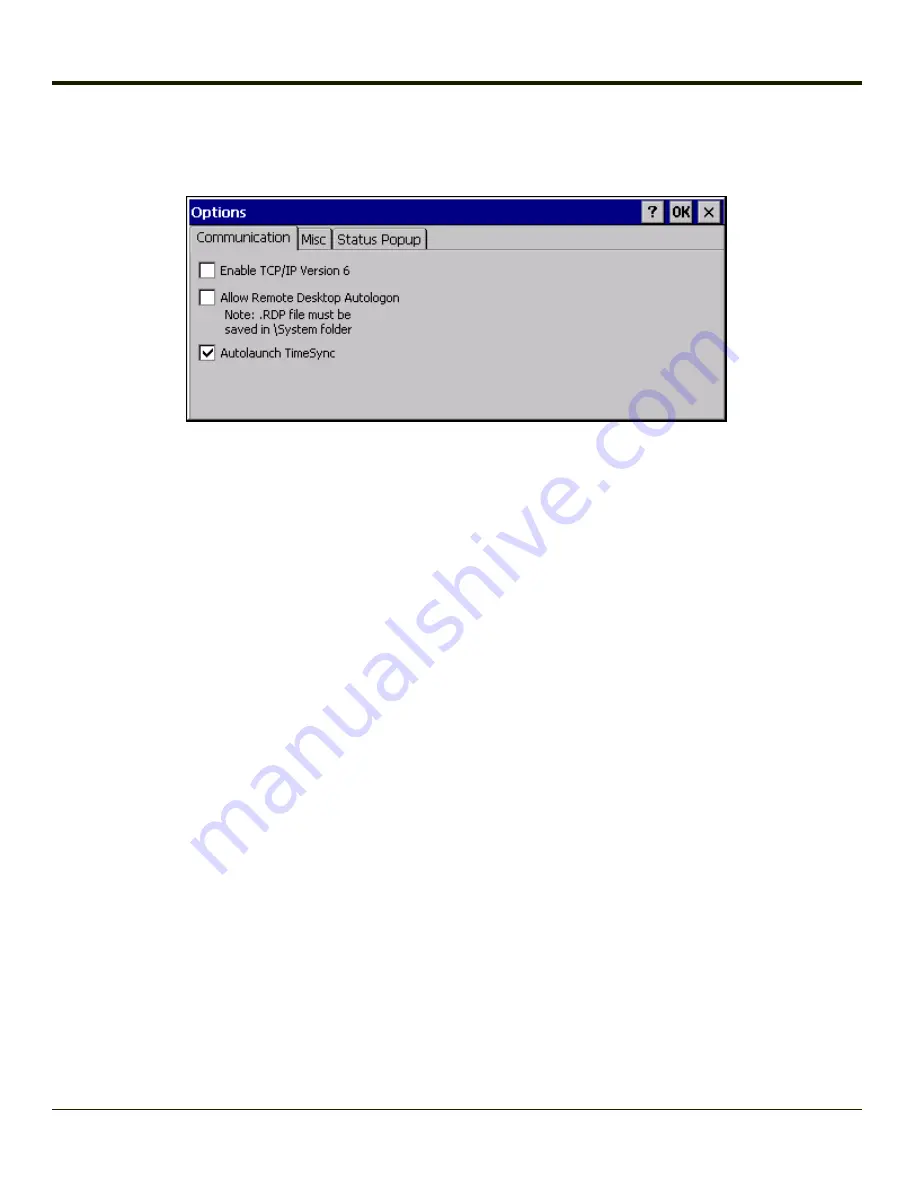
Communication
Options on this tab configure communication options for the Thor VM1.
Enable TCP/IP Version 6
By default, IPv6 is disabled on the Thor VM1. Check this checkbox to enable IPv6.
Allow Remote Desktop Autologon
By default, Remote Desktop Autologon is disabled. Check this checkbox to enable Remote Desktop Autologon.
Note:
The .RDP file must be saved in the \System folder. When prompted, use the Save As button to save
the .RDP file is the \System directory. If the .RDP file is saved in the default root folder location, the
.RDP file will not persist across a warmboot.
Autolaunch TimeSync
By default, TimeSync does not automatically run on the Thor VM1. To enable TimeSync to run automatically on the Thor VM1,
check this checkbox.
Synchronize with a Local Time Server
By default, GrabTime synchronizes via an Internet connection. To synchronize with a local time server:
1. Use ActiveSync to copy GrabTime.ini from the
My Device > Windows
folder on the mobile device to the host PC.
2. Edit the copy of GrabTime.ini on the host PC. Add the local time server’s domain name to the beginning of the list of
servers. You can optionally delete the remainder of the list.
3. Copy the modified GrabTime.ini file to the
My Device > System
folder on the mobile device.
The System/GrabTime.ini file takes precedence over the Windows/GrabTime.ini file. System/Grabtime.ini also persists after a
coldboot; Windows/Grabtime.ini does not persist.
3-133
Summary of Contents for THOR VM1
Page 17: ...Components Front View 1 Power Button 2 Speakers 3 Ambient Light Sensor 4 Microphone 1 3 ...
Page 43: ...IBM 3270 Overlay 2 25 ...
Page 162: ...Hat Encoding 3 100 ...
Page 163: ...3 101 ...
Page 175: ...About This tab displays information on the Gobi 2000 radio installed in the Thor VM1 3 113 ...
Page 179: ...3 117 ...
Page 199: ...Enter user name password and domain to be used when logging into network resources 3 137 ...
Page 206: ...3 144 ...
Page 220: ...3 158 ...
Page 228: ...4 8 ...
Page 301: ...Click the Request a certificate link Click on the advanced certificate request link 6 45 ...
Page 302: ...Click on the Create and submit a request to this CA link 6 46 ...
Page 312: ...7 4 ...
Page 318: ... Shift 9 Shift 0 8 6 ...


