


Network and Dialup Options
Start > Settings > Control Panel > Network and Dialup Connections
Set Thor VM1 network driver properties and network access properties. Select a connection to use, or create a new
connection.
Create a New Connection
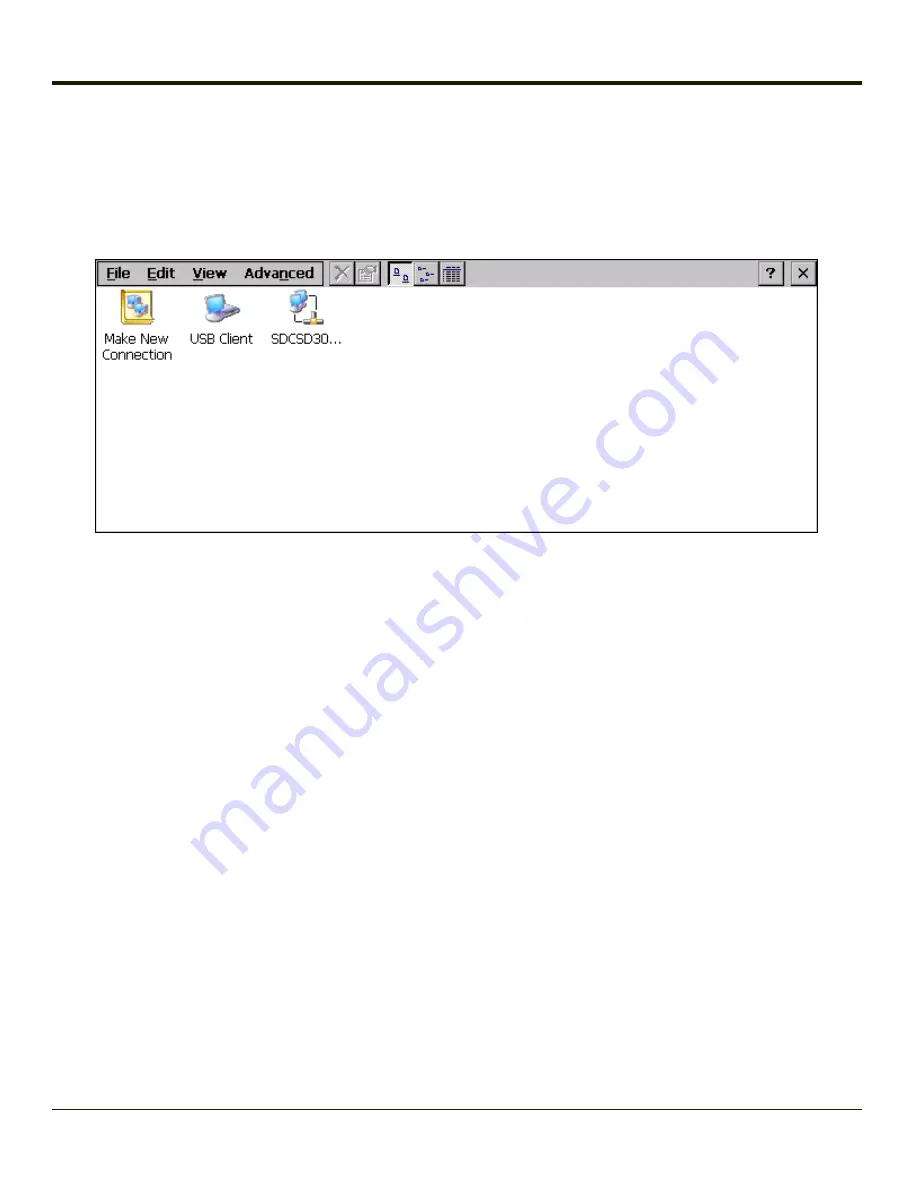
1. On the mobile device, select
Start > Settings > Control Panel > Network and Dialup Connections
. A window is
displayed showing the existing connections.
2. Assuming the connection you want does not exist, double-tap
Make New Connection
.
3. Give the new connection an appropriate name (My Connection @ 9600, etc.). Tap the
Direct Connection
radio button.
Tap the
Next
button.
4. From the popup menu, choose the port you want to connect to. Only the available ports are shown.
5. Tap the
Configure...
button.
6. Under the Port Settings tab, choose the appropriate baud rate. Data bits, parity, and stop bits remain at 8, none, and 1,
respectively.
7. Under the
Call Options
tab, be sure to turn off Wait for dial tone, since a direct connection will not have a dial tone. Set
the timeout parameter (default is 5 seconds). Tap
OK
.
8.
TCP/IP Settings
should not need to change from defaults. Tap the
Finish
button to create the new connection.
9. Close the
Remote Networking
window.
10. To activate the new connection select
Start > Settings > Control Panel > PC Connection
and tap the
Change
Connection…
button.
11. Select the new connection. Tap
OK
twice.
12. Close the Control Panel window.
13. Connect the desktop PC to the mobile device with the appropriate cable.
14. Click the desktop
Connect icon
to test the new connection.
You can activate the connection by double-tapping on the specific connection icon in the Remote Networking window, but this
will only start an RAS (Remote Access Services) session, and does not start ActiveSync properly.
3-128
Summary of Contents for THOR VM1
Page 17: ...Components Front View 1 Power Button 2 Speakers 3 Ambient Light Sensor 4 Microphone 1 3 ...
Page 43: ...IBM 3270 Overlay 2 25 ...
Page 162: ...Hat Encoding 3 100 ...
Page 163: ...3 101 ...
Page 175: ...About This tab displays information on the Gobi 2000 radio installed in the Thor VM1 3 113 ...
Page 179: ...3 117 ...
Page 199: ...Enter user name password and domain to be used when logging into network resources 3 137 ...
Page 206: ...3 144 ...
Page 220: ...3 158 ...
Page 228: ...4 8 ...
Page 301: ...Click the Request a certificate link Click on the advanced certificate request link 6 45 ...
Page 302: ...Click on the Create and submit a request to this CA link 6 46 ...
Page 312: ...7 4 ...
Page 318: ... Shift 9 Shift 0 8 6 ...