SmartPAC 2 with WPC Integration
1126800
SmartPAC 2 Initialization Mode
Chapter 4
page 237
However, no matter how long you hold the buttons, the clutch is engaged only for the Micro-
inch time you set. You can stop the ram before the set time by releasing the switches. To jog
the ram through a complete stroke, press and release the RUN/INCH switches as many times
as necessary.
Micro-inch Angle is the crank-angle position at which you want Micro-inch operate when it
is enabled. The Micro-inch Angle can be set at any angle. A setting of 185° (default value)
will result in turning OFF (disabling) Micro-inch. Conversely, a setting of 186° will turn
Micro-inch ON all the time.
Examples
If you set the Micro-inch Angle to 300°, the press will Micro-inch from 300° to 185°. Normal
inching resumes from 185° to 300°.
If you set the Micro-inch Angle to 186°, the press will automatically Micro-inch throughout the
stroke, from 186° to 185°.
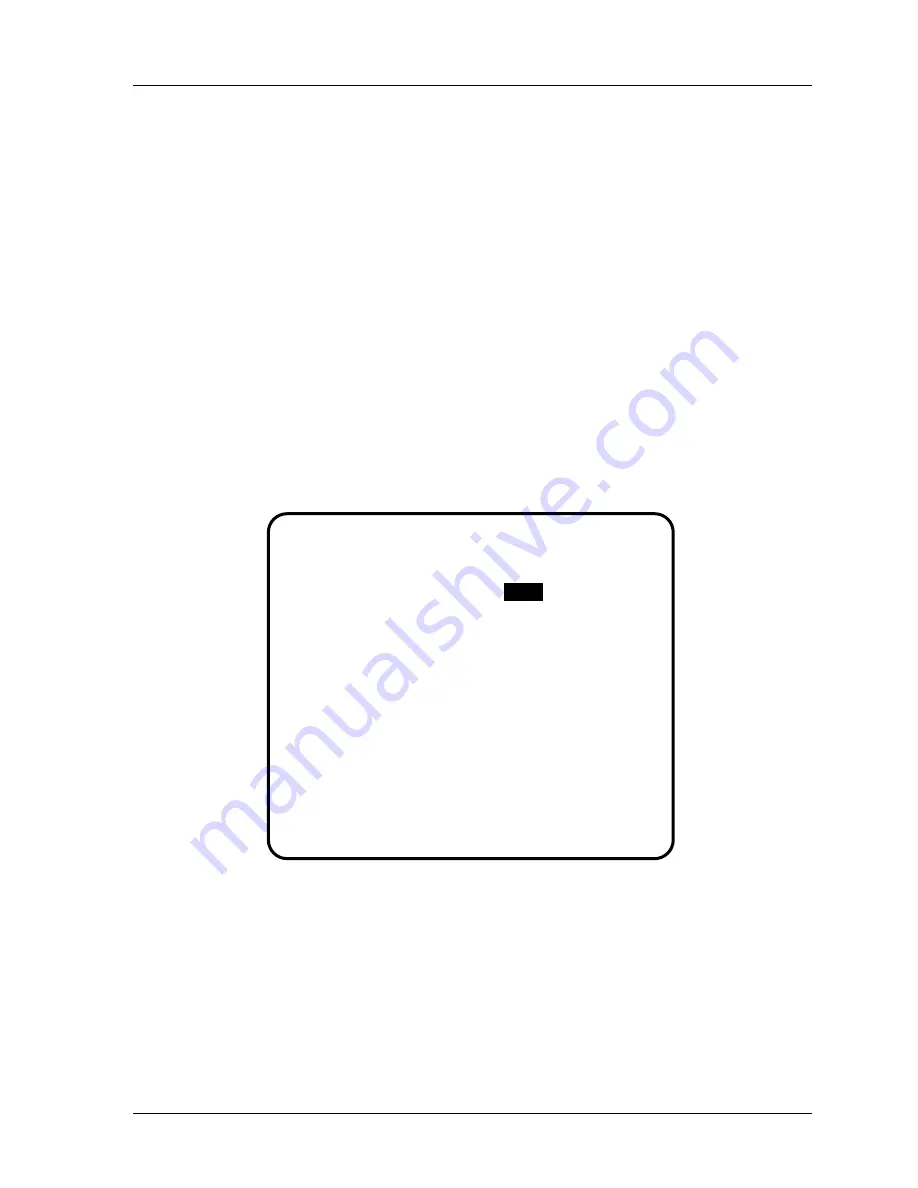
1. If you are not already there, get into SmartPAC's Initialization mode (Figure 4-1), and
select "Press Control.” In the WPC Initialization menu that appears, select “Press
Parameters." Use the cursor keys to first highlight "Micro Time" in this display. Then
press ENTER to select.
TOP STOP DEFLT
CARRYUP ANGLE
MICRO TIME
MICRO ANGLE
MAIN AIR LIMIT
CNTR BAL +/-
STOP LIMIT
START LIMIT
SHUT DOWN LIMIT
FLYWHEEL TIMER
ACTS ANGLE
220 DEG
149 DEG
100 MSEC
185 DEG
0 PSI
0 PSI
250 MSEC
199 MSEC
5 MIN
6 SEC
0 DEG
=
=
=
=
=
=
=
=
=
=
=
INITIALIZE PARAMETERS
USE THE CURSOR KEYS TO CHOOSE THE VALUE
YOU WANT TO CHANGE.
PRESS THE ENTER KEY TO CHANGE THE VALUE.
PRESS THE RESET KEY WHEN DONE.
PRESS CONTROL PARAMETER MENU
100
Figure 4 - 31. "Micro-Inch" Display
2. Use the number keys to make your selection, and then press ENTER.
3. Use the cursor keys to select "Micro Angle,” and repeat step 2. Press RESET when done.
Summary of Contents for SmartPAC 2
Page 192: ...1126800 SmartPAC 2 with WPC Integration Page 170 Chapter 2 Installing SmartPAC 2 and WPC ...
Page 294: ...1126800 SmartPAC 2 with WPC Integration Page 272 Chapter 4 SmartPAC 2 Initialization Mode ...
Page 342: ...1126800 SmartPAC 2 with WPC Integration page 320 Chapter 5 SmartPAC 2 Program Mode ...
Page 404: ...1126800 SmartPAC 2 with WPC Integration Page 382 Chapter 6 SmartPAC 2 Run Mode ...
Page 448: ...1126800 SmartPAC 2 with WPC Integration Page 426 Chapter 7 SmartPAC 2 Fault Messages ...
Page 476: ...1126800 SmartPAC 2 with WPC Integration page 454 Appendix C Updating SmartPAC 2 Firmware ...
Page 482: ...1126800 SmartPAC 2 with WPC Integration page 460 Appendix F Replacing SmartPAC 2 PC Board ...
Page 492: ...1126800 SmartPAC 2 with WPC Integration page 470 Glossary ...


