


1126800
SmartPAC 2 with WPC Integration
Page 218
Chapter 4
SmartPAC 2 Initialization Mode
CUSTOM SENSOR NAMES (Optional)
(INITIALIZATION – CUSTOM SENSOR NAMES)
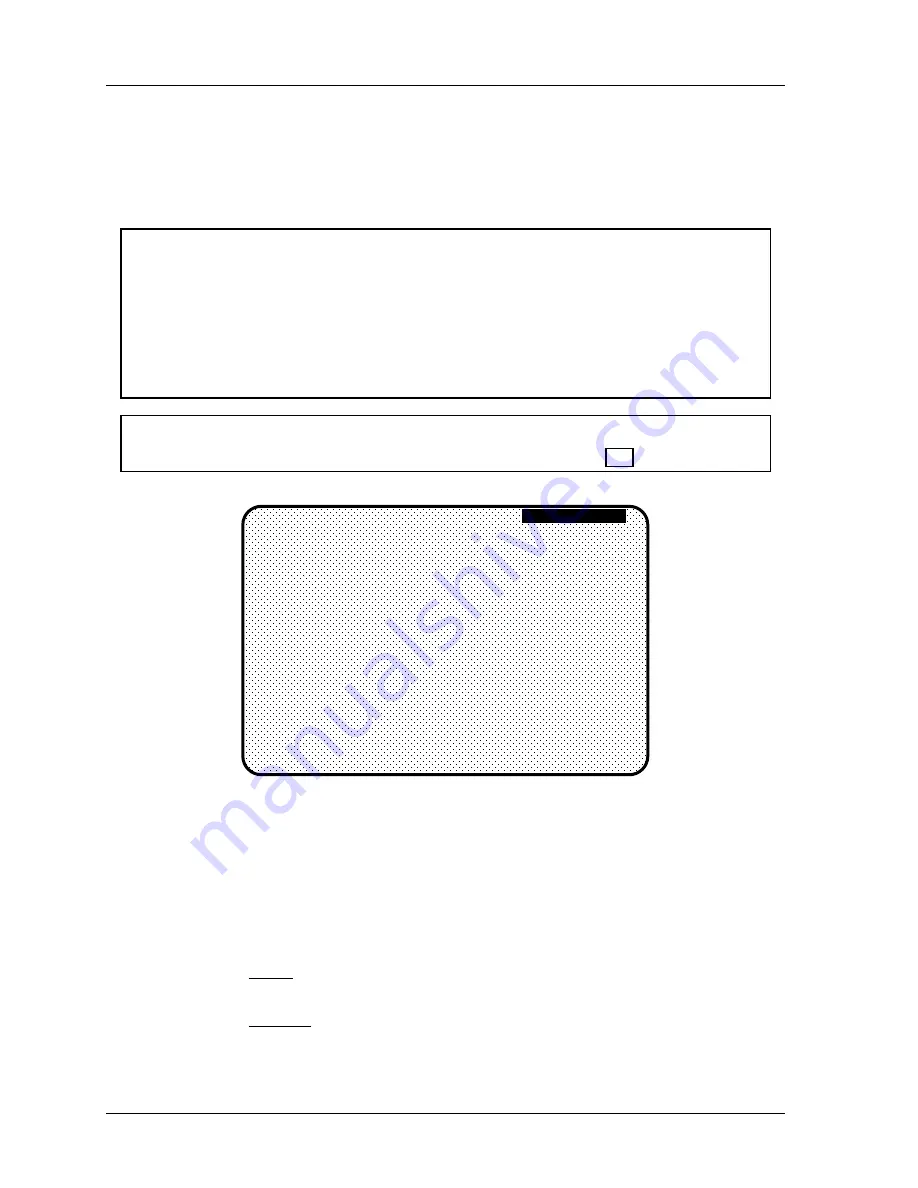
You select this choice to set custom sensor names (if DiProPAC is installed). You will see
the screen shown in the next figure.
NOTICE
HOW YOU USE THE CUSTOM SENSOR NAMES
You can create up to sixteen custom names for your sensors,
regardless if you have
DiProPAC-8 or DiProPAC 16.
What this means is that when you actually assign names for
each of your sensors in Program mode, you can interchangeably choose from your entire list
of customized names (created in Initialization). For example, you assign “custom 12” the
name of “transfer arm” in Initialization mode. In Program mode, you set sensor #1 to be
named “transfer arm.”
NOTICE
You can use a separate computer keyboard to enter names. See page 270.
C U S TO M 1
C U S TO M 2
C U S TO M 3
C U S TO M 4
C U S TO M 5
C U S TO M 6
C U S TO M 7
C U S TO M 8
C U S TO M 9
C U S TO M 10
C U S TO M 11
C U S TO M 12
C U S TO M 13
C U S TO M 14
C U S TO M 15
C U S TO M 16
CUSTOM
SENSOR
NAMES
USE CURSOR KEYS TO SELECT A CUSTOM
NAME. PRESS ENTER TO SET/CHANGE A NAME.
PRESS RESET WHEN DONE.
Figure 4 - 13. Custom Naming Sensors
1. Select “Custom 1,” by highlighting and pressing Enter. Note that the custom name
screen is superimposed over the above display (refer to Figure 4-11 for illustration).
2. As the screen suggests (see the illustration below), certain keys enable you to custom
name the tool. Your names can be any combination of alpha-numeric characters,
symbols, etc. Pressing the CLEAR key clears the text. To make other entries, do the
following:
a.
To key in letters: Use the up, down, left, and/or right cursor keys to highlight the
desired letter; then press ENTER.
b. To key in numbers: Use the number keypad; then press ENTER.
Summary of Contents for SmartPAC 2
Page 192: ...1126800 SmartPAC 2 with WPC Integration Page 170 Chapter 2 Installing SmartPAC 2 and WPC ...
Page 294: ...1126800 SmartPAC 2 with WPC Integration Page 272 Chapter 4 SmartPAC 2 Initialization Mode ...
Page 342: ...1126800 SmartPAC 2 with WPC Integration page 320 Chapter 5 SmartPAC 2 Program Mode ...
Page 404: ...1126800 SmartPAC 2 with WPC Integration Page 382 Chapter 6 SmartPAC 2 Run Mode ...
Page 448: ...1126800 SmartPAC 2 with WPC Integration Page 426 Chapter 7 SmartPAC 2 Fault Messages ...
Page 476: ...1126800 SmartPAC 2 with WPC Integration page 454 Appendix C Updating SmartPAC 2 Firmware ...
Page 482: ...1126800 SmartPAC 2 with WPC Integration page 460 Appendix F Replacing SmartPAC 2 PC Board ...
Page 492: ...1126800 SmartPAC 2 with WPC Integration page 470 Glossary ...