


5 - 2
IMPORTANT – DO NOT PUT THE HX3 INTO SUSPEND WHILE CONNECTED VIA USB. The device will be unable
to connect to the host PC when it resumes operation.
Connect the correct cable to the PC (the host) and the mobile device (the client) as detailed below. USB will start auto-
matically when the USB cable is connected, not requiring you to select “Connect” from the start menu.
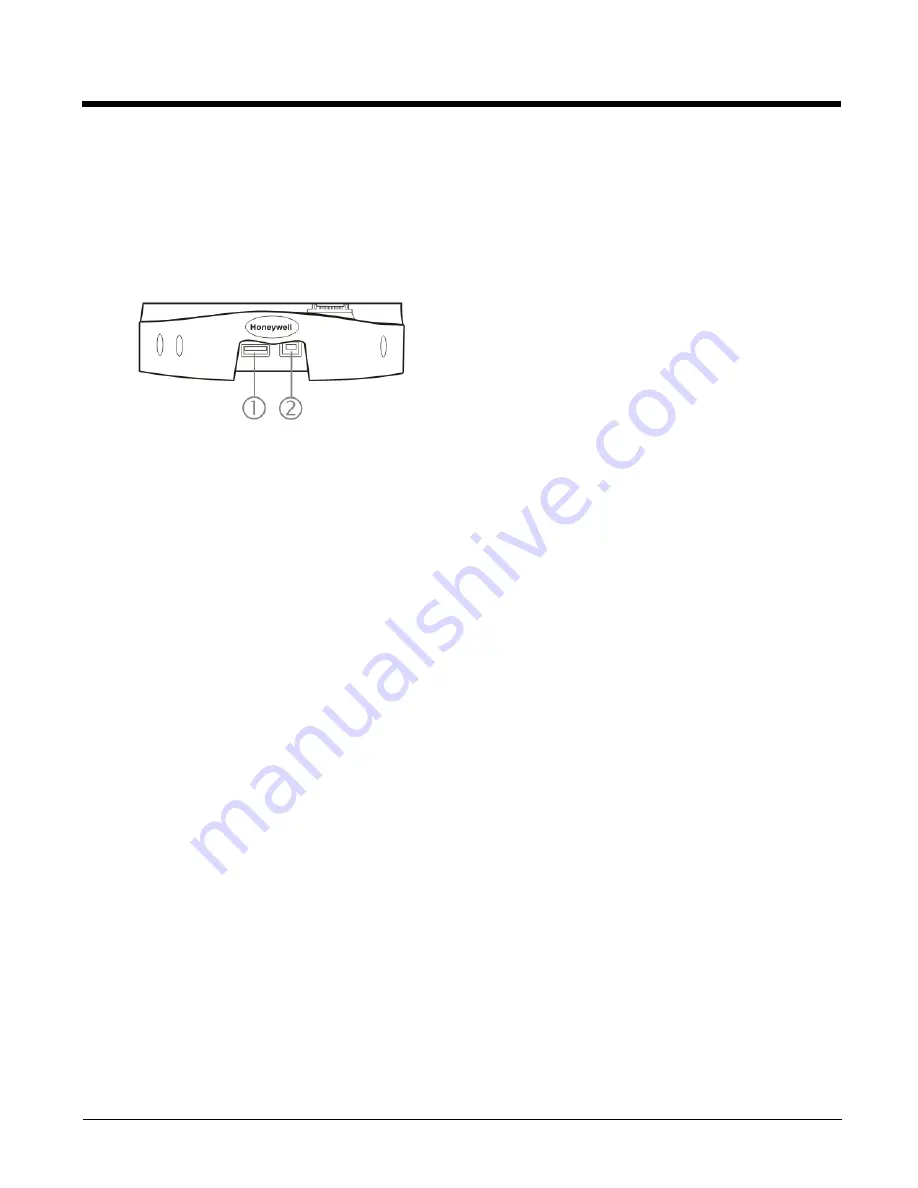
Cable for USB ActiveSync Connection
When a cradle is used:
HX2312DSKCRDL or HX2313DSKCRDL - HX2-labeled desktop cradle
Use with standard USB cable with type A plug for PC/Laptop USB port and type B plug for HX3 cradle USB type B cli-
ent port.
•
Plug the type B end of the standard USB cable plug into the USB type B port on the desktop cradle (port #2).
•
The USB type A connector on the standard cable connects to a USB port on a PC or laptop.
•
The USB client (port #1) connector on the cradle does not need to be connected.
If a cradle is not used:
HX2001CABLE - ActiveSync cable for HX3 when not in the desk dock. Cable connects directly to the HX3 and the
other end connects to host computer USB port.
•
Insert the HX3 cable end into the cradle connector on the bottom of the HX3.
•
The USB type A connector on the cable connects to a USB port on a PC or laptop.
Note: The ActiveSync cable for the HX3 does not appear to fit tightly with the cradle connector, but at an angle. This
is normal.
Synchronizing from the HX3
To initiate synchronization from your host computer, tap
Start > Programs > Communication > ActiveSync
to begin the
process.
Tap
Sync
to connect and synchronize. View synchronization status.
Tap
Tools
to synchronize or change synchronization settings. View connection status.
Tap
Stop
to stop synchronization.
Tap
Start > Help
for context-sensitive help.
Explore
From the ActiveSync Dialog on the host computer, tap the Explore button, which allows you to explore the HX3 on the host
computer, with some limitations. You can copy files to or from the HX3 by drag-and-drop. You will not be allowed to delete
files or copy files out of the \Windows folder on the HX3. (Technically, the only files you cannot delete or copy are ones
marked as system files in the original build of the Windows image. This, however, includes most of the files in the \Windows
folder).
Backup Data Files using ActiveSync
Use the following information to backup data files from the HX3 to a host computer using the appropriate cables and Micro-
soft’s ActiveSync.
Note: A partnership between the HX3 and ActiveSync on the host computer must be established before backup can occur.
Note: USB Transfer
Summary of Contents for HX3
Page 1: ...HX3 Wearable Computer User s Guide ...
Page 36: ...3 4 ...
Page 40: ...4 4 ...
Page 87: ...5 47 ...
Page 110: ...6 18 ...
Page 126: ...7 16 Hat Encoding ...
Page 127: ...7 17 ...
Page 128: ...7 18 ...
Page 189: ...9 37 9 Click the Request a certificate link 10 Click on the advanced certificate request link ...
Page 190: ...9 38 11 Click on the Create and submit a request to this CA link ...
Page 198: ...10 2 ...
Page 220: ...12 12 ...
Page 229: ......