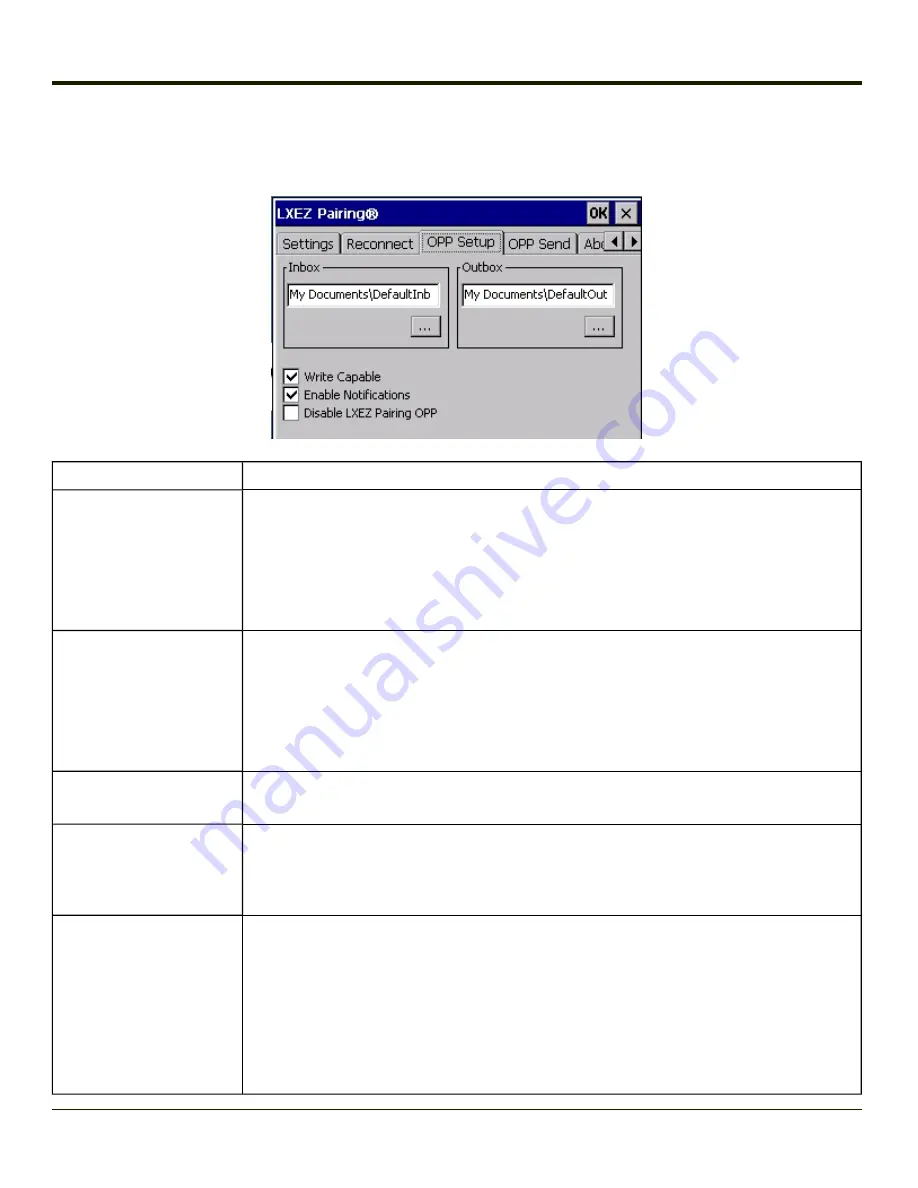
OPP Setup
Use this screen to setup the HX2 for Object Push Protocol (OPP).
Option
Information
Inbox
This is an alphanumeric field displaying the currently selected Inbox.
l
The Inbox is the location where files pushed to the HX2 from a remote client are stored.
Use the browse button
...
to browse to and select the Inbox folder.
l
Use Windows Explorer to create a custom directory, if desired, before selecting the
Inbox folder.
l
The default Inbox is \My Device\My Documents\DefaultInbox.
Outbox
This is an alphanumeric field displaying the currently selected Outbox.
l
The Outbox is the location where files are stored to be pushed from the HX2 to a remote
server. Use the browse button
...
to browse to and select the Outbox folder.
l
Use Windows Explorer to create a custom directory, if desired, before selecting the
Outbox folder.
The default Inbox is \My Device\My Documents\DefaultOutbox.
Write Capable
When checked, files may be written to the HX2. When unchecked, inbound files are rejected.
This option is enabled (checked) by default.
Enable Notifications
When checked, the user is notified and may be prompted for a response when files are received
by the HX2. When unchecked, inbound files are received with no notification to and no required
action from the user.
This option is enabled (checked) by default.
Disable LXEZ Pairing OPP
When checked, OPP is disabled in LXEZ Pairing. When unchecked, OPP is enabled in LXEZ
Pairing.
The default is unchecked, OPP is enabled for LXEZ Pairing.
l
Because only one application can use OPP at a given time, custom applications should
disable OPP in LXEZ Pairing via an API call while the application is using OPP and
restore this setting upon completion.
l
When this item is checked, the other parameter settings on this screen are unavailable
(dimmed).
4-74
Summary of Contents for HX2
Page 1: ...HX2 Wearable Computer Microsoft Windows CE 5 Operating System Reference Guide ...
Page 14: ...xii ...
Page 28: ...1 14 ...
Page 42: ...3 6 ...
Page 142: ...4 100 ...
Page 160: ...Enter user name password and domain to be used when logging into network resources 4 118 ...
Page 166: ...4 124 ...
Page 192: ...Hat Encoding 4 150 ...
Page 193: ...4 151 ...
Page 230: ...5 30 ...
Page 273: ...6 43 ...
Page 278: ...Click the Request a certificate link Click on the advanced certificate request link 6 48 ...
Page 279: ...Click on the Create and submit a request to this CA link 6 49 ...
Page 286: ...6 56 ...
Page 302: ...7 16 ...
Page 306: ...8 4 ...
Page 309: ...9 3 ...


