Document 800-04559
Rev D
49
11/09
Configuration
3.
Highlight the Format box beside Date and press
#
. Select from the three available
date formats and press the button to save your selected format.
4.
Highlight the first box beside Time, then press
#
. The individual sections of the
time will highlight.
Use the Up and Down arrow buttons to change the number.
Use the Left and Right arrow buttons to move between hour, minutes and
seconds. When you have the correct time, press the button.
5.
Highlight the Format box beside Time, then press
#
. Select from the three
available time formats, then press
#
to save your selected format.
Note
The clock will not start running until you have highlighted Save
and pressed the button.
6.
Highlight the box beside Time Zone, then press
#
. Select your time zone from the
list, then press
#
.
7.
Highlight Use Daylight Saving Time, then press
#
. Pressing
#
toggles between
On and Off.
Setting a Holiday Schedule
To set a holiday schedule:
1.
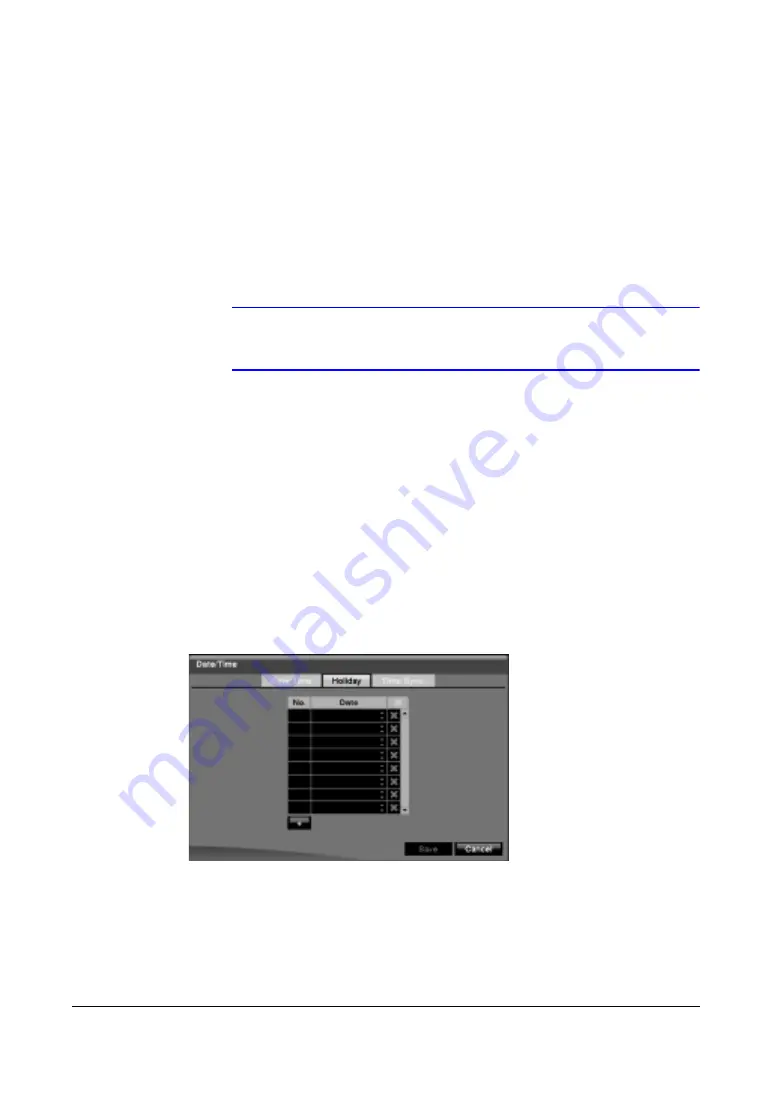
On the Date/Time Setup screen, highlight the Holiday tab. The Holiday setup
screen appears.
Figure 3-12
Holiday Setup Screen
1.
You can set up holidays by highlighting +, then press
#
. The current date
appears.
2.
Highlight the month and day and change them by using the Up and Down arrow
buttons. Press
#
to add the date.
3.
To delete a date, highlight beside the date, then press
#
.
Summary of Contents for HRXDS16
Page 8: ...8 ...
Page 12: ...Contents 12 ...
Page 18: ...Tables 18 ...
Page 24: ...24 HRXDS Series DVR User Guide ...
Page 102: ...102 HRXDS Series DVR User Guide ...
Page 138: ...138 HRXDS Series DVR User Guide ...
Page 152: ...152 HRXDS Series DVR User Guide ...
Page 154: ...154 HRXDS Series DVR User Guide ...
Page 156: ...156 HRXDS Series DVR User Guide ...
Page 160: ...160 HRXDS Series DVR User Guide ...
Page 162: ...162 HRXDS Series DVR User Guide ...
Page 164: ...164 HRXDS Series DVR User Guide ...
Page 171: ......

