Configuration
Rev 3.03
46
Document 900.0315
02/07
Caution
When the End of Disk is set to
Stop
, the DVR will NOT restart
recording, even after video recorded earlier than the user-defined
period is deleted.
6.
To save your changes, highlight
OK
and then press
. Selecting
Cancel
exits the
screen without saving the changes.
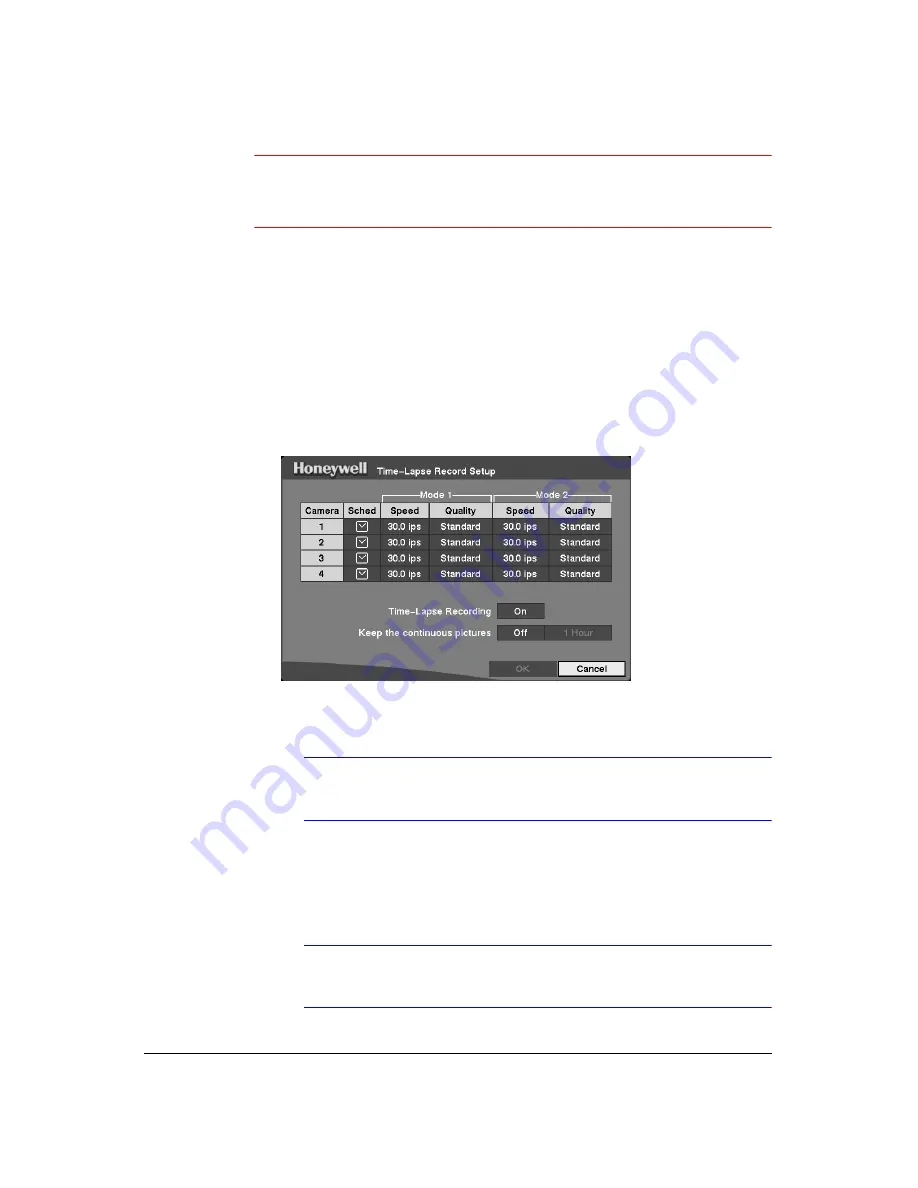
Time-Lapse Record Mode Setup Screen
Access the Time-Lapse Record Setup screen (
MENU
➤
Record
➤
Time-Lapse
Record
). The Time-Lapse Record Setup screen displays.
Figure 3-31
Time-Lapse Record Setup Screen
1.
Highlight the box under the
Speed
heading and then press
. A drop-down list of
recording speeds displays. You can select from 0.5 ips to 30 ips (25 ips for PAL).
Note
You cannot select 30 ips (25 ips for PAL) if the
Resolution
is set
up to
High
or
Very High
in the Record Mode Setup screen.
2.
Highlight the box under the
Quality
heading and then press
. A drop-down list
displays. You can select from
Very High
,
High
,
Standard
, and
Low
image quality.
All other variables being equal, Very High will require 300% more hard disk space
than Standard, High will require 200% more, and Low 50% less.
Note
Higher quality images require more storage space and reduce
the recording capacity of the hard disk drive.
Summary of Contents for HRHD 410
Page 1: ...Document 900 0315 02 07 Rev 3 03 User Guide HRHD 410 4 Channel Digital Video Recorder ...
Page 8: ...Contents Rev 3 03 vi Document 900 0315 02 07 ...
Page 12: ...Figures Rev 3 03 x Document 900 0315 02 07 ...
Page 14: ...Tables Rev 3 03 xii Document 900 0315 02 07 ...
Page 22: ...Introduction Rev 3 03 4 Document 900 0315 02 07 ...
Page 34: ...Installation Rev 3 03 16 Document 900 0315 02 07 ...
Page 114: ...Text In Query Examples Rev 3 03 96 Document 900 0315 02 07 ...
Page 116: ...Solutions Rev 3 03 98 Document 900 0315 02 07 ...
Page 120: ...Map of Screens Rev 3 03 102 Document 900 0315 02 07 ...
Page 127: ......


