Configuration
Rev 3.03
42
Document 900.0315
02/07
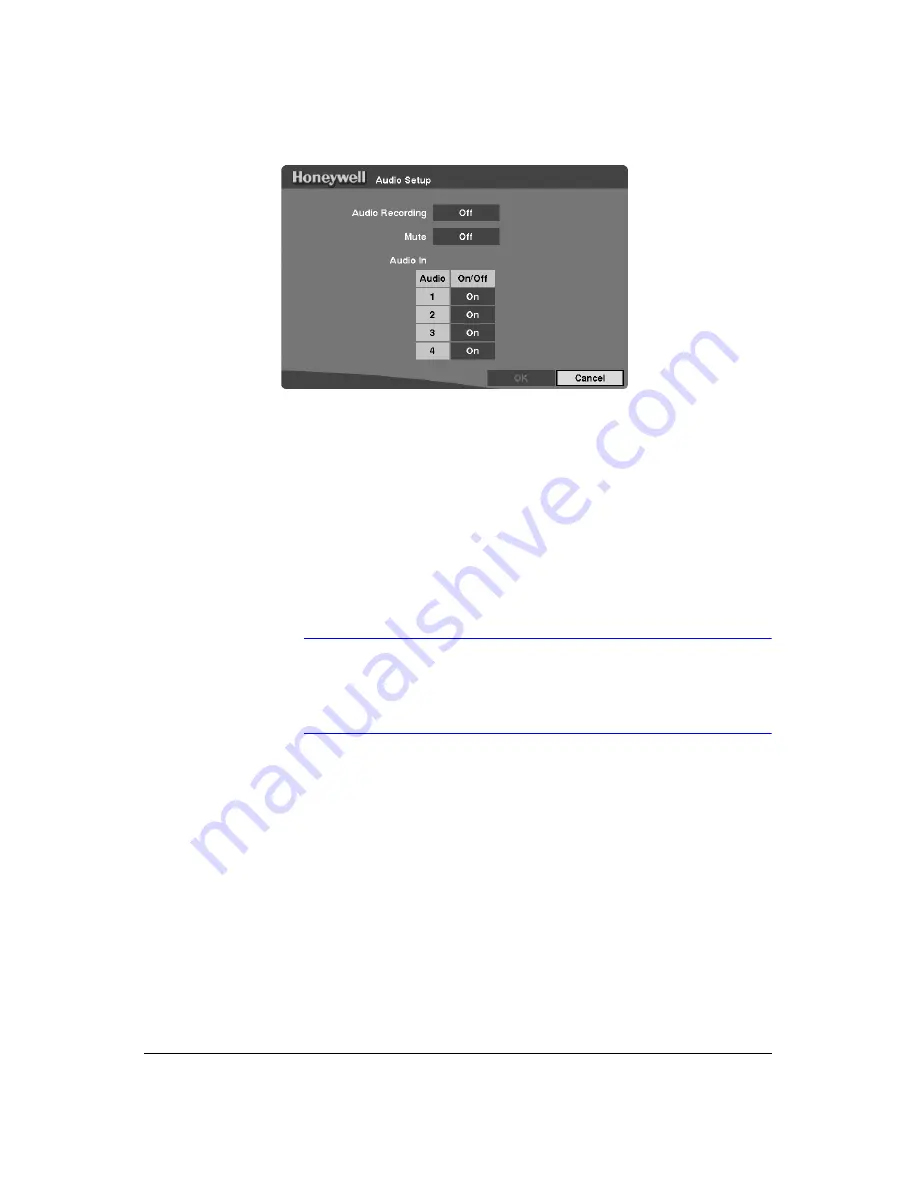
Figure 3-28
Audio Setup Screen
1.
Highlight the box beside
Audio Recording
and then press
. This toggles
between
On
and
Off
. When it is
On
, the DVR also records audio when it is
recording video.
2.
Highlight the box beside
Mute
and then press
. This toggles between
On
and
Off
. When it is
On
, the DVR does
not
play live or recorded audio.
3.
The DVR supports four audio inputs. You can set up each input. When it is On, the
DVR plays live audio through the attached speaker when it displays live video.
Highlight the
Audio In
field, highlight the box under the
On/Off
heading, and then
press
. This toggles between
On
and
Off
.
4.
To save your changes, highlight
OK
and then press
. Select
Cancel
to exit the
screen without saving the changes.
Note
The DVR will NOT record audio when the recording speed is set
to less than 15 ips (12.5 ips PAL). The DVR may not record audio
depending on the Transfer Speed when the RAS (Remote
Administration System) Watch program is connected.
RS232/RS485 Setup Screen
Use the RS232/RS485 Setup screen to set up the RS232 and RS485 ports to
communicate with external devices such as remote controls, and dome cameras.
Highlight
RS232/RS485
in the Device menu (
MENU
➤
Device
➤
RS232/RS485
) and
then press
. The RS232/RS485 screen displays.
Summary of Contents for HRHD 410
Page 1: ...Document 900 0315 02 07 Rev 3 03 User Guide HRHD 410 4 Channel Digital Video Recorder ...
Page 8: ...Contents Rev 3 03 vi Document 900 0315 02 07 ...
Page 12: ...Figures Rev 3 03 x Document 900 0315 02 07 ...
Page 14: ...Tables Rev 3 03 xii Document 900 0315 02 07 ...
Page 22: ...Introduction Rev 3 03 4 Document 900 0315 02 07 ...
Page 34: ...Installation Rev 3 03 16 Document 900 0315 02 07 ...
Page 114: ...Text In Query Examples Rev 3 03 96 Document 900 0315 02 07 ...
Page 116: ...Solutions Rev 3 03 98 Document 900 0315 02 07 ...
Page 120: ...Map of Screens Rev 3 03 102 Document 900 0315 02 07 ...
Page 127: ......


