www.honeywell.com/security
38 | HRGX DVR User Manual
Configuring Camera Image Settings
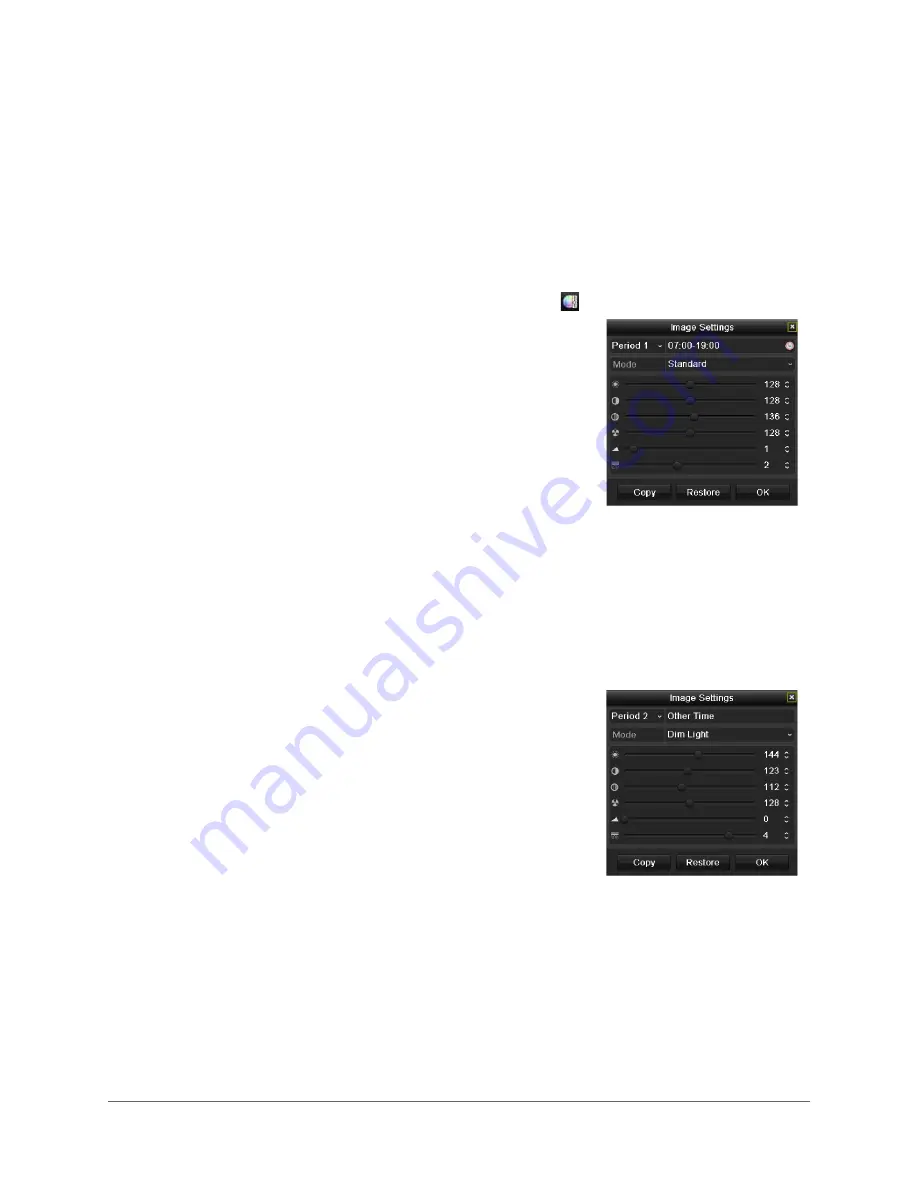
You can create customized image settings for up to two time periods per camera to
accommodate changing lighting conditions.
To configure image settings:
1. Click on a channel to display the quick setting toolbar (see
Quick Setting Toolbar, page 35
2. On the toolbar, click the
Image Settings
button
.
3. In the
Image Settings
window, next to
Period 1
,
specify the time range that you want to configure the
image settings for (such as 07:00–19:00).
4. Based on the anticipated lighting conditions for the
specified time range, next to
Mode
, select one of the
following:
•
Standard
(default)
•
Indoor
•
Dim
Light
•
Outdoor
5. Adjust the following image settings by moving the
slider or by clicking the up/down arrows:
•
Brightness
(0–255)
•
Contrast
(0–255)
•
Saturation
(0–255)
•
Hue
(0–255)
•
Sharpness
(0–15)
•
De-noising
(0–5)
6. If you want to define different image settings for the
remaining time (such as 19:01 to 06:59), select
Period 2
, and then repeat steps 4 and 5.
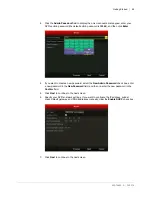
7. To copy these settings to one or more additional
cameras, click
Copy
to open the
Copy to
window,
select the camera(s) you want to copy the settings
to, or click
Analog
to copy the settings to all
cameras, and then click
OK
.
8. Click
OK
to save your settings.
Summary of Contents for HRGX161
Page 2: ...Revisions Issue Date Revisions A 04 2014 New document ...
Page 6: ...www honeywell com security 6 HRGX DVR User Manual ...
Page 54: ...www honeywell com security 54 HRGX DVR User Manual ...
Page 66: ...www honeywell com security 66 HRGX DVR User Manual ...
Page 82: ...www honeywell com security 82 HRGX DVR User Manual ...
Page 100: ...www honeywell com security 100 HRGX DVR User Manual ...
Page 130: ...www honeywell com security 130 HRGX DVR User Manual ...
Page 142: ...www honeywell com security 142 HRGX DVR User Manual ...
Page 149: ......


