


CIPer
TM
MODEL 30 CONTROLLER - INSTALLATION AND OPERATIONS GUIDE
35
31-00206 - 02
Now you are connected to the platform and station.
Communication Mode
There are two ways to connect the CIPer
Model 30
controller to WEBStation.
•
TCP/IP (Ethernet) Communication
•
Serial Communication
TCP/IP (Ethernet) Communication Setup
To setup CIPer
Model 30
controller using TCP/IP (Ethernet) Communication
1.
Connect one Ethernet cable from the CIPer Model 30 controller to the system.
2.
Open Network Connections under Control Panel and double-click Ethernet to set up the IP
address for computer.
Note:
Set the IP address of workstation and controller in same series (example -192.168.1.XXX), so
that controller and workstation can communicate. Also, Controller IP address should be
unique (i.e. controller and workstation IP address should not match)
3.
Connect to the platform with default IP address and the credentials.
4.
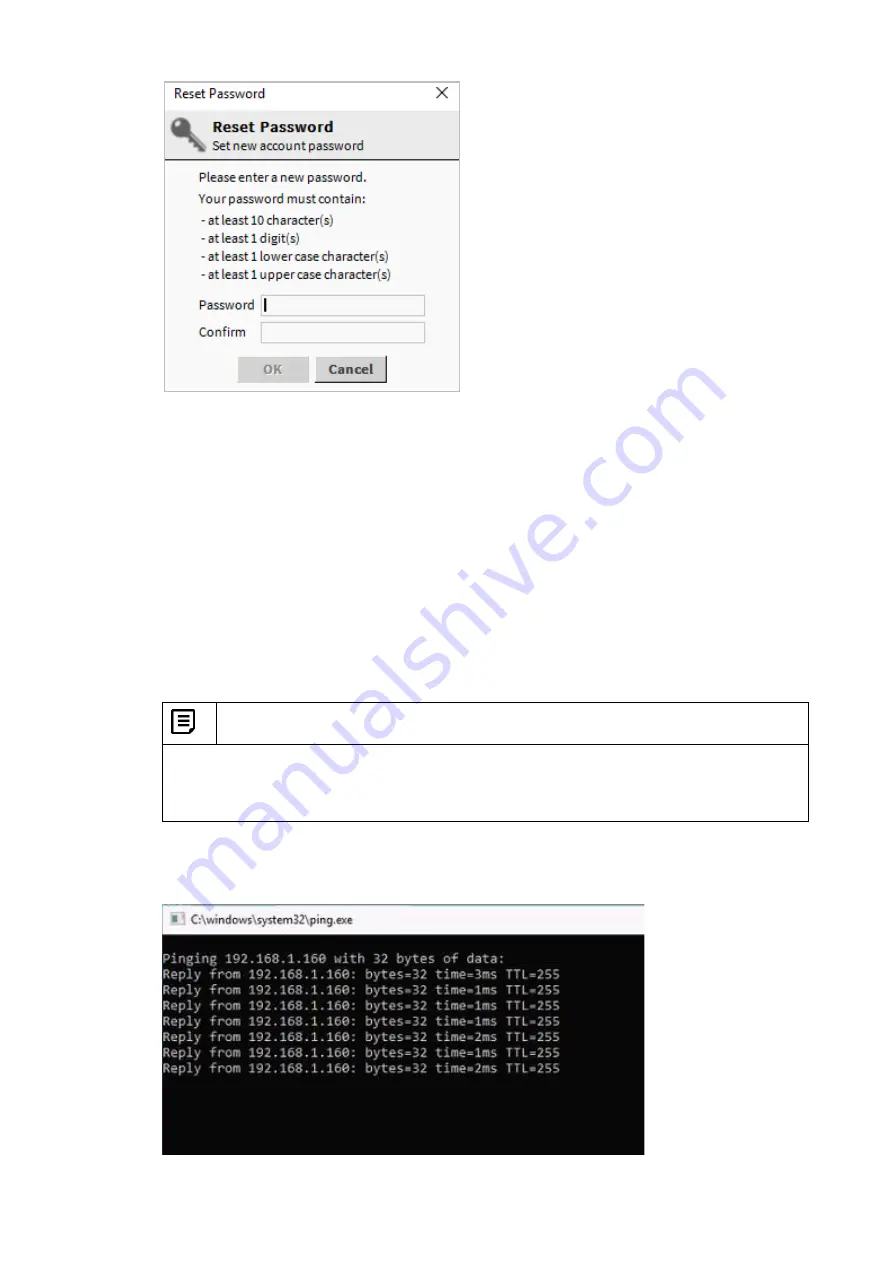
To verify if the connection is successfully established, open the
Run
application and type
ping
< default ip address of the CIPer 30 controller >
.